 Billing
& Support
Billing
& Support Multicraft
 Game
Panel
Game
Panel


How to Enable “Only Allowed Players” on Your HumanitZ Server
If you want to create a strictly private environment for your community or whitelist specific survivors, the “Only Allowed Players” feature is the most effective tool. When enabled, this setting restricts server access so that only players specifically added to your allowed list can join, regardless of whether they have the password. This guide will show you how to toggle this restriction on the GGServers panel.
Step 1: Stop Your HumanitZ Server
Toggling access restrictions requires the server to re-initialize its security protocols. Access your GGServers Control Panel, select your HumanitZ instance, and click the Stop button. Wait for the status to display as “Offline” before proceeding.

Step 2: Access Server Settings
Once the server is fully stopped, navigate to the sidebar on the left side of the panel. Click on the Server Settings button to open the configuration dashboard for your HumanitZ server.

Step 3: Open the General Settings Tab
In the Server Settings menu, click on the General Settings tab. This section contains the primary toggles for server behavior and player access control.

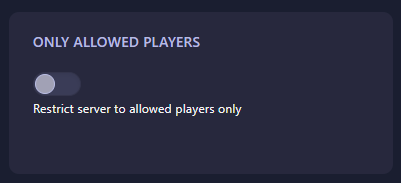
Step 4: Enable “Only Allowed Players”
Locate the setting labeled Only Allowed Players. Use the dropdown or toggle to set this to Yes. This instructs the server to check the “AllowedPlayers” list before permitting any user to connect. The GGServers panel saves your changes automatically.
Step 5: Start Your Server
Go back to the main dashboard and click Start. Your HumanitZ server is now in restricted mode. Ensure that you have added the Steam IDs of your players to the allowed list so they can successfully join your world!
Managing who can access your world is vital for a curated survival experience. For the most secure and high-performance hosting, trust GGServers HumanitZ Server Hosting. Our hardware and 24/7 support ensure your private community remains protected and lag-free!