 Billing
& Support
Billing
& Support Multicraft
 Game
Panel
Game
Panel


This guide will help you understand what the Simple Voice Chat plugin is and how to install and configure it on your server.

❓ What Is Simple Voice Chat ❓
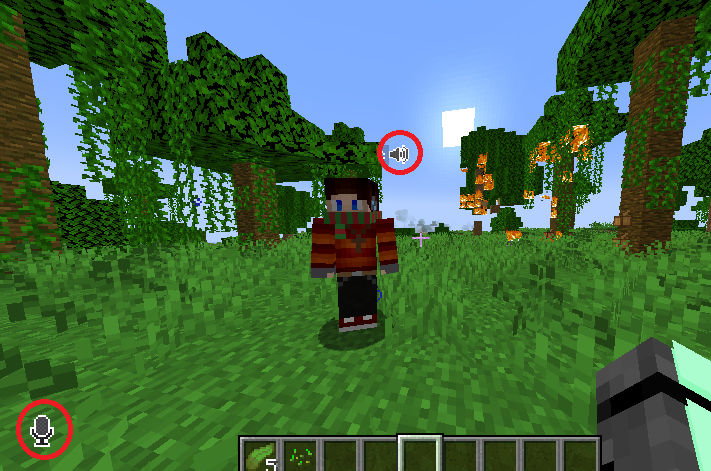
The Simple Voice Chat plugin or mod adds a proximity voice chat to your Minecraft server. You can choose between push-to-talk (PTT) and voice activation.
You can read more about it here, on the official Spigot page, or here, on their official documentation.
⚠ Important Notes ⚠
- Simple Voice Chat now comes in two versions:
- Plugin (for Paper/Spigot/Purpur servers)
- Mod (for Fabric/Forge/NeoForge servers)
- If you are using plugins, we strongly advise you to use Paper on your server type, as it provides numerous benefits such as preventing lag and other crashes not found on Vanilla, Craftbukkit, or Spigot.
- Versions older than 2.1.0 can only join servers with the Fabric version of the mod!
⚠️NOTE⚠️: You need the Fabric or Forge version of the mod installed on your client when using the Bukkit/Spigot/Paper version of Simple Voice Chat on the server!
Here you can download Forge if you don’t have it on your PC yet.
Here you can download the Simple Voice Chat mod.
️Installing the Plugin ️
Using Multicraft Auto-Installer
To install the plugin via the Multicraft Auto-Installer, you need to:
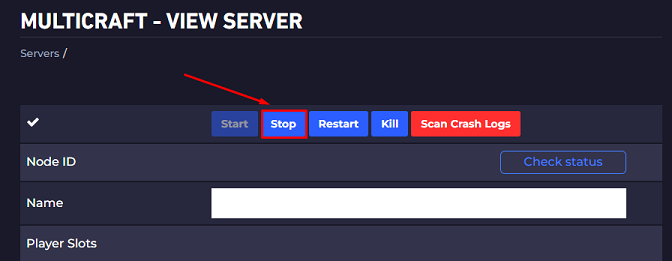
- Log in to your Multicraft panel here and stop your server.
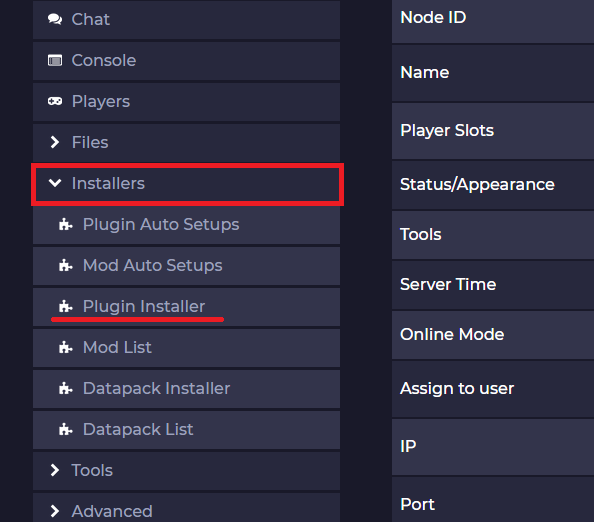
- Go to
Installers, then toPlugin Installer
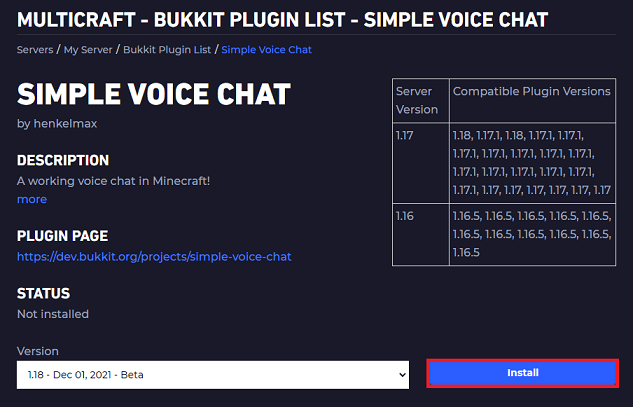
- Select
Bukkitand typeSimple Voice Chatin the search box. PressENTER.

- Click on
Installto set up the Simple Voice Chat plugin.
- Go back and now select
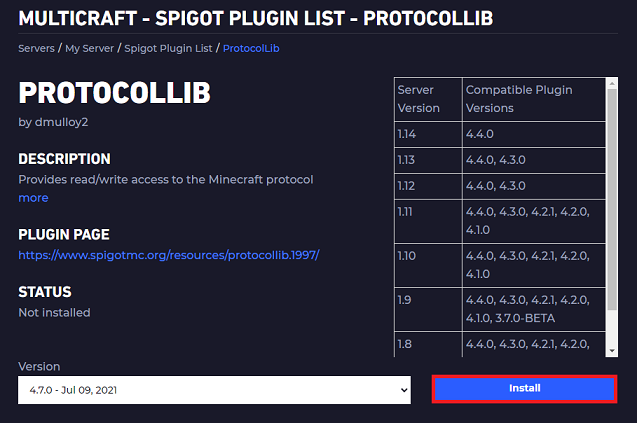
Spigotand typeProtocolLibin the search box. Press ENTER.
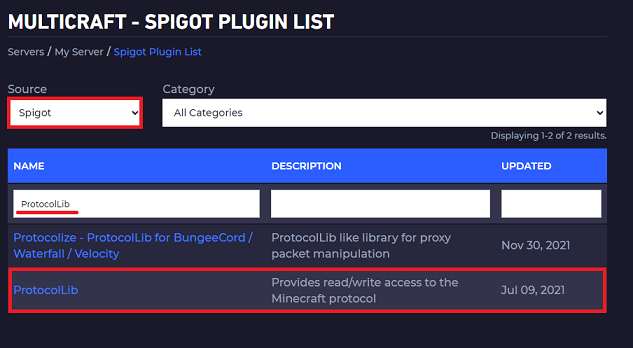
- Click on
Installto set up the ProtocolLib plugin.
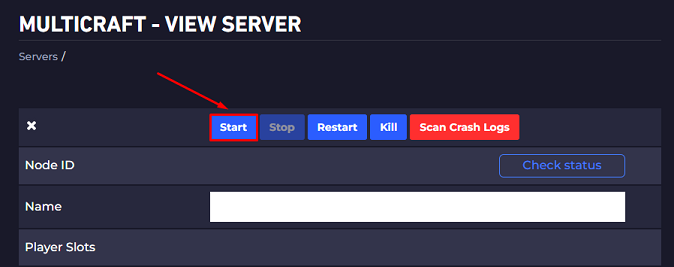
- Start the server for the plugins to generate their folders.
Installing the Plugin Manually
To set up the plugin manually, you need to:
- Log in to your Multicraft panel here and stop your server.
- Go here and download the appropriate version of the Voice Chat plugin, and also go here and download the appropriate version of the ProtocolLib plugin.
- Use FileZilla to connect to your server and upload the plugins to your server’s
pluginsfolder.
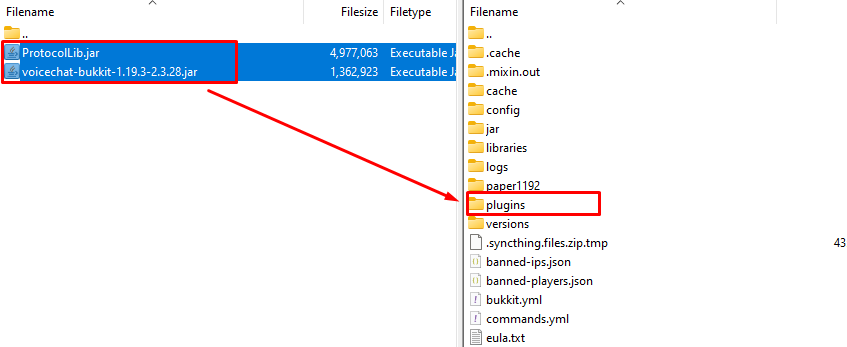
- Start the server for the plugins to generate their folders.
How to Configure the Voice Chat Plugin
- Stop your server so you can start configuring the plugin.
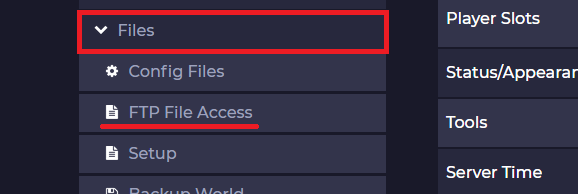
- On your main Multicraft page, copy your IP address. Then go to
Files,FTP File Access, and log in.
- Once logged in, open the
/pluginsfolder, then the/voicechatfolder. Then right-click at thevoicechat-server.propertiesand selectEdit.

- Simply paste your server IP on the
bind_adresssection, and for theportsection, you will need to find an open port and set it there.
Here is our guide for finding an open port for your plugin, please check it to be able to set an open port for the plugin.

- To find the open port, you need to go back to your main Multicraft page, then click on
ToolsandOpen Port.
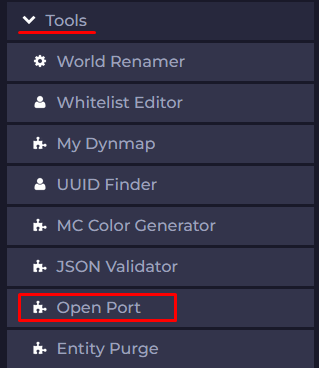
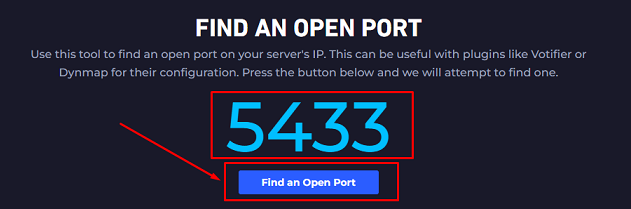
- Then click on
Find an Open Portand note it, so you can input it as theportfor the Voice Chat plugin.
- Done! You are all set up. Now you can simply start your server again for the plugins to work.
If you encounter any problems while using this plugin, please visit the official mod developer’s troubleshooting page, here.