 Billing
& Support
Billing
& Support Multicraft
 Game
Panel
Game
Panel


This guide will help you set up on your server a custom domain using Cloudflare.
Setting Up Cloudflare
What you need to do:
- Go to your Cloudflare DNS dashboard: https://dash.cloudflare.com/
- Click on
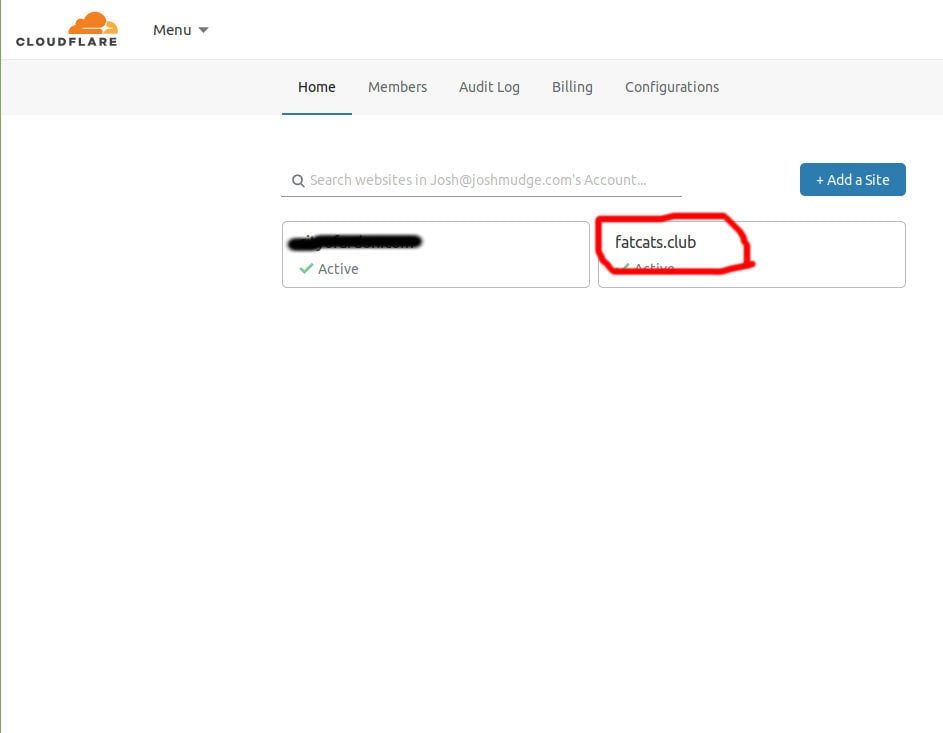
Add a site.
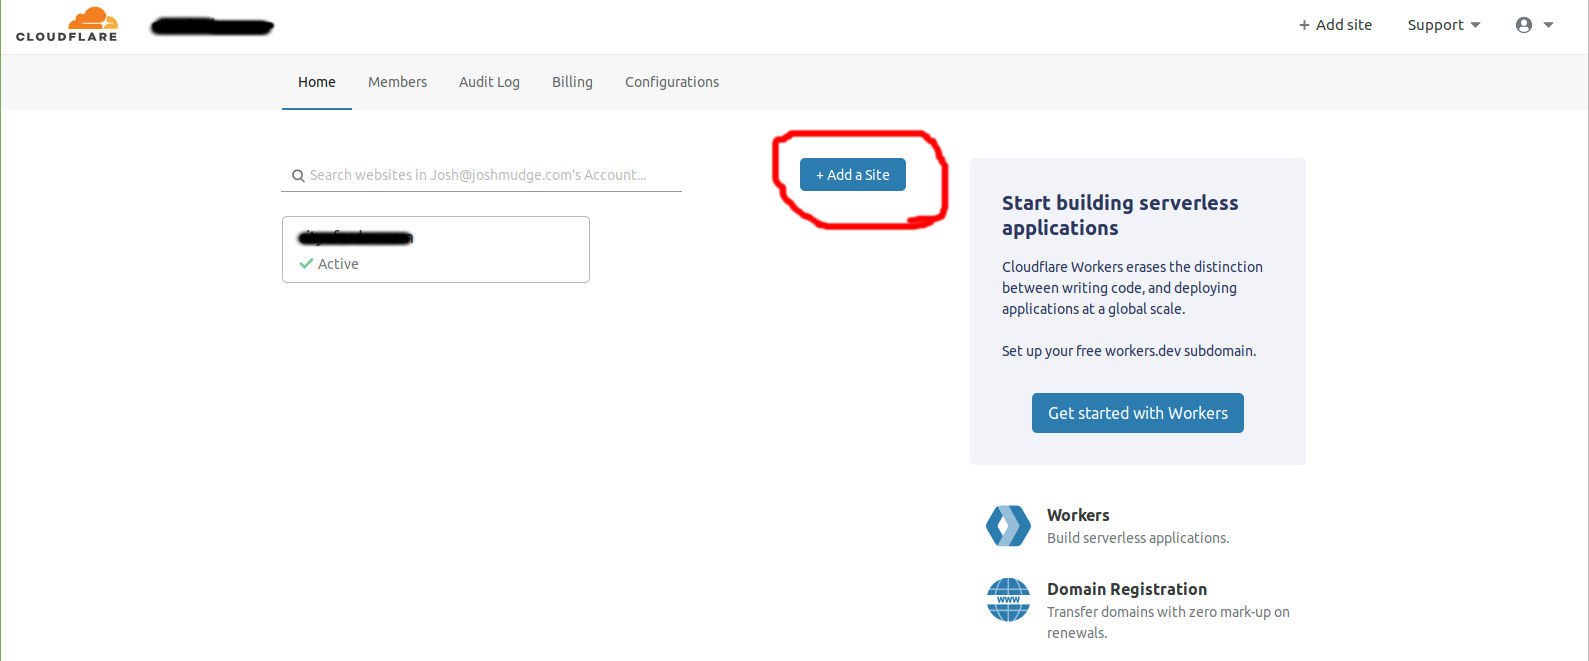
- Type in your site name, then click,
Add site.
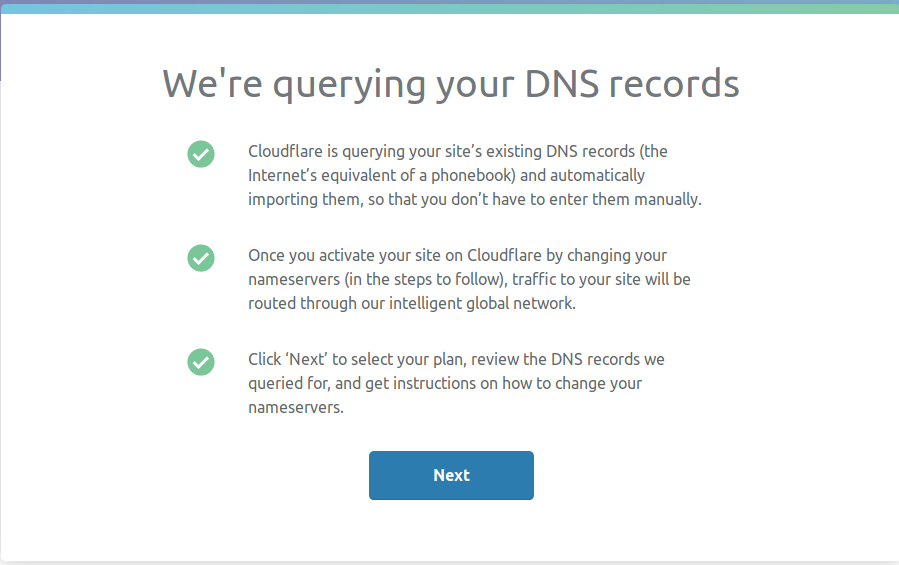
You’ll see this screen, click Next:
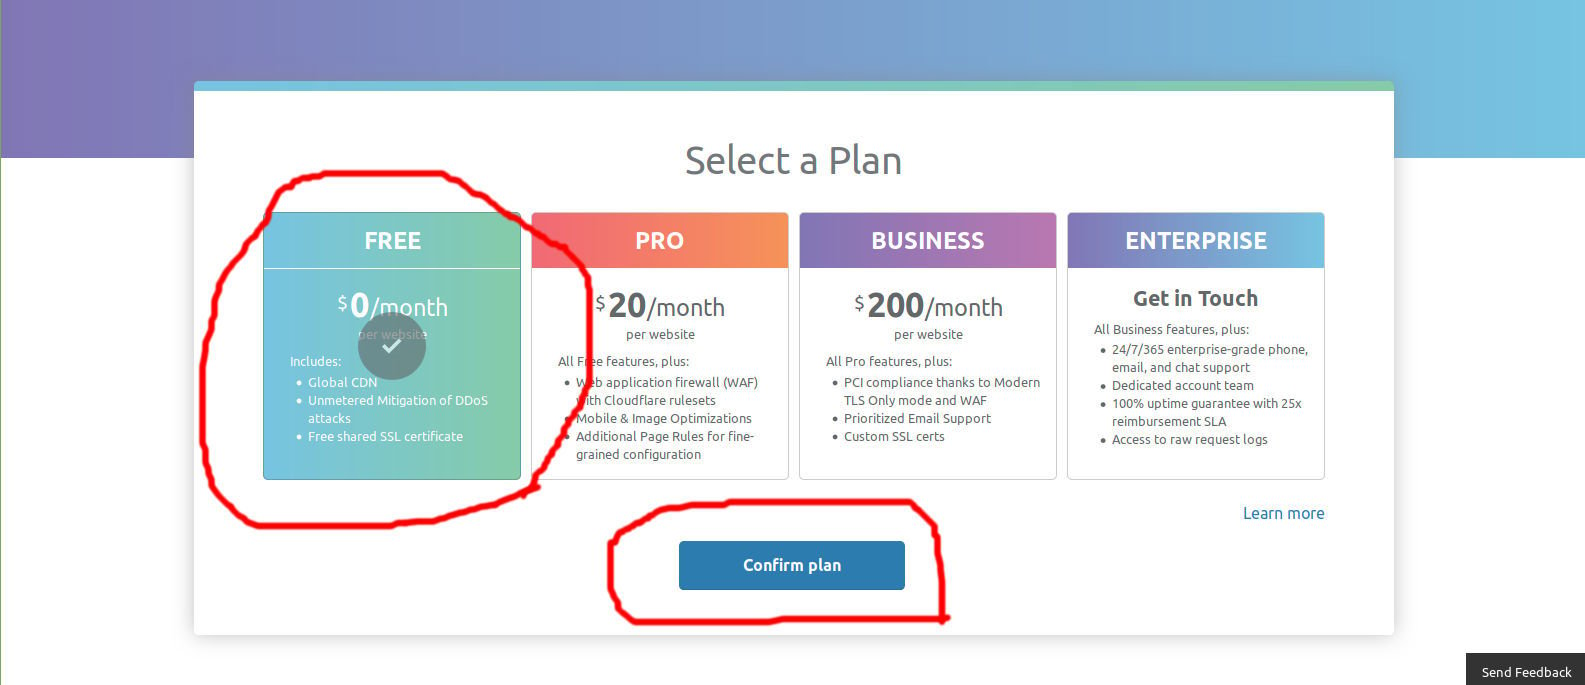
- Next, click on the free plan and
Confirm plan.
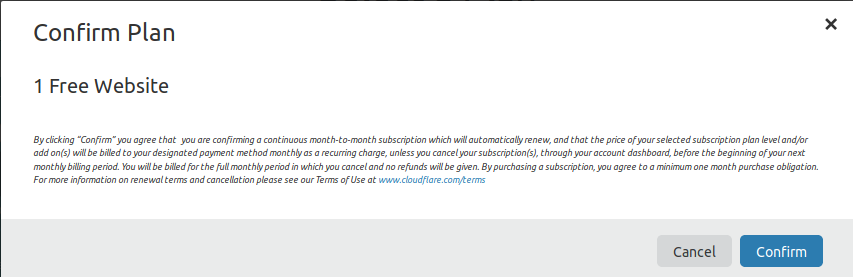
- Then you’ll see a notice about the free plan. Click
Confirm.
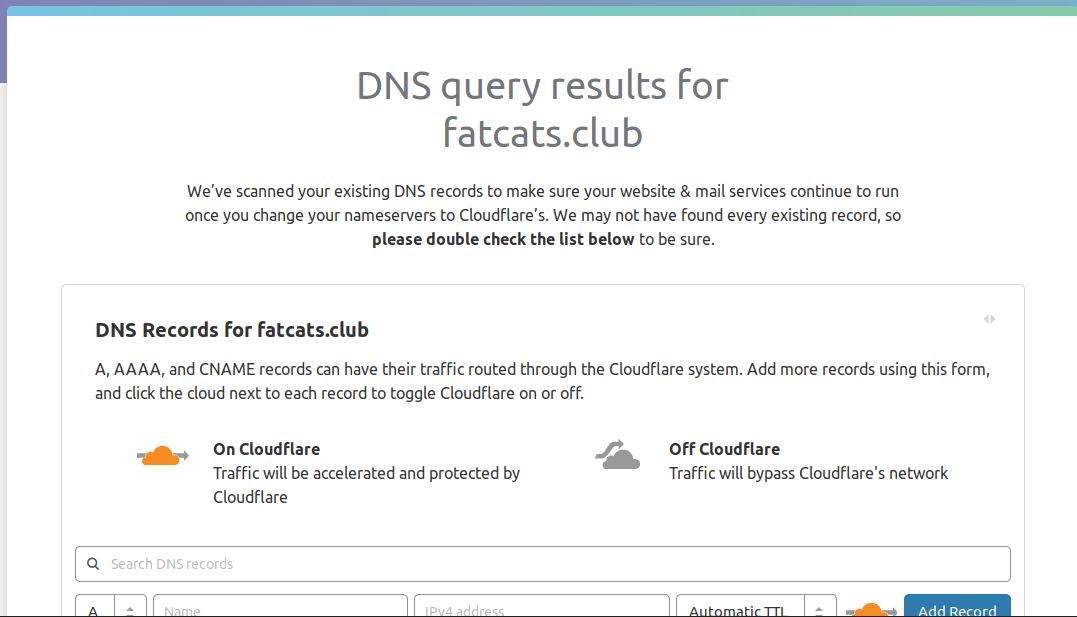
- They’ll ask you to double-check that your DNS records are the same as on your domain:
- Scroll down and click
Continue:
Then you should see something like this:
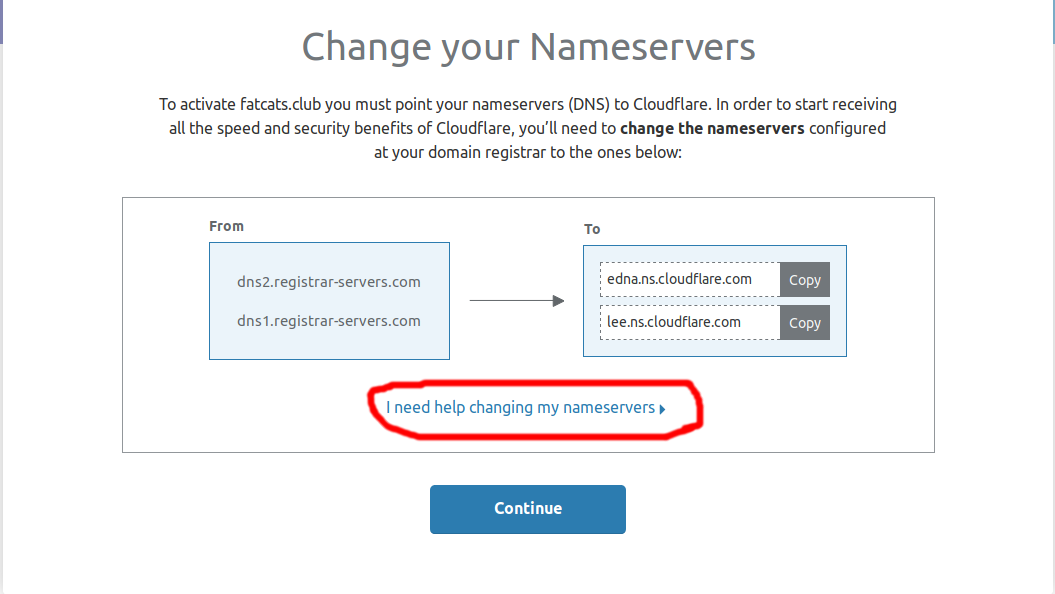
- Click
I need help changing my nameservers. They’ll walk you through how to change your nameservers. When you’re done, clickContinue.
You may see something like this:
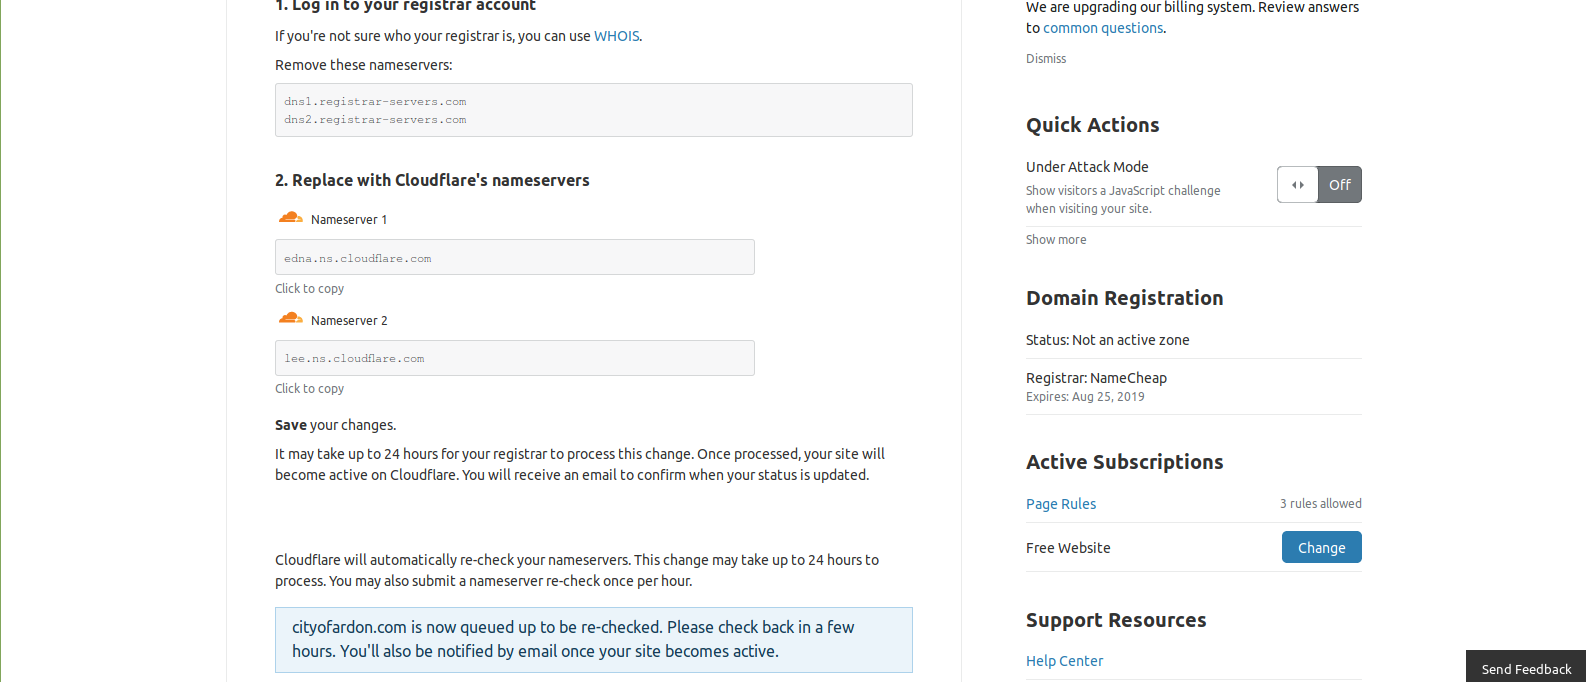
- You’ll need to wait a few minutes, then click
Re-check now. It may take a few hours for your changes to take effect. They will send you an email when everything is set up.
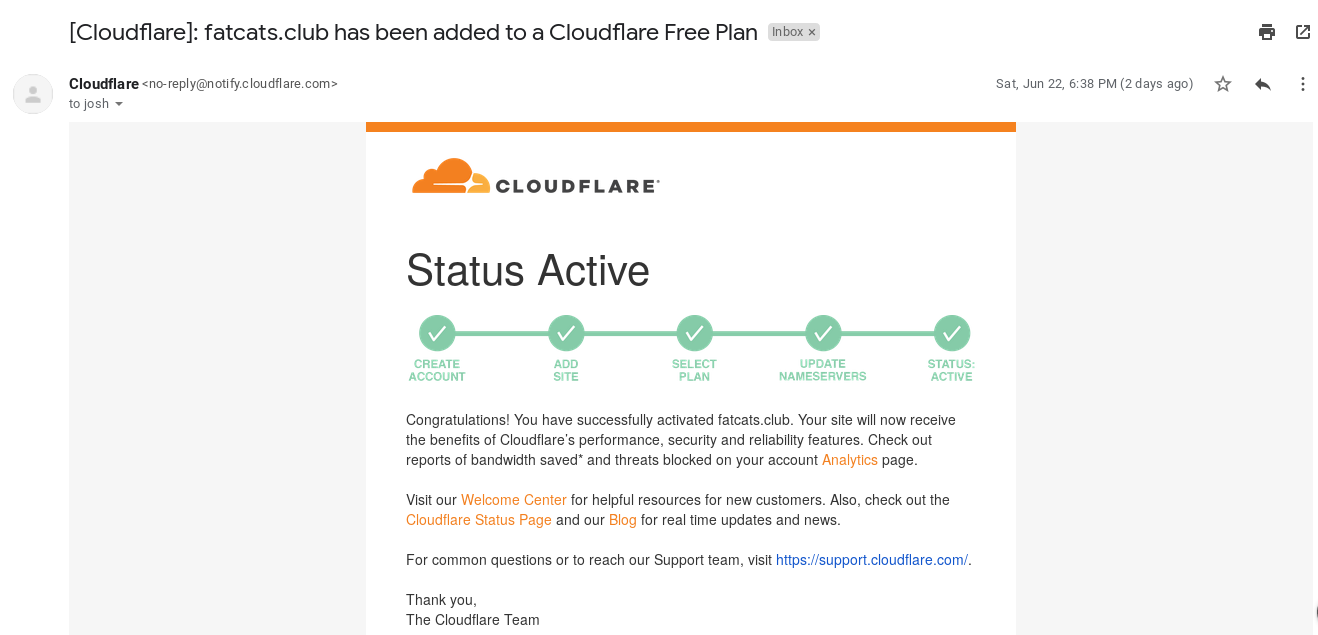
- You’re set up with Cloudflare, now let’s get the custom domain working.
Using Cloudflare For a Custom Domain
You will have to do the following steps:
- Select the name you want to use.
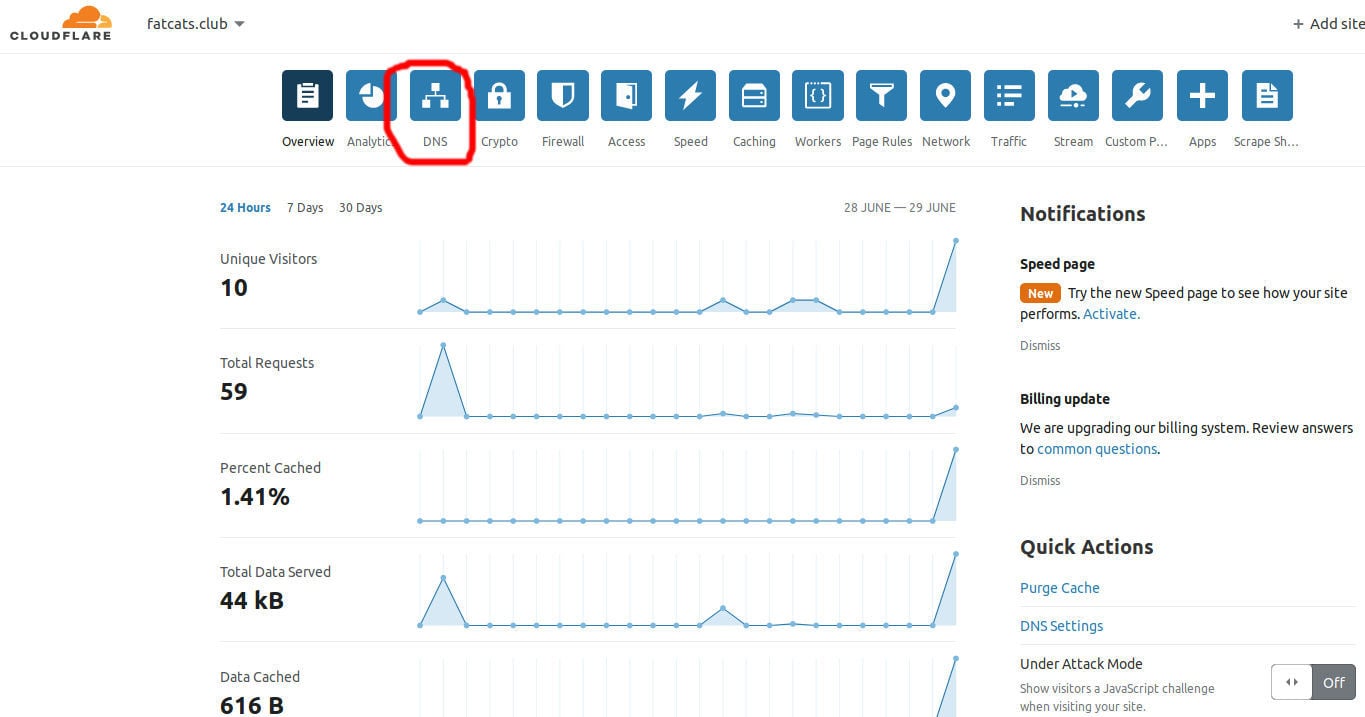
- Then click
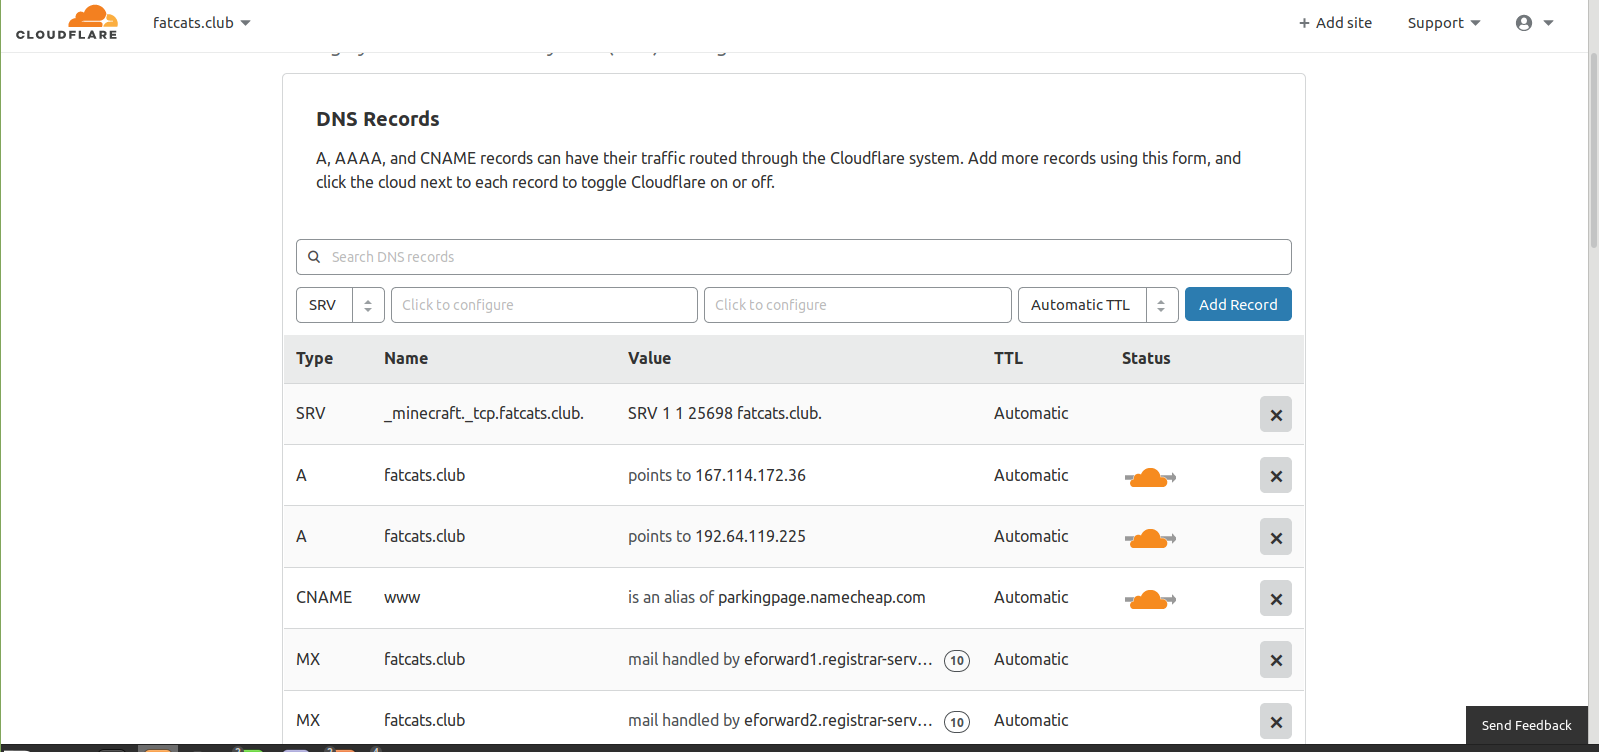
DNS.
- Click on
SRV.
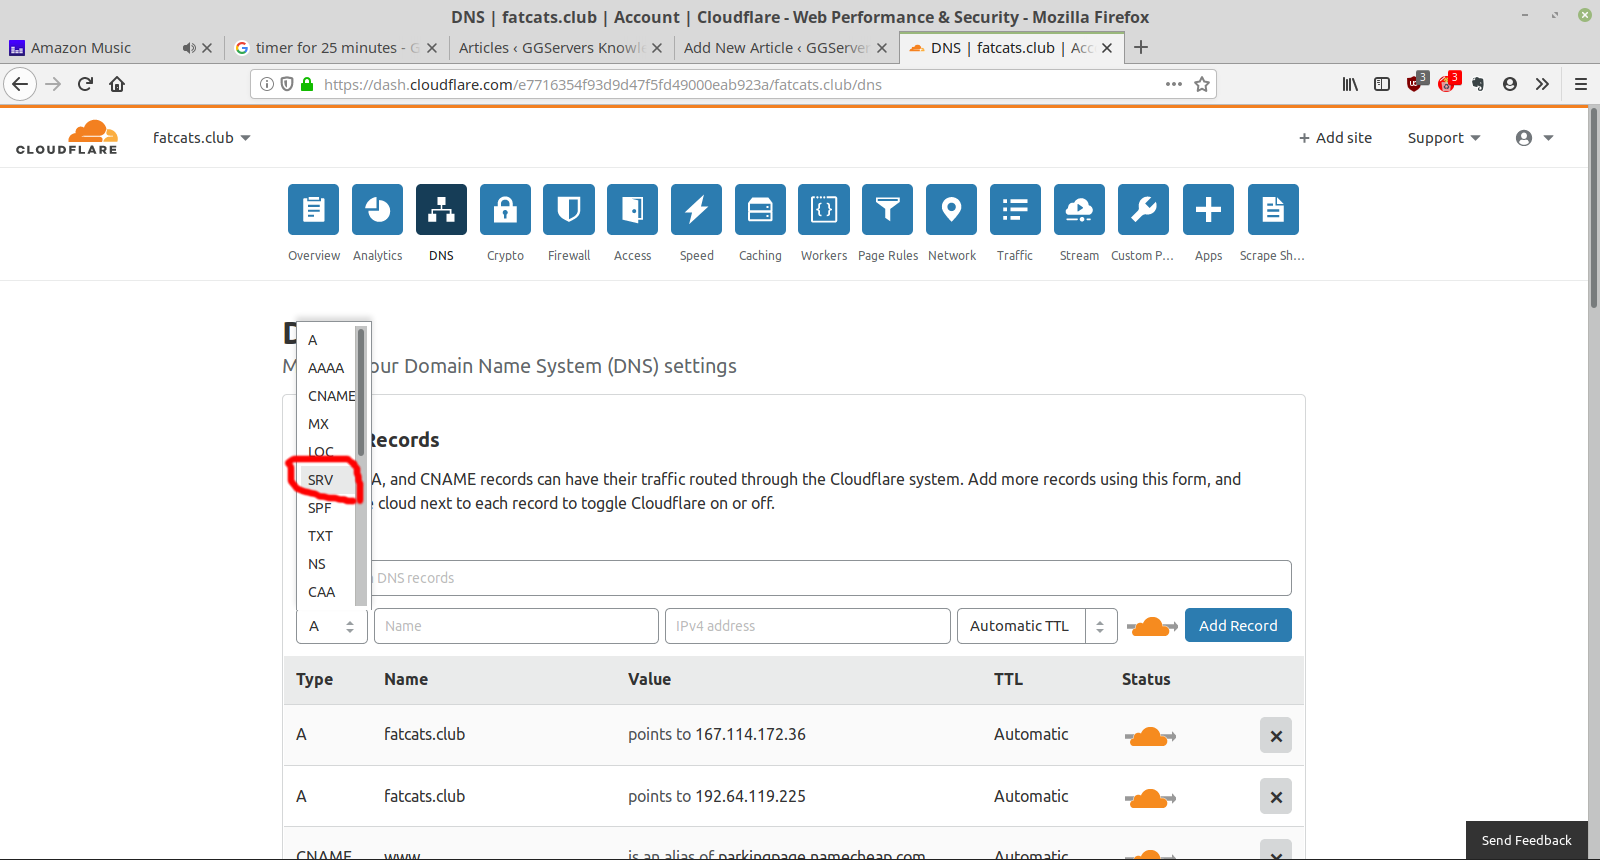
- Enter
_minecraftas the service. Next, you should see something like this:
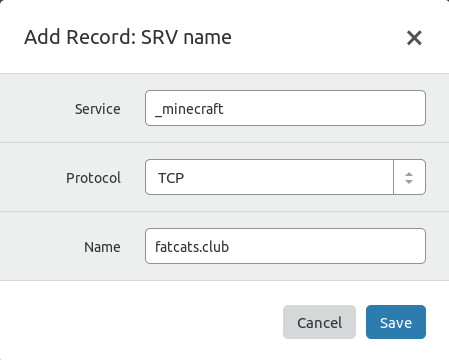
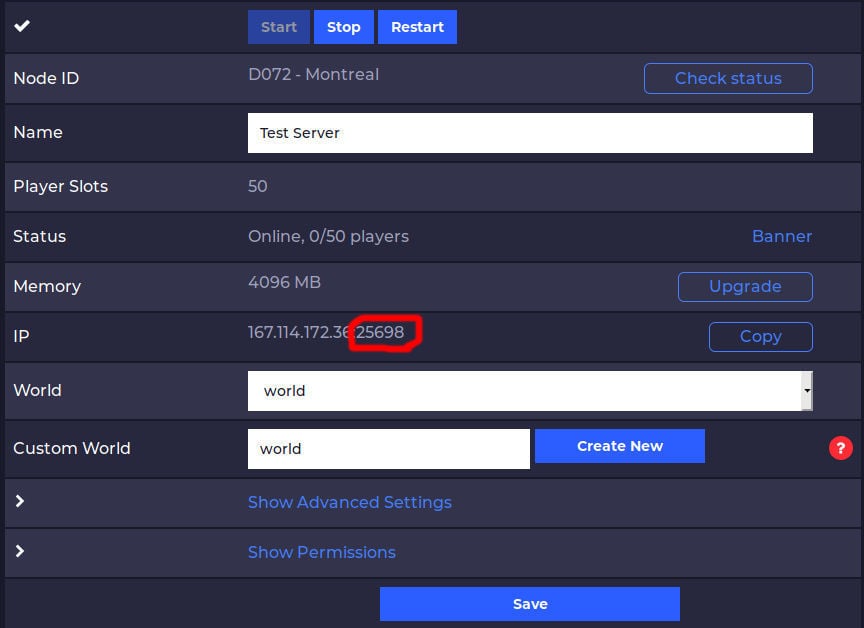
- For the
Portbox we want to use theportfrom your server, copy and paste the number to the right of the colon as pictured here:
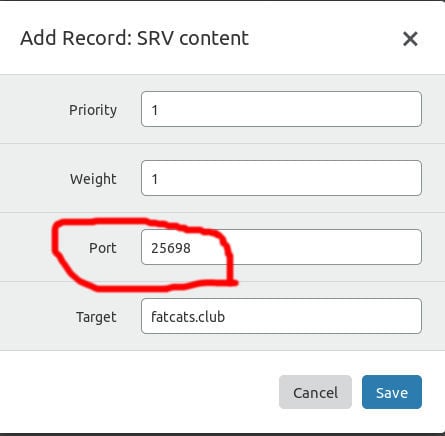
- Click
Save.
You’re done! It may take up to an hour to work but usually only takes 5 minutes.