This article will show you how to update your server to Minecraft 1.19.X version.
How to Update Your Server to 1.19.X
To update your server to 1.19 you will have to:
- Log in to your Multicraft panel here and stop your server.
- Switch to 1.19.
If you are running
Vanilla Latestyou will just have to click on theUpdatebutton.If you are running
Bedrock Dedicatedyou will just have to click on theUpdatebutton.

- If you are not running any of the ones mentioned above, you will have to click on
Server Typeand selectVanilla 1.19.X,Spigot 1.19orPaper 1.19.Xaccording to the version and server type you want.

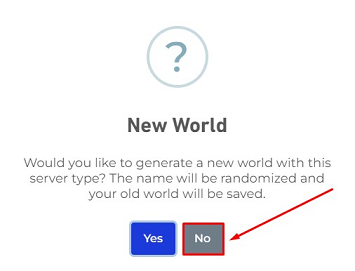
- Click on
Nowhen you are asked if you want to generate a new world, then click onSave.


- Start your server.
You just changed your server to the 1.19.X version.
How to Manually Update Your Server to 1.19.X
To manually update your server to the 1.19.X version, you will have to upload the server jar of the version as a custom jar.
Now, let’s start the process:
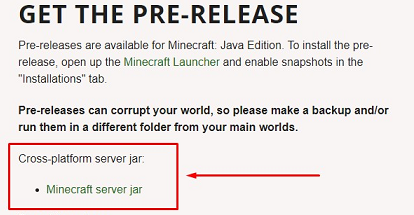
- Go here and download the 1.19 Minecraft
server.jarfile.

- Log in to your Multicraft panel here and stop your server.
- Use Filezilla to upload the new
server.jarfile you downloaded at step number one to yourjarfolder located in the root directory of your server (/jar).

- Go back to your main Multicraft page, find the
Server Typebox, set it toserver.jarby manually typing it, and click onSave.

- Start your server.
Now you just manually updated your server to the 1.19 version.
 Billing
& Support
 Multicraft
 Game
Panel


