
This article will help you update any of the modpack we provide.
Please note that you can update the modpack either using our Multicraft built-in feature or manually. The guide will explain both approaches.
Update the Modpack via Multicraft
If your modpack got a new update and you want to update your server too, all you have to do is:
- Log in to your Multicraft panel here and stop your server.
- Click on the
Updatebutton.

- Tick the
Confirmationbox only if you have a backup of your world, fill in your password and then click onUpdate Modpack.
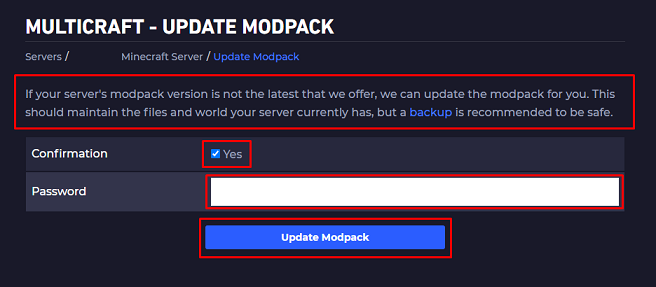
- Check the Multicraft console for the moment when it says that the process is complete.


- Start your server.
Done! You just updated your modpack using the Multicraft built-in feature.
Update the Modpack Manually
To update your modpack manually you will have to:
Delete some of the old modpack files.
Set up the new ones instead of them.
Deleting the Old Files
We have to start the process by deleting some of the old files. You will have to do the following:
- Log in to your Multicraft panel here and stop your server.
- Connect via FileZilla to your server.
- Delete the following directories:
jarmodsconfigscripts
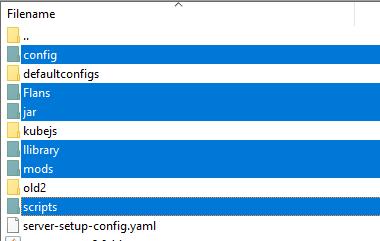
Please do not start your server yet!
You just deleted your old files. Now let’s install the new ones.
Installing the New Files
After removing the old files all you have to do is:
- Go back to your main Multicraft page and stop your server.
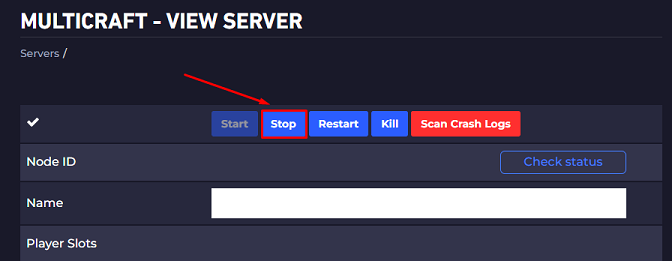
- Reinstall the desired modpack files.
- Scroll down until you see the
Server Typeoption. Click on the blue box and then, on the modpack you are trying to update.
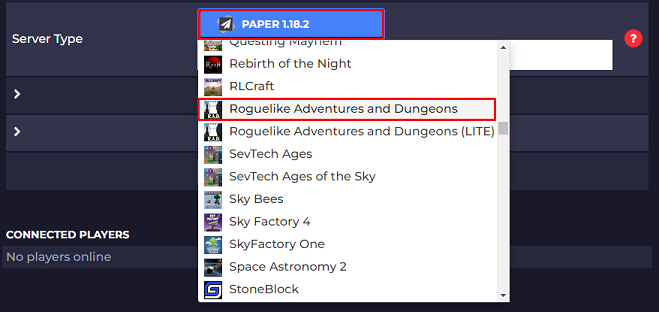
- Click
Noon the pop-up that is asking if you want to create a new world.
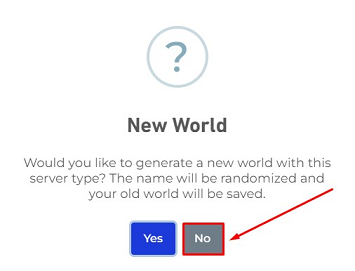
- Start your server.
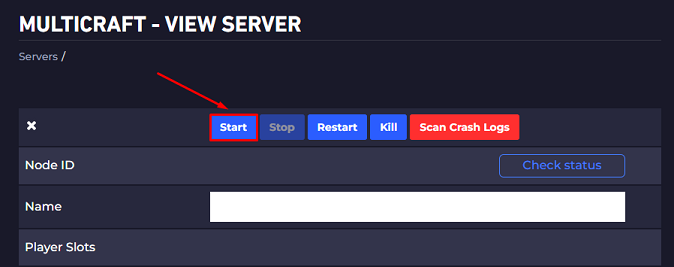
Done! You just updated your modpack manually.
 Billing
& Support
 Multicraft
 Game
Panel


