
Plugins are an addition to your server that will make your experience better.
The best thing about plugins is that they do not need to be set up on each player’s client like mods. Players will be able to join with the normal Minecraft client, regardless of how many plugins your server is running.
This guide will help you with setting up and using the Multiverse plugin on your server.

❓ What Is Multiverse ❓
Multiverse Core is a plugin that enables you to have multiple active worlds on your server at the same time, as well as to be able to move freely between them. You can also generate another nether or end dimension.
Each world can be customized, so you can set up different spawn points, gamemodes, difficulties, and gamerules for them.
You can read more about this plugin here in the official documentation or here on the official Bukkit page.
How to Install the Multiverse Plugin
To install the Multiverse plugin on your server, you can use the Multicraft Installer or do it manually.
The Multicraft Built-In Feature
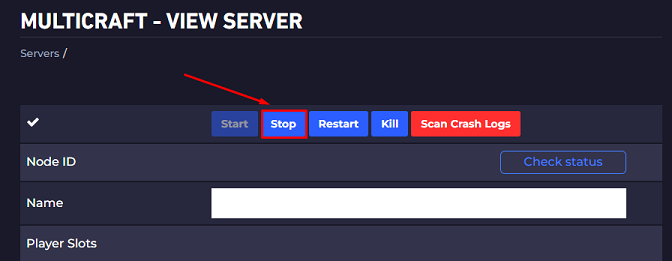
- Log in to your Multicraft panel here and stop your server.
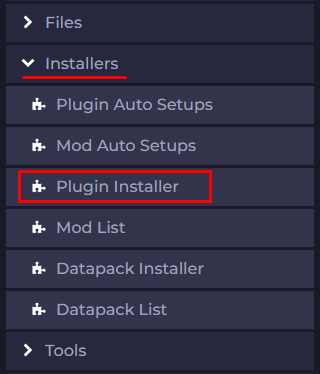
- Click on
Installers, then onPlugin Installer.
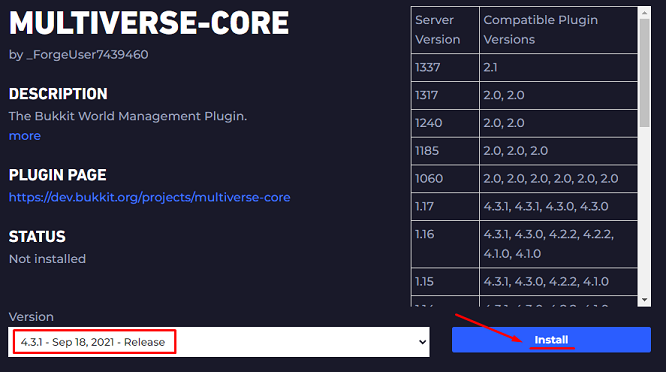
- Search for
Multiverse-Core, then click on the plugin.

- Select the version according to the Minecraft version you are running, then click on
Install.
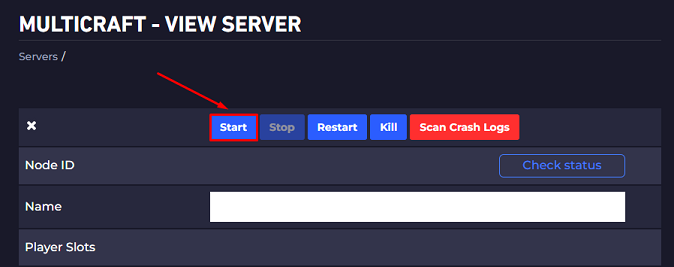
- Start your server.
Installing the Plugin Manually
- Log in to your Multicraft panel here and stop your server.

- Download here the appropriate version of the plugin, depending on the Minecraft version your server is running.

- Use FileZilla to upload the plugin to your server’s
pluginsfolder.

- Start your server.

Multiverse Commands
The Multiverse plugin provides commands that can be used to generate new worlds, import custom ones, and manage existing worlds, like the spawn point or gamerules.
- ❓ The arguments between ‘ <> ‘ are necessary for the command to work, you need to fill that space with the correct argument.
- ❓ The arguments between ‘ [] ‘ are not necessary for the command and are usually extra features. You can use the command leaving those spaces empty, and it will still work.
You can find more information about all Multiverse commands here in their official documentation.
Generating, Deleting, and Teleporting Between Worlds
The following commands can be used to generate, delete, or teleport between worlds.
/mv create <world> normal
Will generate a new normal world.
/mv create <world> nether
Will generate a new nether world.
/mv create <world> end
Will generate a new end world.
/mv create <world> normal -t flat
Will generate a new normal flat world.
/mv list
Will show the full list of worlds loaded.
/mv delete <world>
Will delete the world titled <world>.
/mv tp [player] <world>
Will teleport the mentioned player to the world called <world> in-game.
/mv import <name> <env>
Will load an existing world from your server into Multiverse.
Managing Existing Worlds
The following commands can be used to change options for the existing worlds:
/mv set spawn
Will set the spawn point for the current world.
/mv coord
Will show you your coordinates.
/mv spawn [player]
Will teleport the mentioned player to the spawn point.
/mv gamerule <rule> <value> [world]
Will set a Minecraft gamerule for the specified or current world.
Example:
/mv gamerule keepInventory true parkour_world
Will enable the keepInventory gamerule in the parkour_world world, so players will keep their items when they die.
/mv modify set <property> <value> [world]
Will modify a property for the specified world.
|Property | Value |
| — | — |
| Alias | the actual alias |
| Color | AQUA, BLACK, BLUE, DARKAQUA, DARKBLUE, ARKGRAY, DARKGREEN, DARKPURPLE, DARKRED, GOLD, GRAY, GREEN, LIGHTPURPLE, RED, YELLOW, WHITE |
| Animals | true or false |
| Monsters | true or false |
| PVP | true or false |
| Scale/Scaling | double |
| Price | the amount it costs to enter the world |
| Currency/Curr | the item ID needed to enter the world |
| RespawnWorld | |
| Mode/Gamemode | survival, creative, adventure, spectator |
| Diff/Difficulty | peaceful, easy, normal, hard |
| Weather | true or false |
Examples:
/mv modify set diff hard survival_world
Will set the difficulty to hard on the world called survival_world.
/mv modify set gamemode creative creative_world
Will set the gamemode to creative for the creative_world.
/mv modify set pvp false explore_world
Will disable the PVP in the world called explore_world.
️ How to Import a Custom World ️
To import a custom world using the Multiverse plugin, you need to first upload it to your server, then load it via the Multiverse plugin.
Here are the steps for doing so:
- Log in to your Multicraft panel here and stop your server.

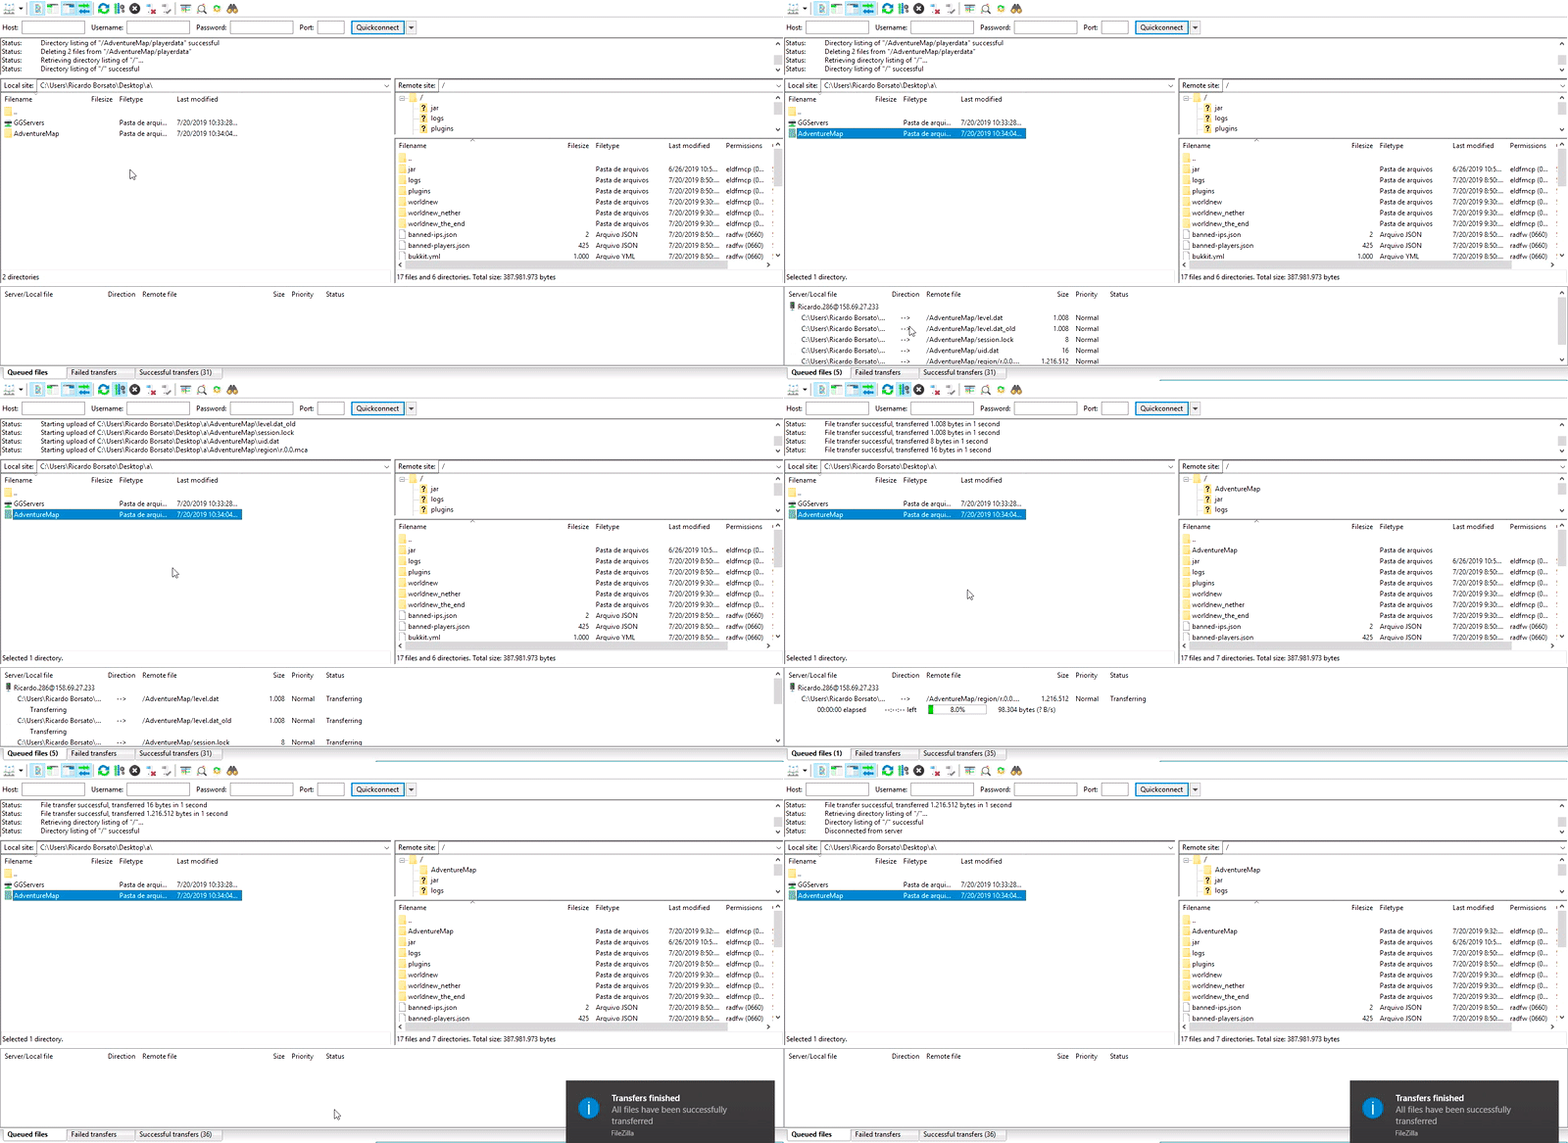
- Use FileZilla to upload your custom world to the server’s root directory.
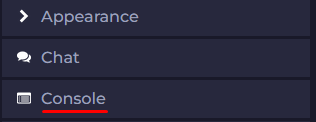
- Start your server, then click on
Console.

- Use the following command, replacing
<name>with the name of the world folder you just uploaded to your server and the<env>with the dimension type you are trying to load:
/mv import <name> <env>
⚠ NOTE⚠: The dimension type can be one of the following: normal, nether, or end.
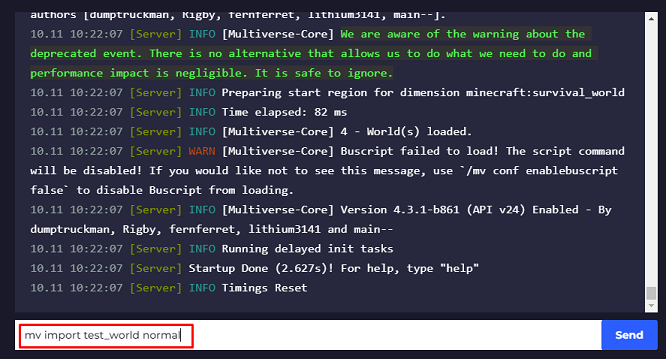
A message should pop up in the console telling you that your world was successfully loaded.
Multiverse Additions
The Multiverse plugin provides some additions (extra plugins) that you can use to manage worlds better on your server:
You can add them to your server once with the Multiverse plugin, but they are not necessarily required.
Multiverse Portals
You can use this plugin to create custom portals between different worlds loaded by the Multiverse plugin.
For example, you can have a hub world that players join, and from there, have more portals to different worlds depending on their purpose, like one world for survival, one for creative, and one for mini-games.
The plugin’s Bukkit page can be found here, and here is the official documentation.
Nether Portals
You can use this plugin to create custom portals between multiple nether worlds loaded by the Multiverse plugin.
For example, if you want to have multiple nether worlds on your server, you can use this plugin to create specific portals to each nether world that can be accessed only by specific players.
The plugin’s Bukkit page can be found here, and here is the official documentation.
Sign Portals
You can use this plugin to add clickable signs to nether portals that will change the destination of the portal. Also, when players right-click on the sign, they will be automatically teleported.
You will not necessarily need to click on the sign to get teleported, you can also just pass through the portal, and the destination will be the same.
The plugin’s Bukkit page can be found here, and here is the official documentation.
Multiverse Inventories
You can use this plugin to manage each world’s inventory.
You will be able to set, for example, the same inventory for three of your worlds, and have a fourth with a separate inventory. So when players are teleporting to the fourth world, they will have a different inventory that will be kept for that world only.
The plugin’s Bukkit page can be found here, and here is the official documentation.
 Billing
& Support
 Multicraft
 Game
Panel


