 Billing
& Support
Billing
& Support Multicraft
 Game
Panel
Game
Panel


This guide will show you how to connect to your new server.
To add the server to your client server list, you will have to add it by its IP and port.
How to Find Your IP and Port
You can find your server’s IP and port in the welcome email that is automatically sent to you when the server gets activated, or in your Multicraft panel.
The welcome mail is titled Your Server Details and it contains your server connection details and the Multicraft credentials.
If you are not able to find the email, you can access your full email history with GGServers from your billing account. Just follow the next steps:
- Log in to your billing account here.
- Click on your customer’s profile button, then on
Email History.
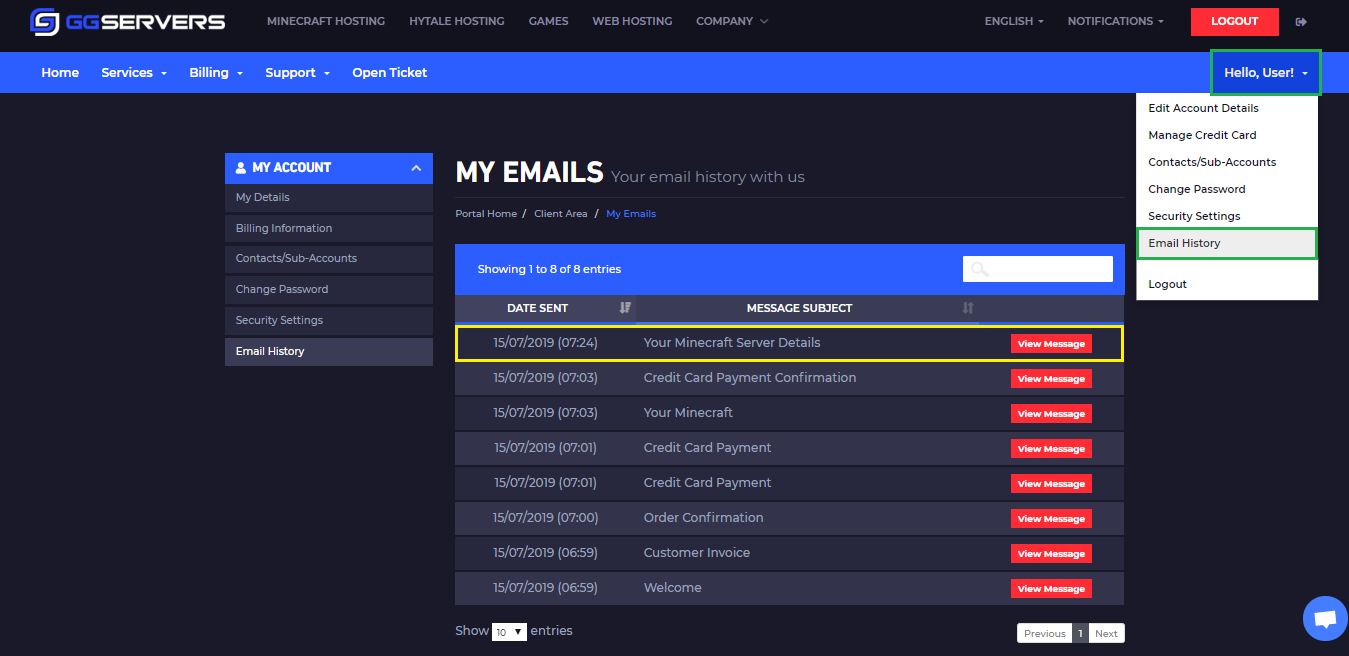
- Click on the first option, “Your Minecraft Server Details”, and you’ll see your server information and the Multicraft (Control Panel) credentials as well.

You can proceed to connect to your server after you identify your server connection details.
How to Connect to Your Server
Depending on if you are using Java or Bedrock Minecraft, you will have to add the server differently on your client.
Java
To connect to your Java server, you need to:
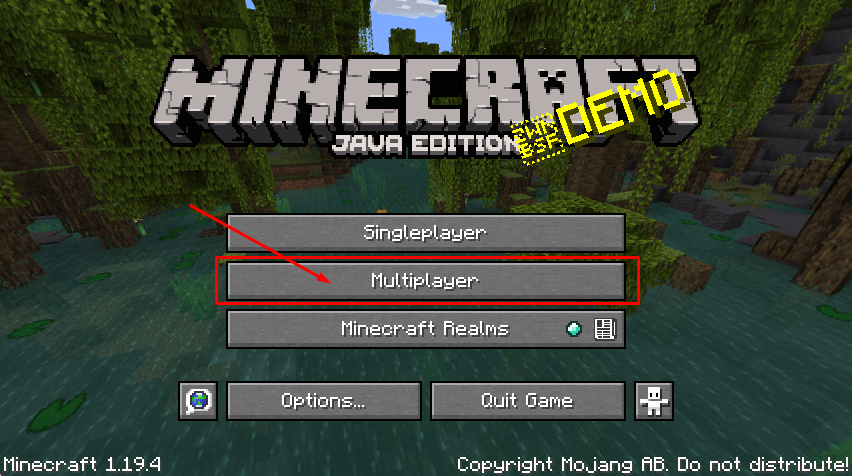
- Launch Minecraft and click on
Multiplayer.
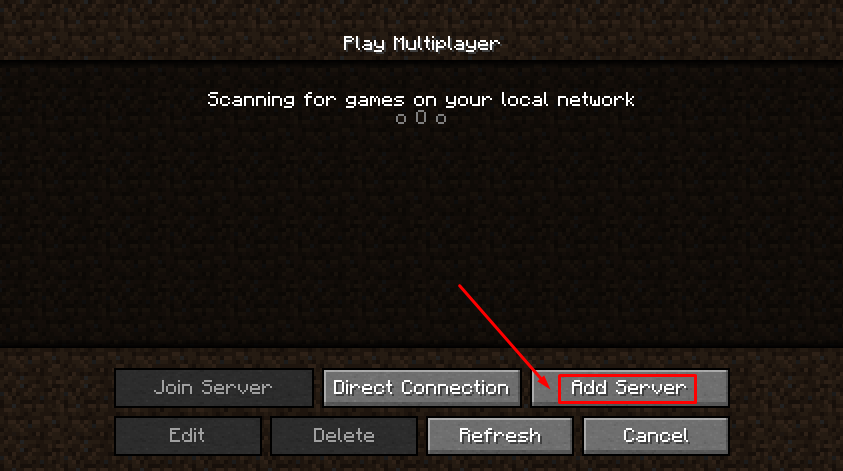
- Click on
Add Server.
- Paste your server address in the
Server Addressfield, and fill in theServer Namefield as you see fit. Then click onDone.
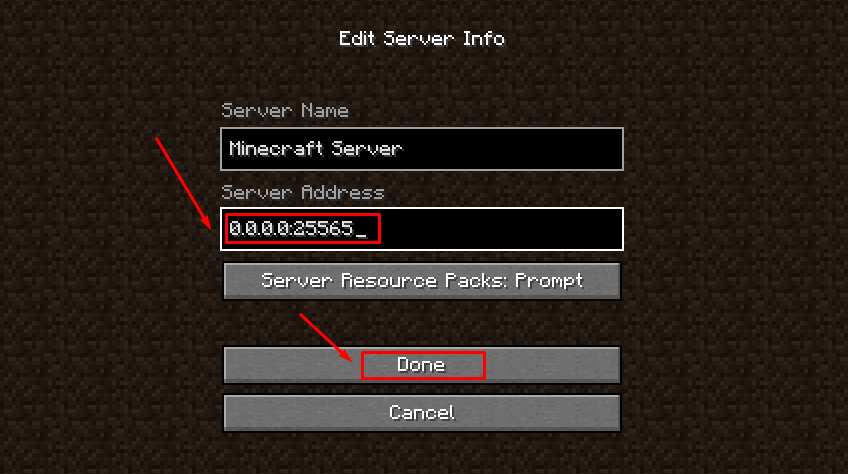
Now double-click on the server you just added to connect.
Bedrock
To connect to your Bedrock server, you need to:
- Launch Minecraft, click on
Play, then onServers.
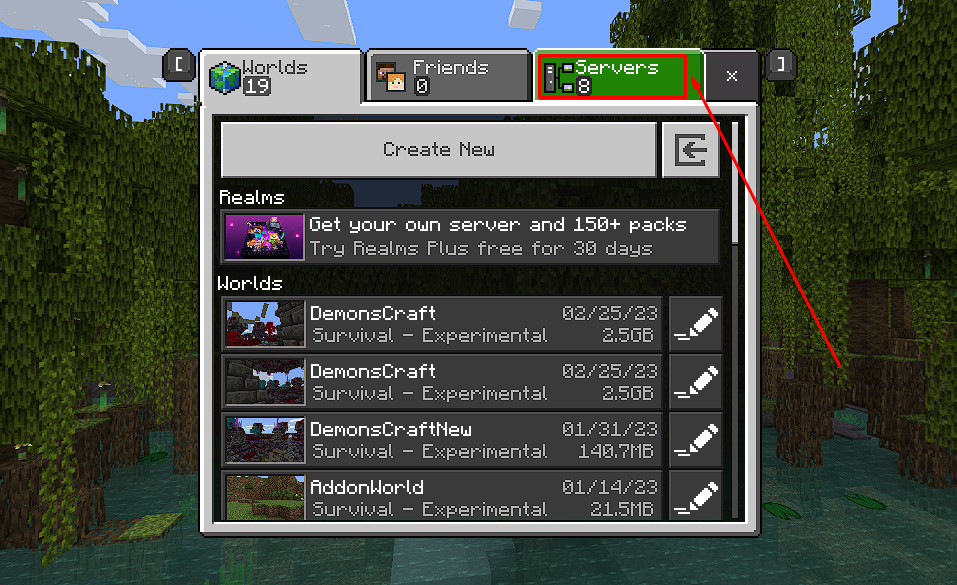
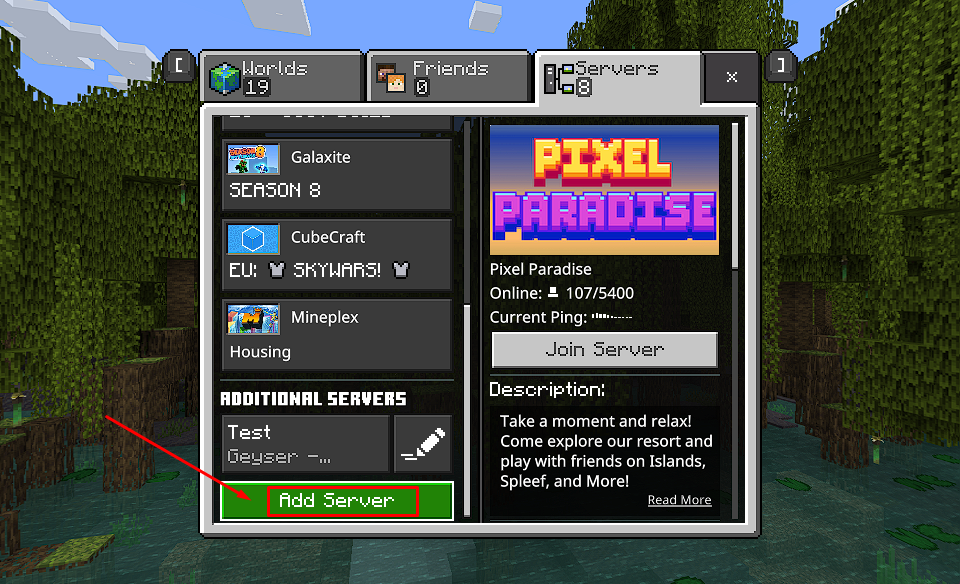
- Scroll down to
ADDITIONAL SERVERS, then click on theAdd Serverbutton.
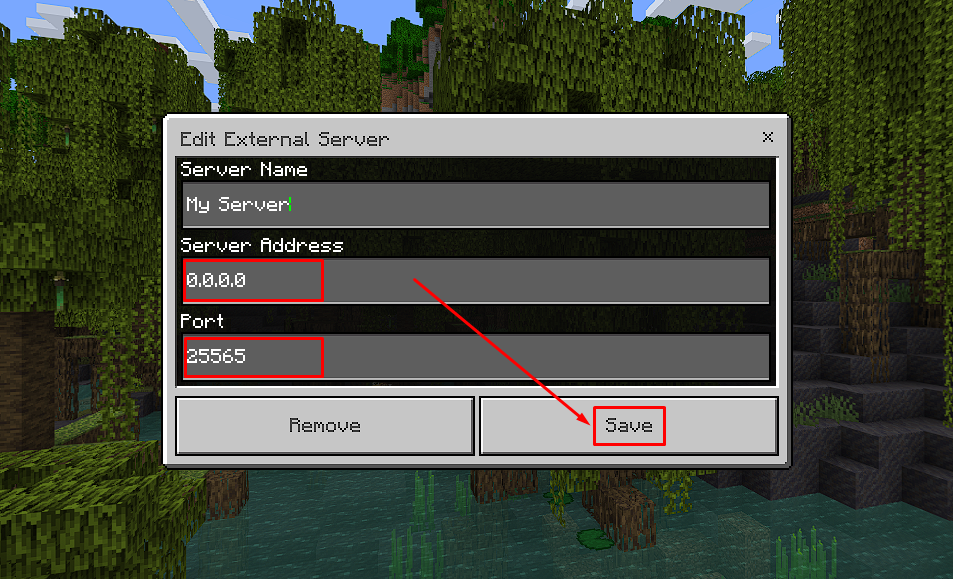
- Paste your server IP in the
Server Addressfield, your server port in thePortfield, and fill in theServer Namefield as you see fit. Then click onSave.
Now just double-click on the server you just added to connect.