 Billing
& Support
Billing
& Support Multicraft
 Game
Panel
Game
Panel


Creating a daylight sensor lamp in Minecraft is a fantastic way to automate lighting in your builds, ensuring your structures are illuminated at night and conserving resources during the day. This guide will walk you through crafting a daylight sensor and integrating it with redstone lamps to create an efficient lighting system.
🛠️ Materials Needed
To build a daylight sensor lamp, gather the following materials:
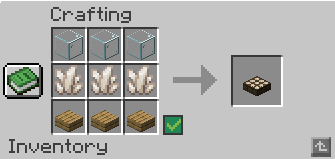
- Daylight Sensor: Crafted using 3 glass blocks, 3 nether quartz, and 3 wooden slabs.
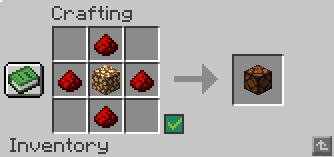
- Redstone Lamp: Crafted using 1 glowstone and 4 redstone dust.
- Redstone Dust: Used to connect the daylight sensor to the redstone lamp.
- Building Blocks: Any blocks of your choice to house the wiring and components.
🔧 Crafting the Components
Daylight Sensor
To craft a daylight sensor, arrange the materials in the crafting grid as follows:
- Top row: 3 Glass
- Middle row: 3 Nether Quartz
- Bottom row: 3 Wooden Slabs
Redstone Lamp
To craft a redstone lamp, use the following materials:
- Place 1 Glowstone in the center of the crafting grid
- Surround it with 4 Redstone Dust (top, bottom, left, and right of the glowstone)
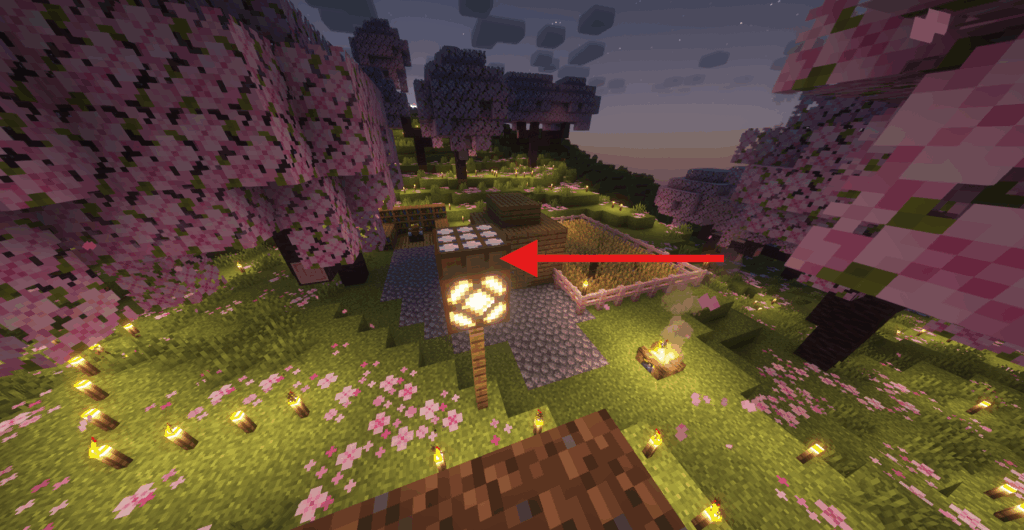
💡 Building the Daylight Sensor Lamp
- Place the Redstone Lamp: Decide where you want your lamp to be. Place the redstone lamp at that location.
- Set Up the Daylight Sensor: Place the daylight sensor on a block adjacent to the redstone lamp.
- ⚠️ Invert the Daylight Sensor: By default, the daylight sensor emits a redstone signal during the day. To have the lamp turn on at night, you need to invert the sensor. Right-click the daylight sensor to switch it to night mode. This will cause it to emit a signal when it detects darkness.
- Connect with Redstone Dust: Use redstone dust to connect the daylight sensor to the redstone lamp. Ensure the redstone path is continuous and directly links the sensor to the lamp.
- Test the Setup: Wait for nightfall in the game. The redstone lamp should automatically turn on when it gets dark and turn off during the day.
📝 Tips and Considerations
- Multiple Lamps: You can connect multiple redstone lamps to a single daylight sensor by extending the redstone dust path. Ensure the redstone signal strength is sufficient to power all connected lamps.
- Aesthetic Integration: Hide the redstone wiring using building blocks that match your structure’s design for a cleaner look.
- Advanced Configurations: For more complex setups, consider using redstone repeaters to extend the signal or redstone comparators for more nuanced control.
By following these steps, you can create an automated lighting system in Minecraft that enhances both the functionality and aesthetics of your builds.
If you need further assistance or have any questions, feel free to contact the 24/7 GGServers support team at: https://ggservers.com/billing/submitticket.php