 Billing
& Support
Billing
& Support Multicraft
 Game
Panel
Game
Panel


This guide will show you how to download a modpack from ATLauncher and install it on your server.
Prerequisites
- Knowledge of FTP and the use of an FTP client.
- AT Launcher (http://www.atlauncher.com/)
Downloading Files
To download the server files, you will need to navigate to the Packs tab of the ATLauncher. Search for the modpack you want, then click on Create Server.

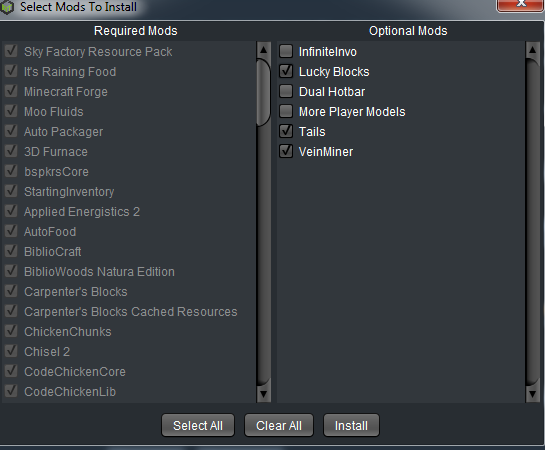
After that, you will have to select the optional mods you want, if the modpack offers them, then click on install. Note: Not all optional mods found when downloading the client version of the modpack will be in the server version, since some mods are not server-sided, such as a minimap, or HUD altering mods(e.g Zan’s Minimap, Damage Indicators).
Your server files will then be found by accessing the Servers subfolder from the ATLauncher folder.
Installing the Modpack
Now, let’s install the modpack on your server:
- Create a new folder called
jarin the server folder you just downloaded.
- Depending on the Java version you want to use, rename the
forge-versionnumber.jarto one of the following:
custom-java16.jar– for any modpack running on the 1.17 Minecraft versioncustom-java11.jar– for any modpack running on versions between 1.13 and 1.16custom-java8.jar– for any modpack running on versions lower than 1.13 (1.12, 1.11, etc)
- Place the files you just renamed in the previous step, as well as the
minecraft_server.jarandlibrariesfolder, inside your newjarfolder.
- Delete everything from your server using FileZilla.
- Upload all server files created by ATLauncher to your server using FileZilla.
- Change the server type in your Multicraft control panel to
custom-java8.jar,custom-java11.jar, orcustom-java16.jardepending on how you named theforge.versionnumber.jarin step number 2, then click on save at the bottom of the page.
- Start the server!