 Billing
& Support
Billing
& Support Multicraft
 Game
Panel
Game
Panel


How to Join a Hytale Server: The Ultimate Multiplayer Guide
The wait is finally over, Hytale has arrived! As players flock to Orbis to begin their journey, hosting a private dedicated server is the best way to enjoy the game with friends. Whether you are a seasoned sandbox veteran or a newcomer to the genre, connecting to your host is simple. This guide will walk you through every step of joining a Hytale server using the GGServers panel.
Step 1: Access Your Hytale Service Dashboard
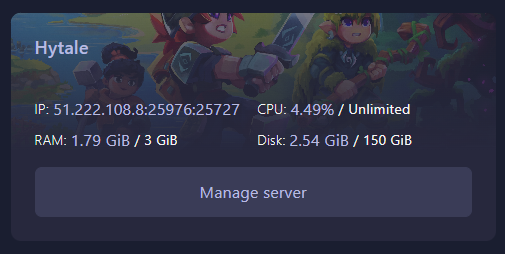
To begin, navigate to the GGServers Control Panel. Once logged in, you will see a list of your active game servers. Locate your Hytale instance and click on the Manage Server button to access the specific configuration tools for your game world.
Step 2: Initialize Your Hytale Server
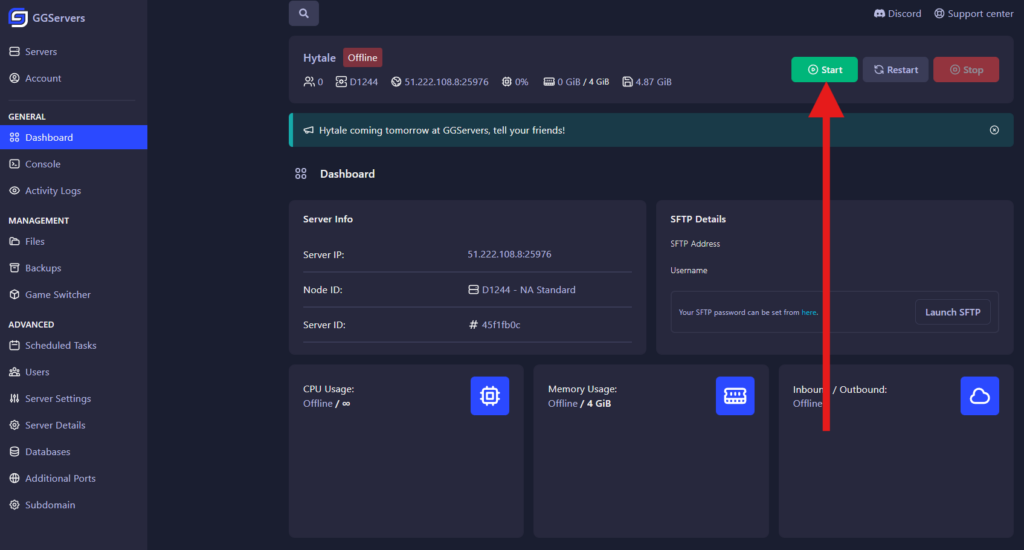
Before you can connect in-game, your server must be running. On the main dashboard, click the green Start button. This will trigger the Hytale server engine to load your world files and prepare the network connection for incoming players.
Step 3: Monitor Startup Progress via the Console
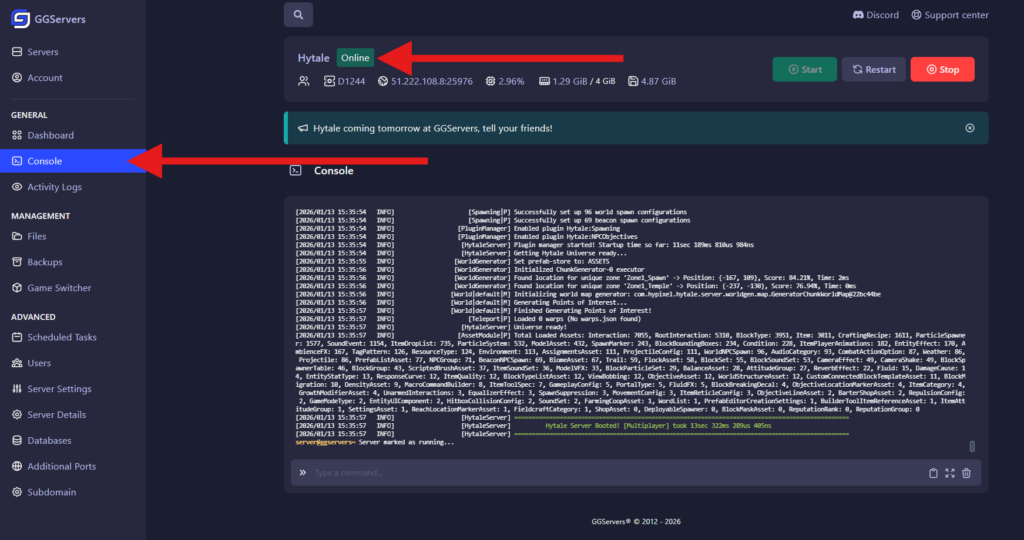
To ensure your server is fully ready, click on the Console tab in the left-hand navigation menu. Here, you can watch the live logs of the server startup. Wait until you see a message indicating the server is “Online” or “Ready” before attempting to join.
Step 4: Copy Your Server IP Address
Once the status indicator turns green, you are ready to get your connection details. Locate the IP Address section on your dashboard. Simply click on the IP address string to copy it to your clipboard for easy pasting into the game client.

Step 5: Launch the Hytale Client
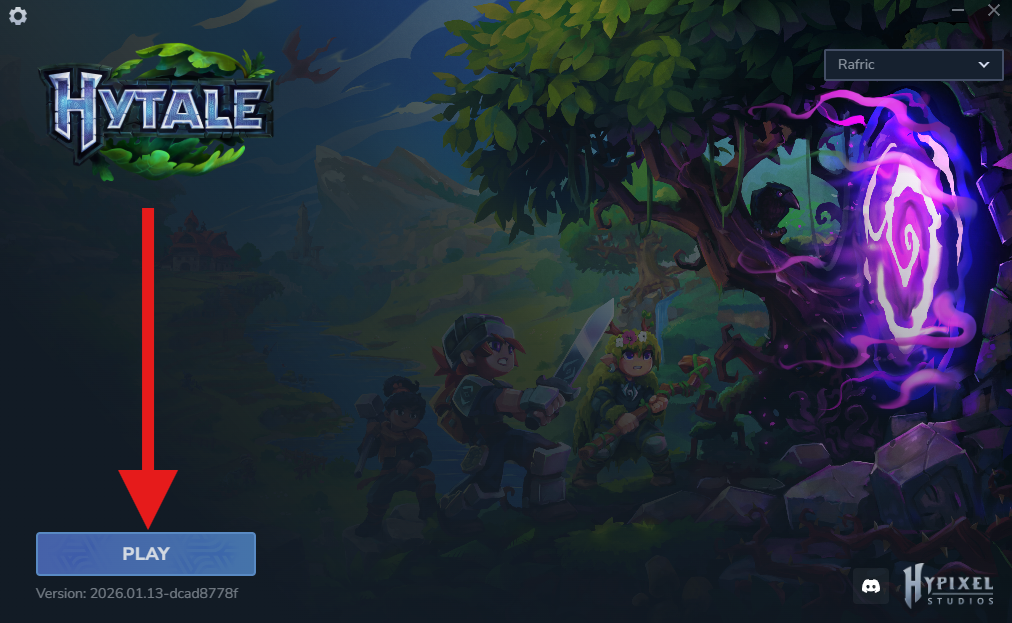
Launch the Hytale Launcher on your PC. Ensure you are logged into your account and click the main Play button to open the game client. Make sure your game version matches the version currently running on your GGServers panel.
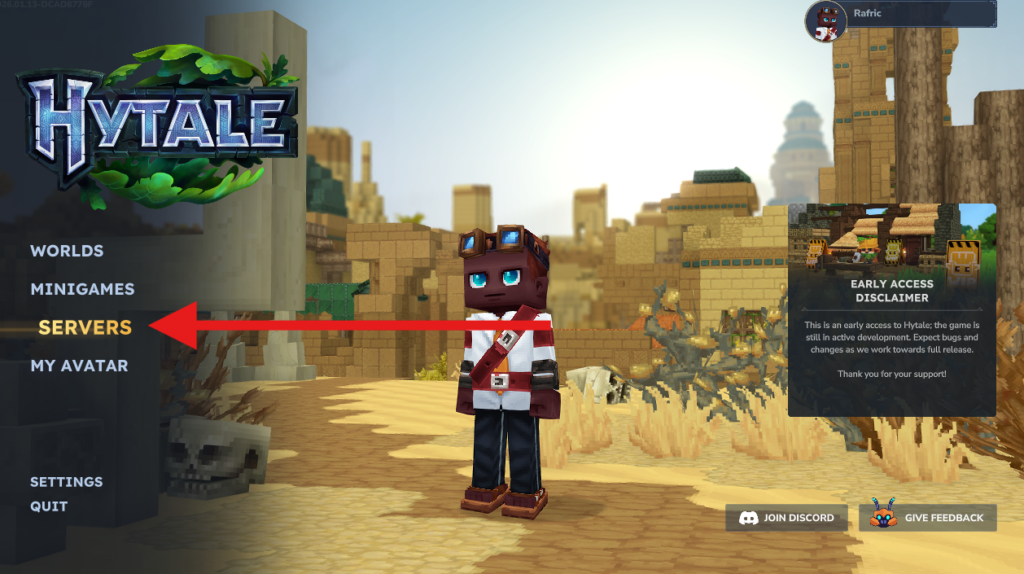
Step 6: Open the Multiplayer Server Browser
From the main menu of Hytale, select the Servers option. This menu allows you to manage your favorite servers, browse public lists, or add a specific dedicated server for private play.
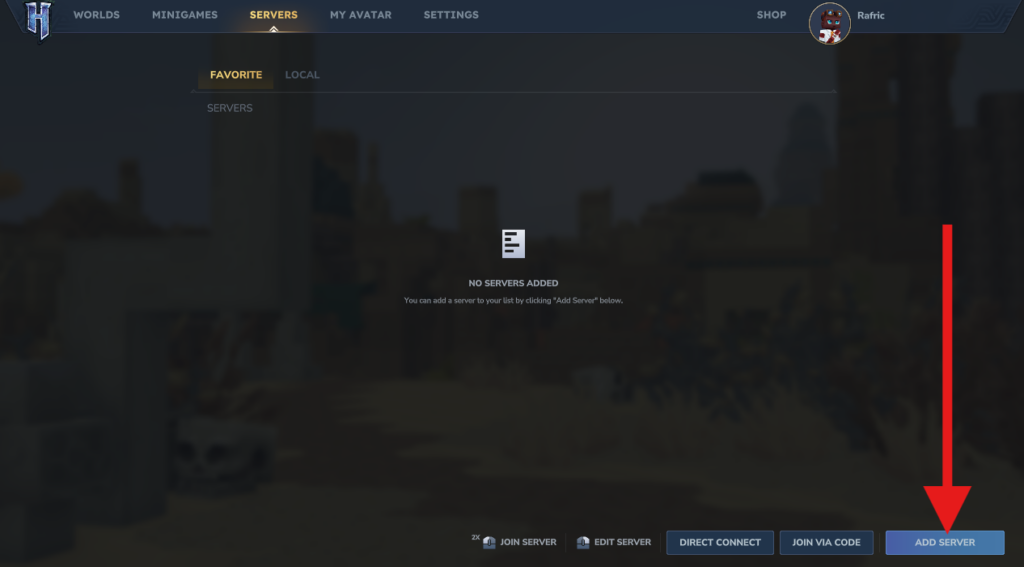
Step 7: Add a New Server Entry
Inside the Servers menu, click on the Add Server button. This will open a new window where you can input the details of your GGServers instance to save it to your local list for future sessions.
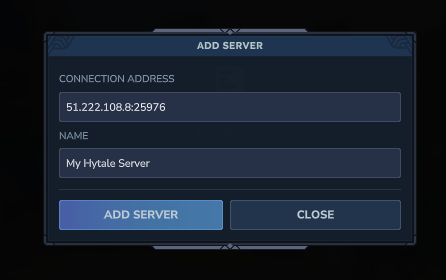
Step 8: Input Connection Address and Name
In the Connection Address field, paste the IP address you copied earlier from the panel. In the Name field, give your server a custom title (e.g., “Survival World”) so you can recognize it easily. Click Add Server to confirm.
Step 9: Locate Your Server in the List
Your server will now appear in your multiplayer list. You should see its current status, the number of players online, and the custom name you provided in the previous step.
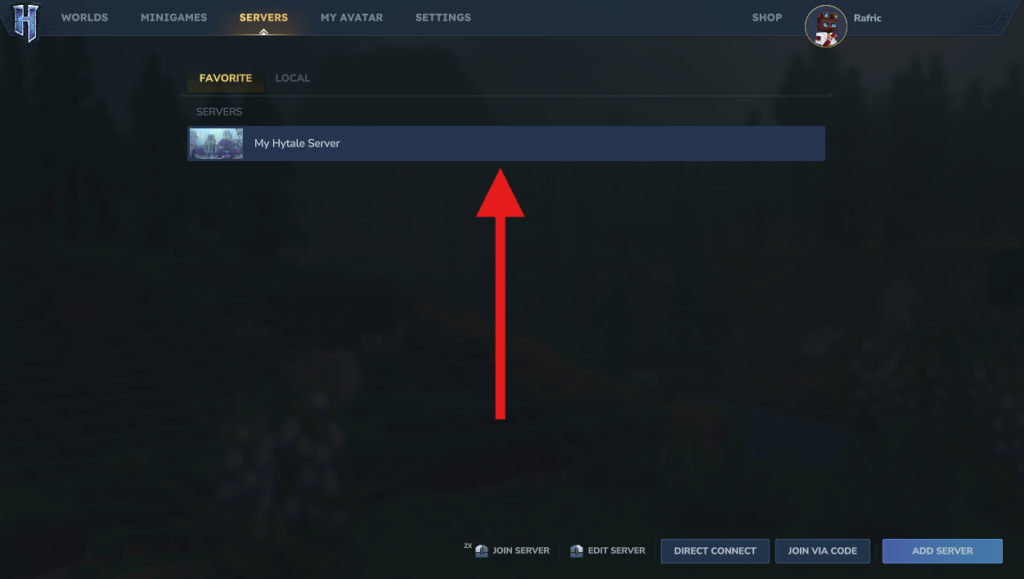
Step 10: Double-Click to Connect
To join the game, simply double-click on the server entry. The client will authenticate with your GGServers host, and within moments, you will spawn into the world of Hytale alongside your friends!
