 Billing
& Support
Billing
& Support Multicraft
 Game
Panel
Game
Panel


How to Enable Auto Update for Your Black Mesa Server
Running a Black Mesa server requires keeping your game files synchronized with the latest Steam releases to ensure player compatibility and server stability. By enabling the Auto Update feature in the GGServers panel, your server will automatically check for and install any available updates via SteamCMD every time the process starts. Follow the steps below to automate your Black Mesa maintenance.
Step 1: Access the Panel
Log in to your GGServers Control Panel and select your Black Mesa server instance. This dashboard is your primary tool for managing all startup behaviors and automated updates.
Step 2: Stop Your Server
To modify the startup parameters and allow the update script to run, you must first stop the server. Click the red Stop button on the main console and wait for the status to show “Offline.”

Step 3: Navigate to Server Settings
On the left-hand navigation sidebar, click on the Server Settings button to open the configuration menu for your Black Mesa server.

Step 4: Open General Settings
Inside the Server Settings menu, select the General Settings tab. This section contains the core maintenance rules for your dedicated server.

Step 5: Change the Setting That Will Auto Save
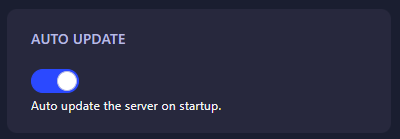
Locate the box labeled Auto Update. Toggle this option to enable it. The GGServers panel features an automatic save function; your changes are recorded immediately. With this enabled, your server will perform a version check against the Steam database every time you initiate a start command.
Step 6: That is it!
Your server is now set for automated maintenance! Return to the main dashboard and click Start. The console will display the SteamCMD update process before launching your Black Mesa world, ensuring you are always on the newest patch.
Optimize your research facility with Black Mesa server hosting at GGServers. Our high-performance hardware and automated tools ensure your Source-based world runs perfectly and stays updated 24/7!