30% OFF
Your first invoice with coupon code BLOG30 Billing
& Support
Billing
& Support Multicraft
 Game
Panel
Game
Panel


-
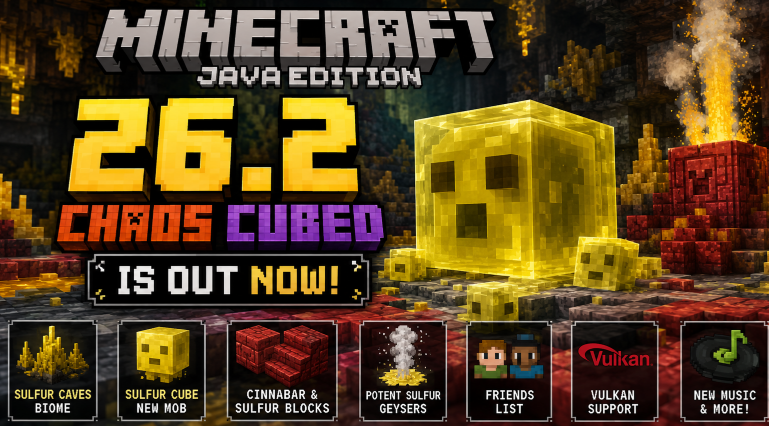
Minecraft Java Edition 26.2 Is Officially Live: Play Chaos Cubed Today on GGServers
Read More: Minecraft Java Edition 26.2 Is Officially Live: Play Chaos Cubed Today on GGServersMinecraft Java Edition 26.2, officially known as Chaos Cubed, has now been released worldwide and is available for all Java Edition players. After weeks…
-
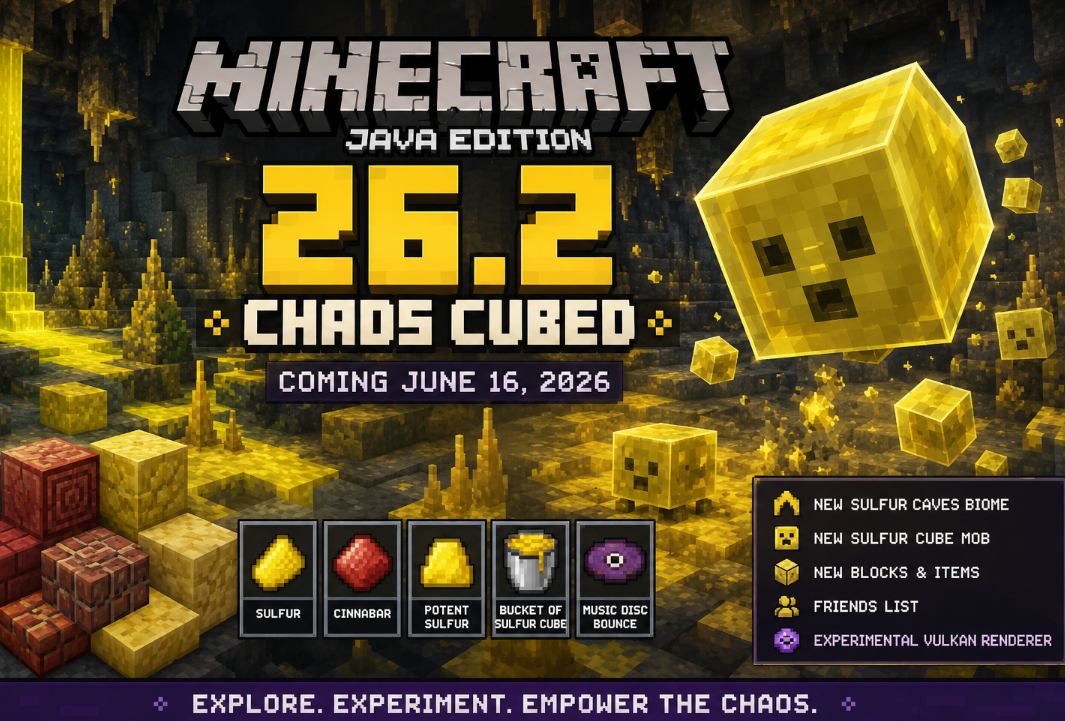
Minecraft Java Edition 26.2: Everything You Need to Know About the Chaos Cubed Update
Read More: Minecraft Java Edition 26.2: Everything You Need to Know About the Chaos Cubed UpdateMinecraft Java Edition 26.2, officially titled Chaos Cubed, is shaping up to be one of the most unique game drops in recent memory. Scheduled…
-
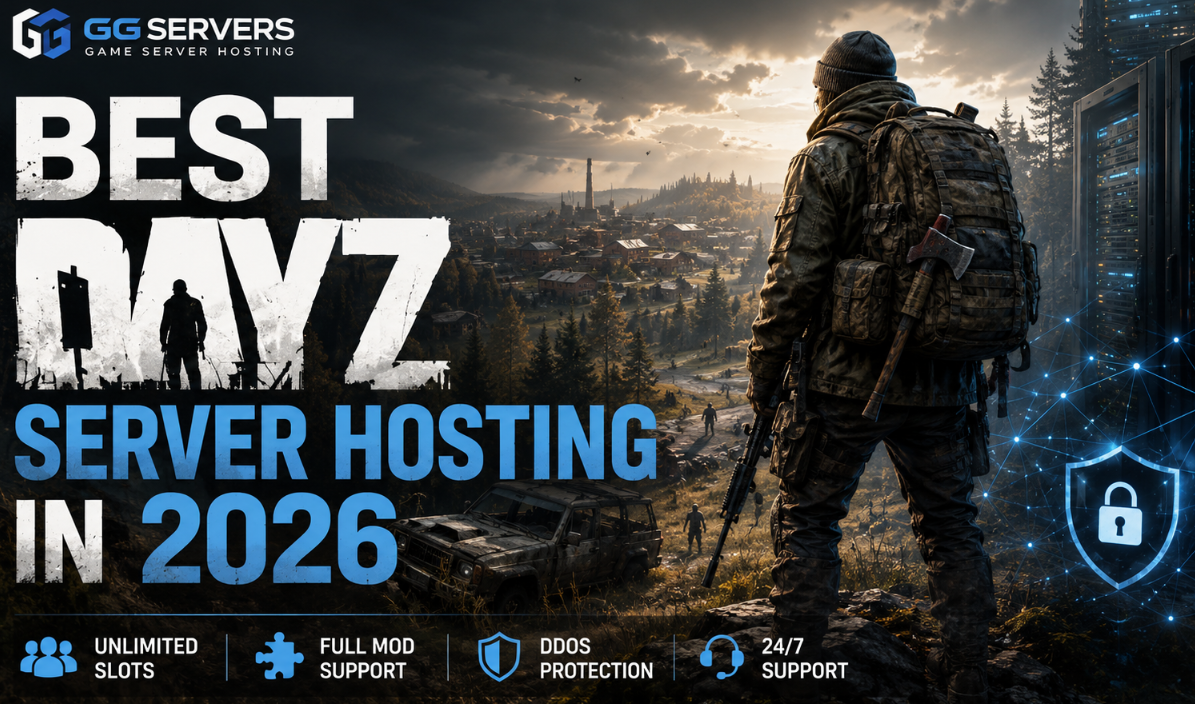
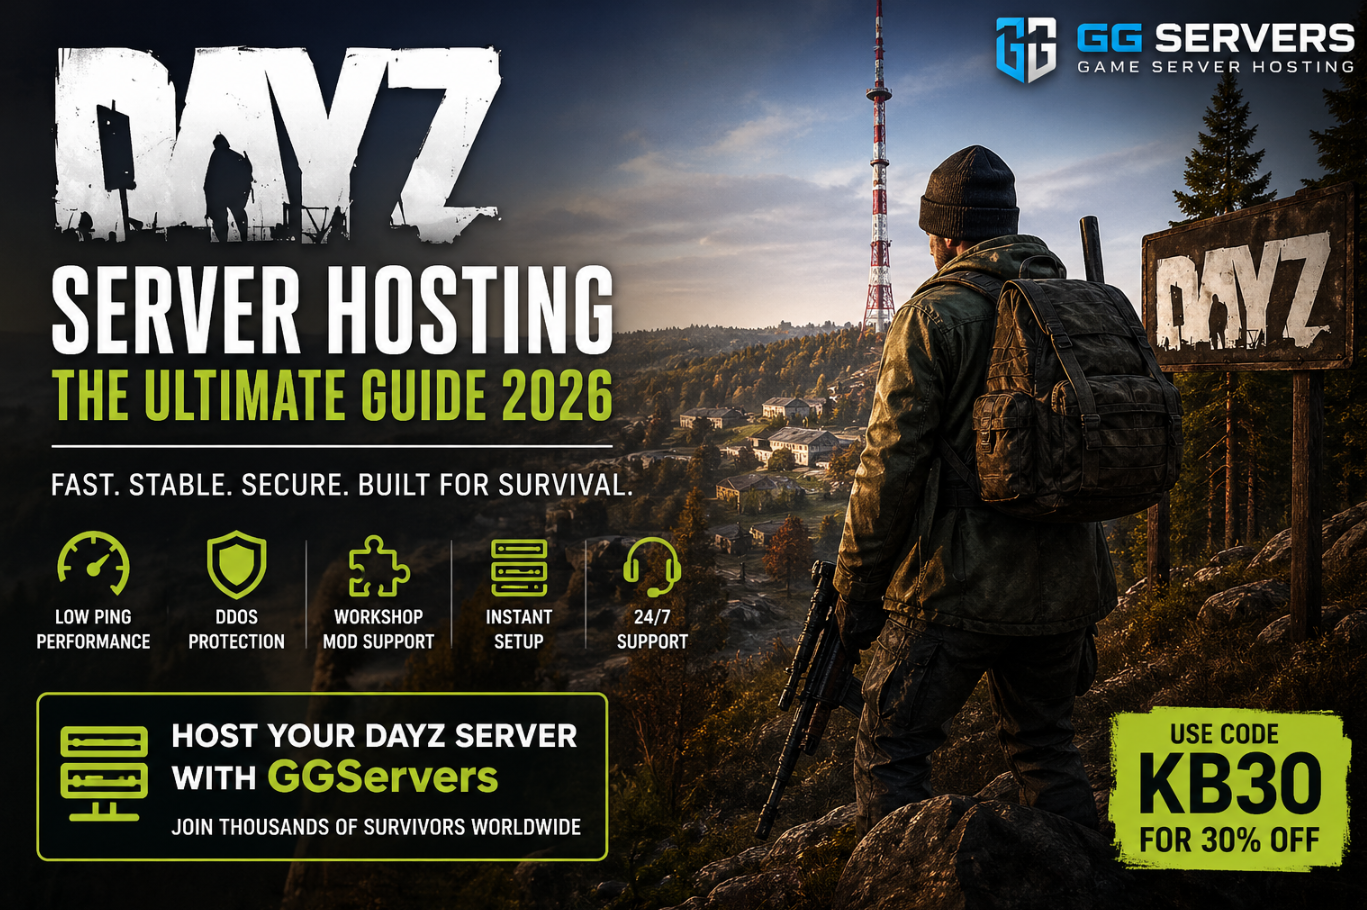
Why GGServers Is the Best Choice for DayZ Server Hosting in 2026
Read More: Why GGServers Is the Best Choice for DayZ Server Hosting in 2026DayZ remains one of the most popular survival games in the world, attracting players who want intense PvP encounters, realistic survival mechanics, immersive roleplay…
-
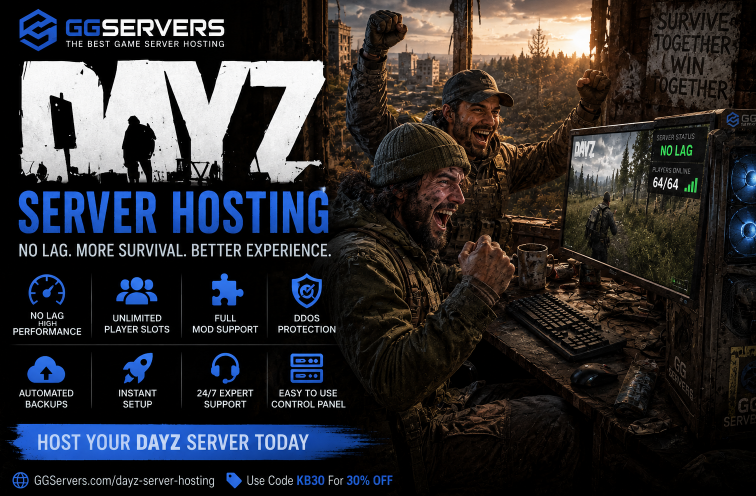
Why DayZ Server Hosting Is Better with GGServers
Read More: Why DayZ Server Hosting Is Better with GGServersDayZ is one of the most demanding survival games available today. From large open-world environments and persistent player data to complex mod packs and…
-
How the Minecraft Bedrock Marketplace Helps Players Find New Worlds, Skins, and Add-Ons
Read More: How the Minecraft Bedrock Marketplace Helps Players Find New Worlds, Skins, and Add-OnsMost Minecraft players hit a point where the base game starts to feel familiar. You’ve built your house, explored the caves, fought the Ender…
-
DayZ and The Ultimate Way to Host Your Own DayZ Server
Read More: DayZ and The Ultimate Way to Host Your Own DayZ ServerIf you are searching for the best DayZ server hosting solution in 2026, you are likely comparing prices, performance, mod support, and ease of…
-
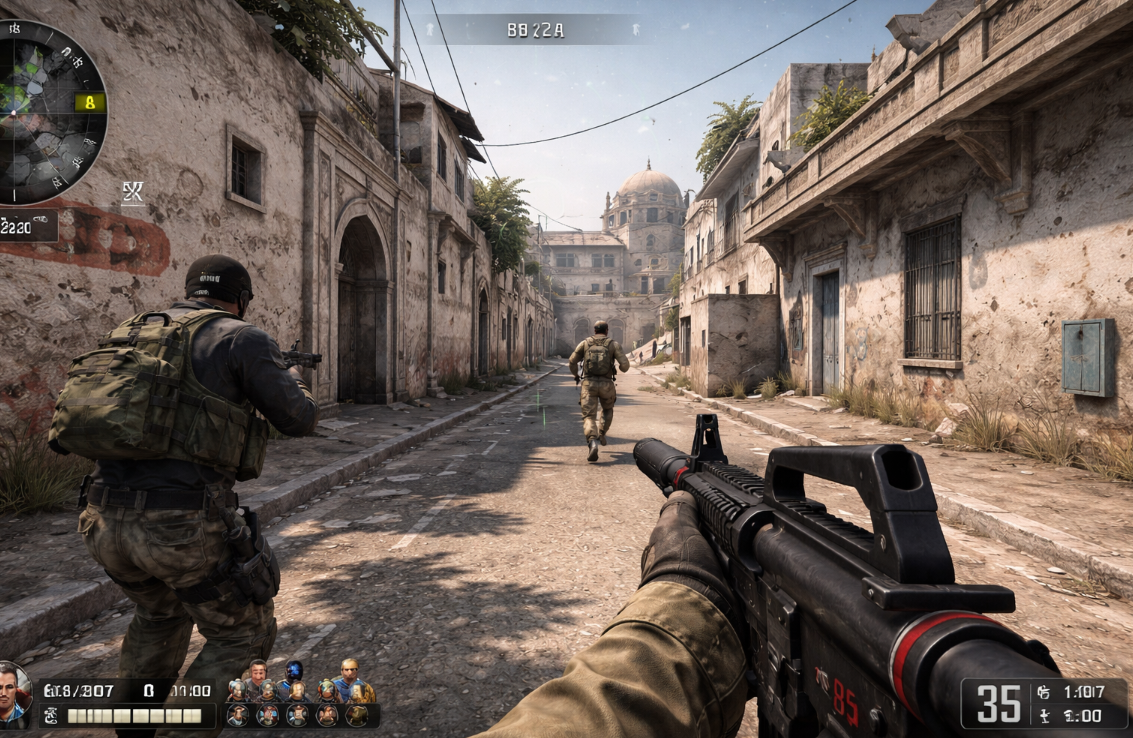
Why Counter-Strike Will Live Forever: The Eternal King of FPS
Read More: Why Counter-Strike Will Live Forever: The Eternal King of FPSFor over two decades, Counter-Strike has dominated the world of competitive gaming—and unlike most titles that fade into obscurity, it continues to grow stronger…
-
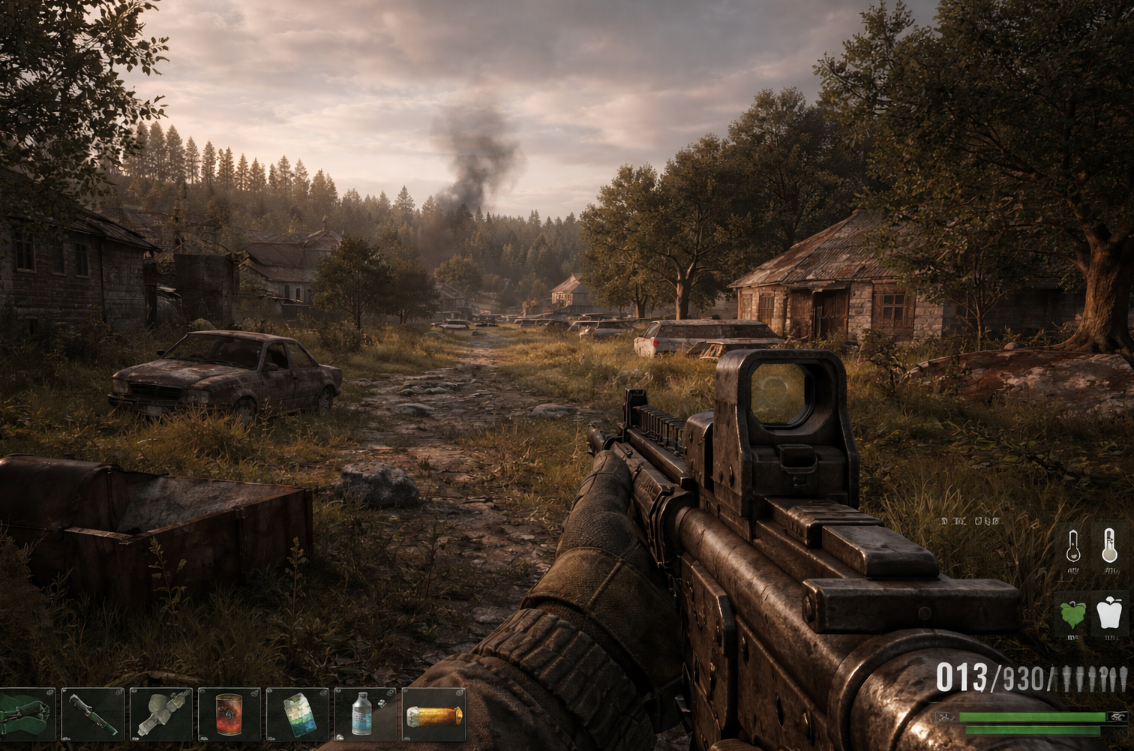
How DayZ Revolutionised the Gaming World (With Real Facts)
Read More: How DayZ Revolutionised the Gaming World (With Real Facts)Originally released as a mod for Arma 2 in 2012 by Dean “Rocket” Hall, DayZ quickly became one of the most influential projects in…
-
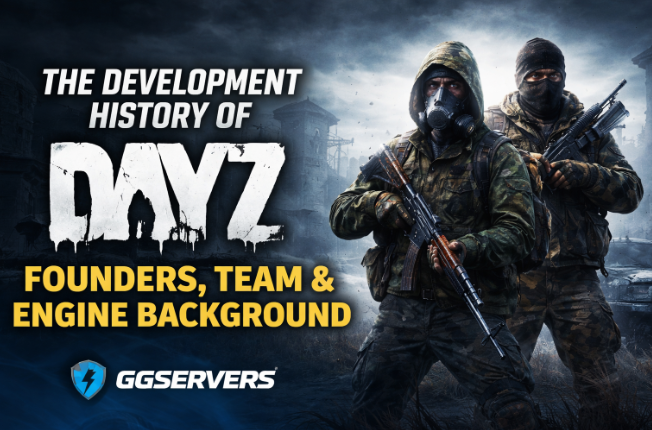
DayZ Development: Founders, Studio History & Technology
Read More: DayZ Development: Founders, Studio History & TechnologyDayZ is not just another survival game — it is one of the most influential titles ever created, responsible for shaping the entire open-world…
-

GGServers Launches Antarctica Nodes
Read More: GGServers Launches Antarctica NodesThe Future of Ultra-Cold Game Server Hosting is here. In a groundbreaking (and slightly frozen) expansion, GGServers is proud to announce the launch of…