 Billing
& Support
Billing
& Support Multicraft
 Game
Panel
Game
Panel


How to Set or Change the API Key for Your Pavlov VR Server
To ensure your Pavlov VR server appears in the public server list and remains protected from potential DDoS attacks, Vankrupt Games now requires all dedicated servers to use a unique API Key. This key authenticates your server with the master server, allowing players to find and join your matches easily. Follow this step-by-step guide to generate and apply your API Key using the GGServers panel.
Step 1: Access the GGServers Control Panel
Begin by logging into your account at the GGServers Control Panel. Once you are on the dashboard, select the Pavlov VR server instance you want to configure.
Step 2: Stop Your Server
Before applying any authentication or identity settings, it is best practice to Stop your server. This ensures that the new API Key is properly recognized by the server’s initialization script when it boots back up.

Step 3: Navigate to Server Settings
On the left-hand navigation menu, click on the Server Settings button. This will expand the configuration options for your server.

Step 4: Open General Settings
Within the server settings sub-menu, click on the General Settings tab. This is where you will manage the core authentication variables for your Pavlov instance.
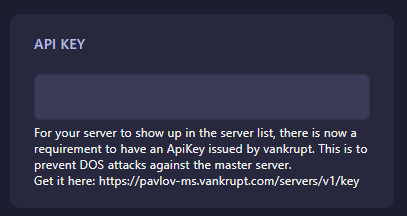
Step 5: Generate and Input Your API Key
To get your unique key, visit the official Vankrupt master server page: https://pavlov-ms.vankrupt.com/servers/v1/key. Once you have your key, return to the GGServers panel and locate the API Key field. Paste the key into the box; the panel will automatically save the change as you type.
Step 6: Start Your Server
Now that your API Key is configured, return to the main dashboard and click Start. Your Pavlov VR server is now fully authenticated and will be visible to players in the global server list.
If you encounter any issues with server visibility or key generation, please reach out to the GGServers support team at GGServers Support.