 Billing
& Support
Billing
& Support Multicraft
 Game
Panel
Game
Panel


How to Set the Beta ID on Your Pavlov VR Server
Running a beta branch of Pavlov VR allows you to test upcoming features, new maps, and gameplay balances before they hit the main public branch. To participate in these tests, you must configure your server to pull files from a specific Beta ID. Using the GGServers game panel, switching between the stable and beta versions is a simple process. Follow the steps below to update your server’s Beta ID.
Step 1: Access the GGServers Control Panel
To start, log in to your account at the GGServers Control Panel. Select your Pavlov VR instance from the dashboard to open the management interface.
Step 2: Stop Your Server
Changing the Beta ID requires the server to download new files or re-verify existing ones. You must Stop your server before making this change to ensure the SteamCMD update process can run without being blocked by an active game process.

Step 3: Navigate to Server Settings
Look at the navigation menu on the left side of your screen. Click on Server Settings to reveal the configuration categories.

Step 4: Open General Settings
Within the settings menu, click on the General Settings tab. This section contains the primary identification and versioning variables for your server.

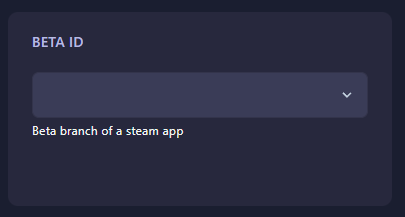
Step 5: Update the Beta ID
Locate the input field labeled Beta ID. Enter the specific branch name or ID provided by the Pavlov VR developers. The GGServers panel features an auto-save function, so your change will be stored as soon as you finish typing.
Step 6: Start Your Server
Return to the main dashboard and click Start. If “Auto-Update” is enabled, your server will now download the corresponding beta files and launch on the new branch!
If you encounter any issues with the beta branch or need help identifying the correct ID, please contact the GGServers support team at GGServers Support.