 Billing
& Support
Billing
& Support Multicraft
 Game
Panel
Game
Panel


How to Install Steam Workshop Mods on Your Squad Server
Enhancing your Squad server with Steam Workshop items allows you to host custom maps, specialized factions, and unique gameplay mods. Adding these to your GGServers instance is a straightforward process, requiring only the Workshop File IDs. Follow the steps below to configure your server to automatically download and update your favorite mods.
Step 1: Access the GGServers Panel and Stop Your Server
Log in to the GGServers Control Panel. Before adding new Workshop content, you must Stop your server. This ensures that the SteamCMD update process can run without interference to download the necessary mod files.

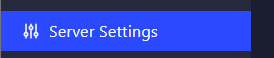
Step 2: Navigate to Server Settings
On the left-side navigation menu, click on Server Settings to expand the management options for your Squad instance.
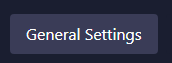
Step 3: Open General Settings
Select the General Settings tab. This section contains the primary configuration fields for your server’s automated features and downloads.
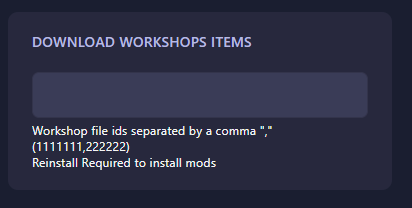
Step 4: Enter Workshop Item IDs
Locate the box labeled Download Workshop Items. Here, you should enter the Workshop file IDs for the mods you wish to install. If you are installing multiple mods, separate the IDs with a comma (e.g., 1111111,2222222). Note that the panel saves automatically, but a Reinstall may be required via the dashboard to force the server to pull the new mod data for the first time.
Step 5: Start Your Server
Once the IDs are entered, return to the main dashboard and click Start. Your Squad server will now check for, download, and initialize the specified Workshop items!
If you have trouble finding your Workshop IDs or if your mods are not loading correctly, please contact us at GGServers Support.