 Billing
& Support
Billing
& Support Multicraft
 Game
Panel
Game
Panel


If you have an existing Singleplayer world in Project Zomboid, you can upload it to your multiplayer server to continue playing with friends. This guide will walk you through the process.
Uploading a Singleplayer Save to Your Project Zomboid Server
Prepare Your Server
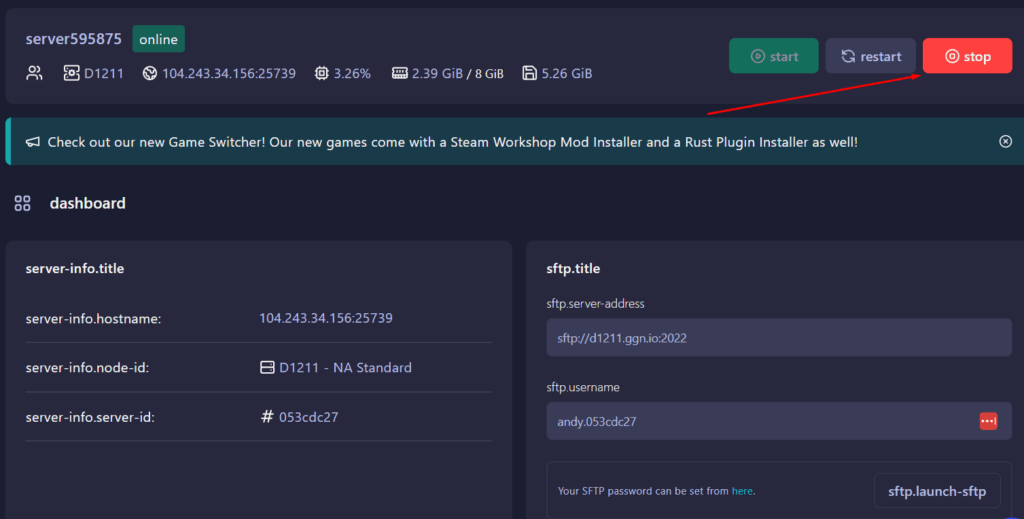
1. Login to your server panel and stop your server. If you aren’t sure how to login checkout this guide here.
2. On your server panel, go to Server Settings and note the Server Name (this is what your server uses to identify world folders).

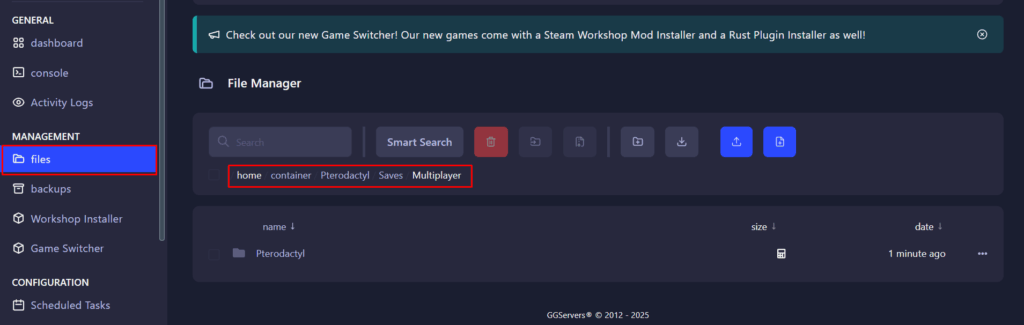
3. Click on Files, and go to Pterodactyl/Saves/Multiplayer
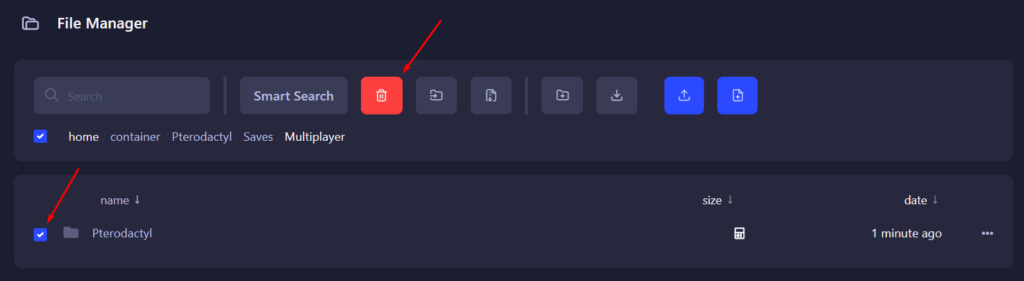
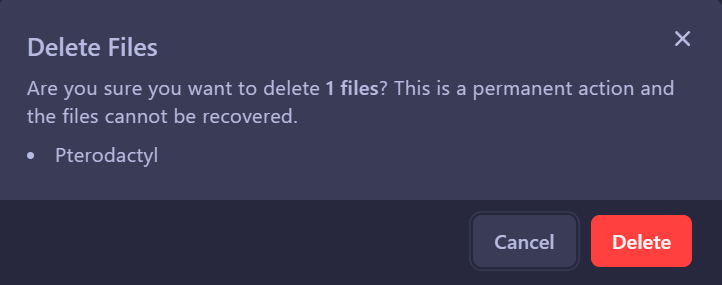
4. Select and delete your world folder, it will be called Pterodactyl by default.
IMPORTANT: If you want to save your current world on the server, make sure to download it using WinSCP before deleting it.
We have a guide on using WinSCP here.
Prepare Your Save
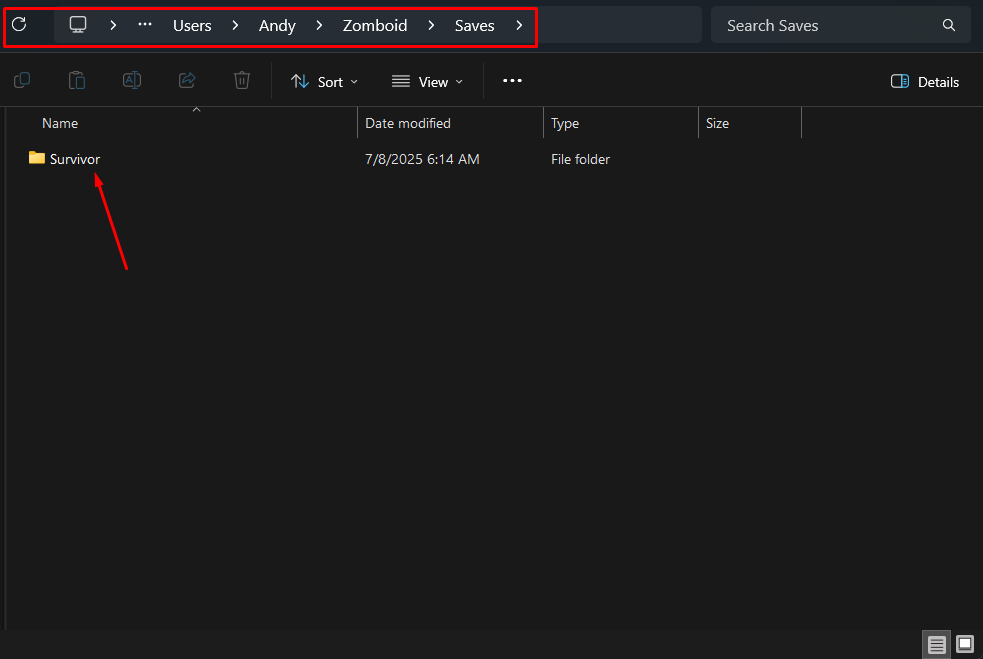
1. On your PC, navigate to your local Zomboid saves folder: C:/Users/YOUR_USERNAME/Zomboid/Saves/
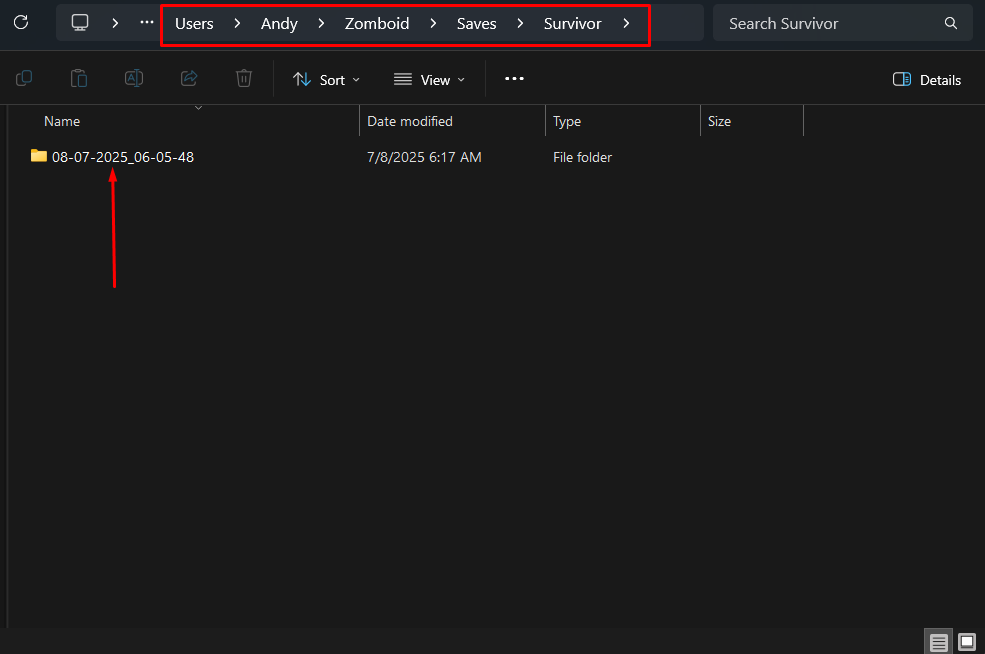
Inside this, you’ll find subfolders like Sandbox, Survival, etc., depending on the gamemode your save was created in.
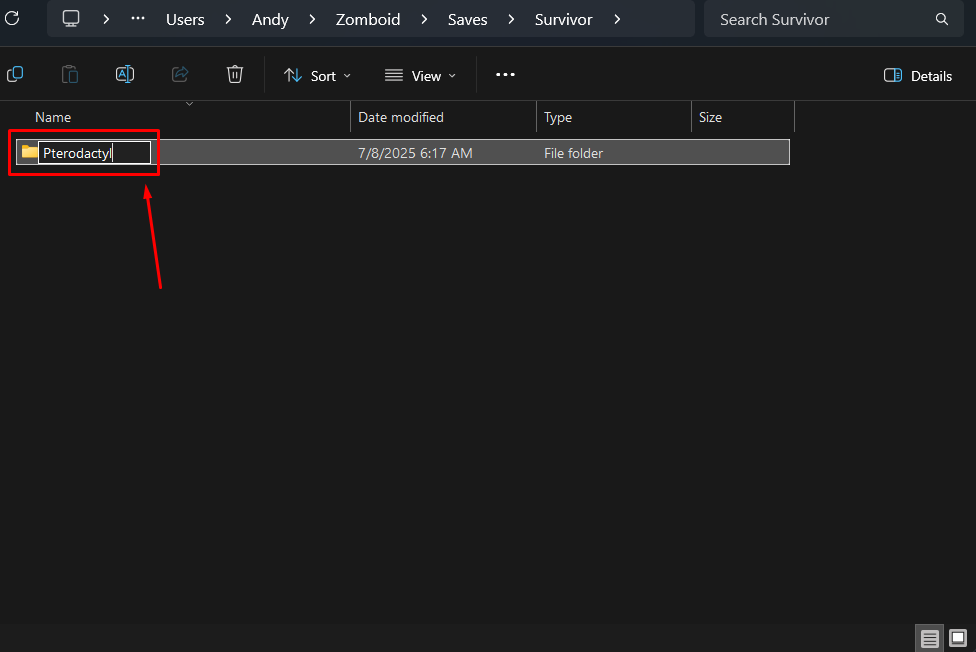
Click into the folder you want, you will see another folder, this is your world folder. Rename your world folder to the same as your Server Name.
Upload the Save
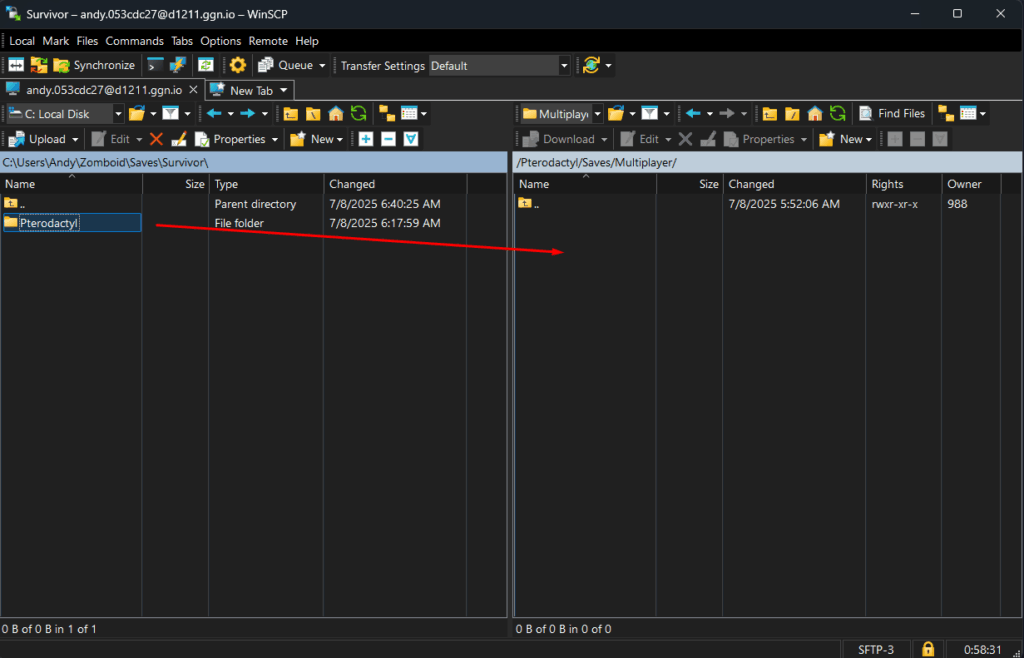
1. Use WinSCP to connect to your server files. We have a guide on connecting here.
Navigate to:/Pterodactyl/Saves/Multiplayer/
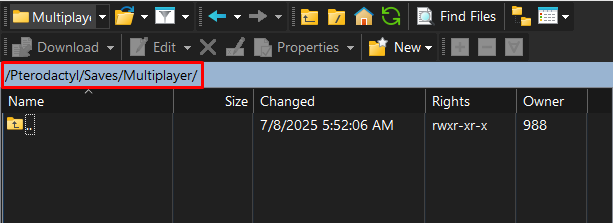
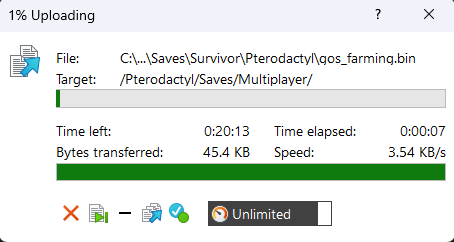
2. Upload your Singleplayer world folder from C:/Users/YOUR_USERNAME/Zomboid/Saves/ into this Multiplayer directory.
Final Steps and Player Data
⚠️ Important Note:
Do not start the server immediately after uploading. Project Zomboid uses different formats for Singleplayer and Multiplayer players.db files. If you start the server without adjusting this, it will crash.
You must either:
- Convert the
players.dbfile to the Multiplayer format - OR delete the
players.dbfile in the uploaded world folder.- ⚠️ Warning: Deleting it will reset all player data, including inventory and position.
To convert the singleplayer save to multiplayer, please follow this guide here.
Once the world is ready, start the server, and connect using your usual method.
If you have any issues, contact us via live chat or the ticket system.