
This guide will help you upload your custom world to your Valheim server.
️ How to Upload Your Custom World ️
To upload your custom world, you need to follow the next steps:
- Generate a world in single-player Valheim, then go to
C:UsersusernameAppDataLocalLowIronGateValheimworldsto find it on your machine.
- Find the following two files:
worldname.dbandworldname.fwl.
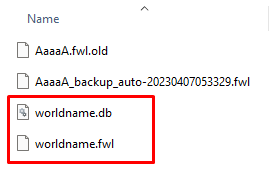
- Connect via WinSCP to your server to upload the two files under the
/Saves/worlds_localfolder.

- Log in to your AMP game server panel here.
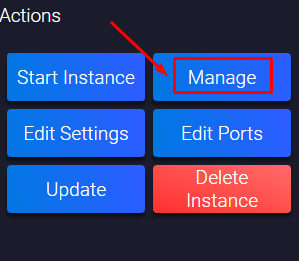
- Click on your Valheim instance, then click on
Manage, and then stop the server.

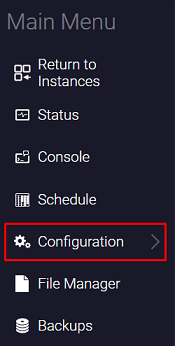
- Click on
Configuration.
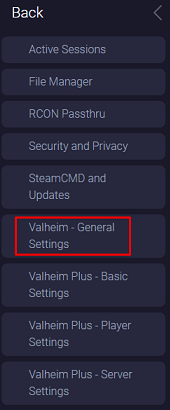
- Click on
Valheim - General Settings.
- Find the
World Namesection, and paste yourworldnamethere. Theworldnameis the name of the files you uploaded to the server without the extension at the end. After you fill in the field, the panel will automatically save the changes.

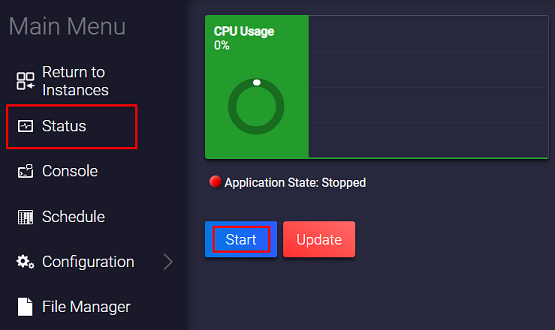
- Start your Valheim server by clicking on
Status, then onStart.
Now you just set up your custom world to your Valheim server.
How to Change Between Worlds
To switch back to your old world, you just need to:
- Log in to your AMP game server panel here.
- Click on your Valheim instance, then click on
Manage, and then stop the server.


- Click on
Configuration.

- Click on
Valheim - General Settings.

- Find the
World Namesection, and fill in your old world name. After you fill in the field, the panel will automatically save the changes.

- Start your Valheim server by clicking on
Status, then onStart.

Now you just changed your world back to your old one.
If you find any issues, contact us on live chat or via the ticket system.
 Billing
& Support
 Multicraft
 Game
Panel


