 Billing
& Support
Billing
& Support Multicraft
 Game
Panel
Game
Panel


When you configure your server, you may want to upload an existing world to improve your V Rising experience. In this guide, you will learn how to upload a custom world from your client.
Locate Your World
To upload your custom world, you need to first generate it in single-player and find it as told below:
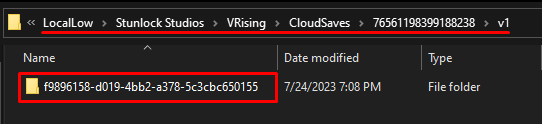
- Generate a world in single-player V Rising, then go to
C:UsersusernameAppDataLocalLowStunlock StudiosVRisingCloudSaves<ID>v1to find it on your machine. Replace theusernamewith your actual PC username and the<ID>with the name of the folder at that location.
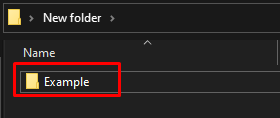
- Get a copy of your world folder and rename it to anything you want.
How to Upload Your World
To upload an existing world, you need to:
- Connect via WinSCP to your server to upload the folder you just renamed under the
save-data/Saves/v2folder.

- Log in to your game server panel here.
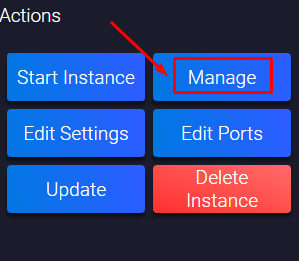
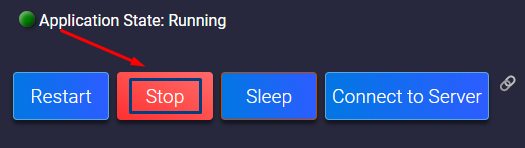
- Click on your V Rising instance, then click on
Manage, and then stop the server.
- Click on
Configuration, then onV Rising - Host Settings.
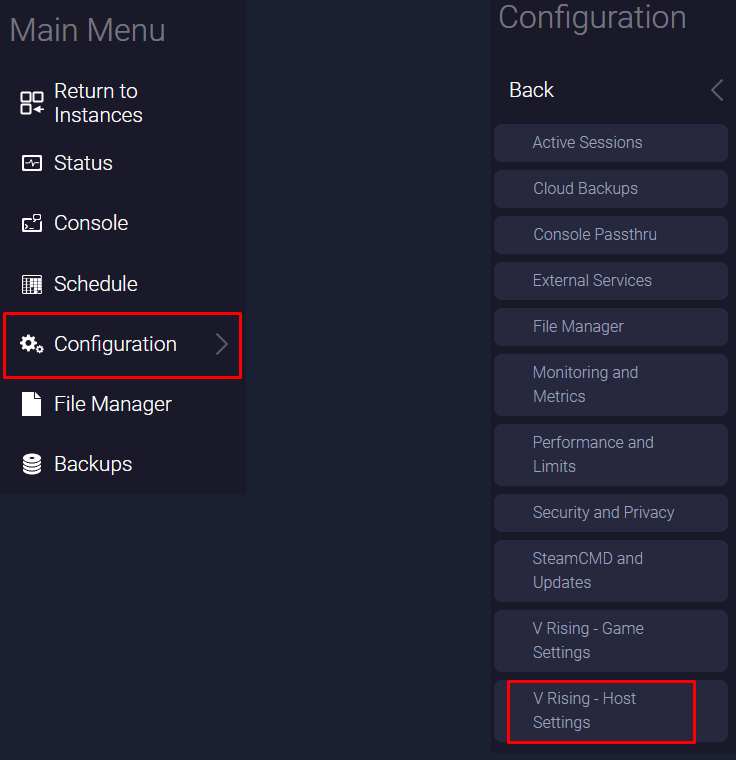
- Find the
Game Namesection, and change it to the new name you want your world to have. After you fill in the field, the panel will automatically save the changes.
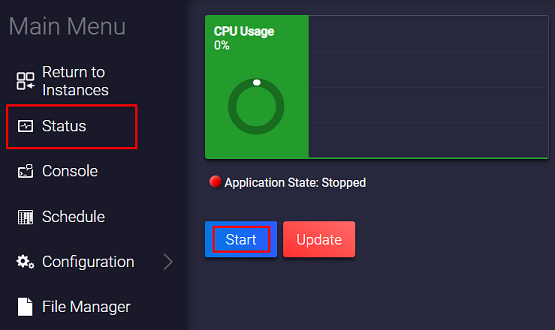
- Start your V Rising server by clicking on
Status, then onStart.
Now you’ve just set up your custom world on your V Rising server.
How to Change Between Worlds
To switch back to your old world, you just need to:
- Log in to your game server panel here.
- Click on your V Rising instance, then click on
Manage, and then stop the server.
- Click on
Configuration, then onV Rising - Host Settings.
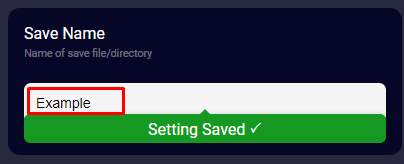
- Find the
Save Namesection and change it to your old world name. After you fill in the field, the panel will automatically save the changes.
- Start your V Rising server by clicking on
Status, then onStart.
Now you’ve just changed your world back to your old one.
If you find any issues, contact us on live chat or via the ticket system.