 Billing
& Support
Billing
& Support Multicraft
 Game
Panel
Game
Panel


Forge is one of the first and most popular mod loaders for Minecraft, allowing players to add new content to their servers. Also, it is usually the preferred one by mod creators as it has been in use for a long time and is stable. There’s a huge library of mods for Forge for all versions of the game.
Here you can find more information about Forge on their official page.
This guide will show you how to set up a custom Forge version on your GGServer Minecraft hosting.
The installation process will be different depending on which version of Forge you want to set up. For versions newer than 1.17, the process is different.
- Stop your server.

- Click on
Server Type Installer.
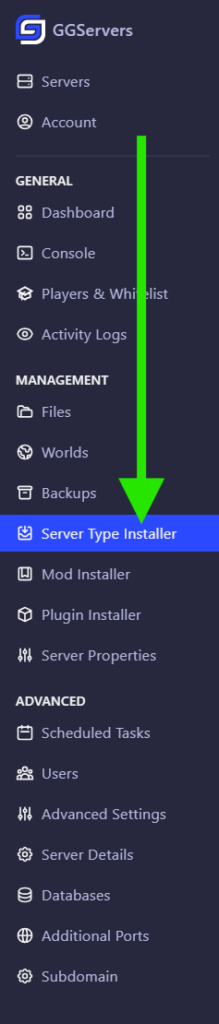
- Select
Forgeand the versions that you wish. - Click on
Install.

- Start your server.
