 Billing
& Support
Billing
& Support Multicraft
 Game
Panel
Game
Panel


Admin privileges are crucial for managing and moderating your Rust server effectively. This quick and straightforward guide will help you easily assign and verify admin rights on your GGServers-hosted Rust server.
⚙️ Giving Yourself Admin Privileges
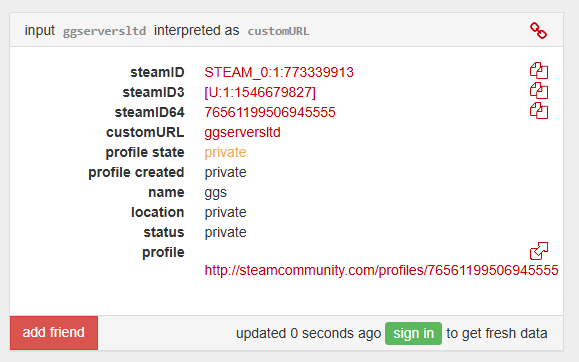
Step 1: Get Your SteamID64
- Go to SteamID.io to find your SteamID64.
🔑 Assigning Admin Using the Server Console
This method grants admin rights instantly:
- Log into your GGServers Panel.
- Open your Rust server dashboard.
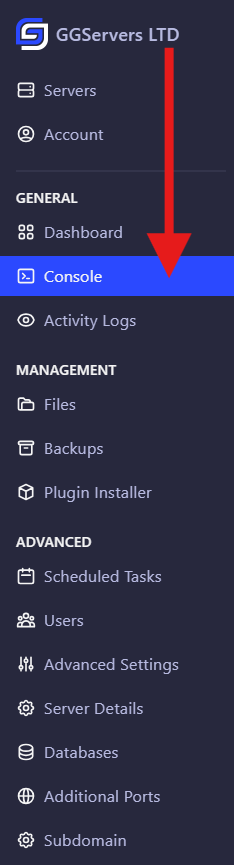
- Navigate to the Console section.
- Enter the following command in the console, replacing
<SteamID64>,<YourUsername>, and<Reason>accordingly:
ownerid <SteamID64> “<YourUsername>” “<Reason>”
Example:
ownerid 76561199506945555 "AdminUser" "Server Owner"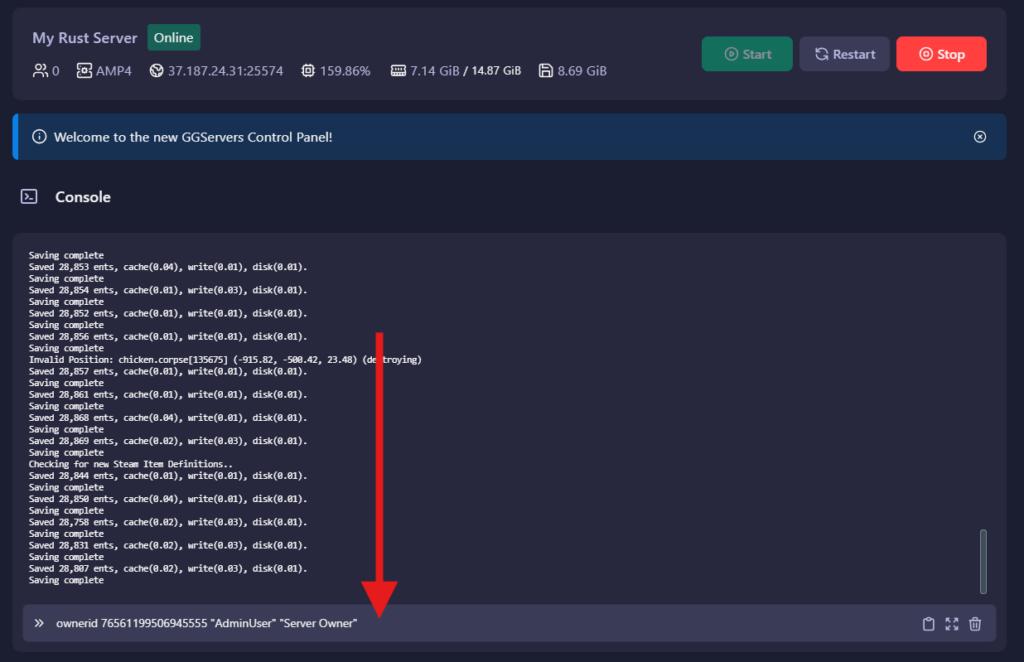
- Run this command afterwards to save the changes:
server.writecfg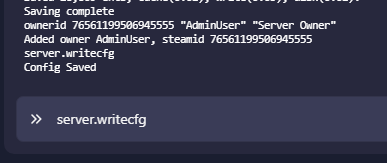
📂 Alternative Method: Using users.cfg
If you prefer editing files manually:
- Access your GGServers Panel.
- Open Files and navigate to:
/home/container/server/rust/cfg/users.cfg - Add your SteamID64 using this format:
ownerid 76561199506945555 "YourUsername" "Server Owner"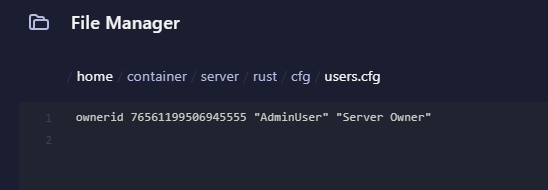
- Save the file and restart your server from the dashboard.


✅ How to Verify Admin Privileges
- Join your Rust server.
- Press F1 to open the in-game console.
- Type a basic admin command, for example:
noclip - Or simply check your admin status by typing:
status
If your name shows as an admin, you’ve successfully set yourself up!
🚫 Removing Admin Privileges
To remove admin rights:
- Log into your GGServers Panel.
- Open the Console and enter:
removeowner <SteamID64> server.writecfg
Replace <SteamID64> with your actual SteamID64.
Quick Reference of Commands
| Command | Action |
|---|---|
ownerid <SteamID64> | Grants admin privileges |
removeowner <SteamID64> | Revokes admin privileges |
server.writecfg | Saves current admin configuration |
Still, having issues?
If you encounter any issues or need further help, our friendly support team is available to assist you.