 Billing
& Support
Billing
& Support Multicraft
 Game
Panel
Game
Panel


Survive the zombie apocalypse with your friends and fight for your lives! This guide will walk you through joining your Project Zomboid server hosted with GGServers, step by step.
💡 Tip: You can get your own Project Zomboid server with 30% off using code KB30 at checkout on GGServers.com!
🧭 Step-by-Step: How To Join Your Server
1. Log Into Your GGServers Control Panel
Head over to the GGServers Game Panel and log in.
2. Start Your Server
From the main dashboard, select your Return to Moria server.
If the server isn’t running, click Start and wait a few seconds for it to go online.

3. Copy IP and Port
On the Console or Home tab, find your server’s IP address and Port.
Click to copy them for later.

Example:
123.45.67.89:28000
4. Launch the Game
Start Project Zomboid from your PC.
5. Navigate the Menu
- Click Join
- Click on Favorites
- Fill in the Details

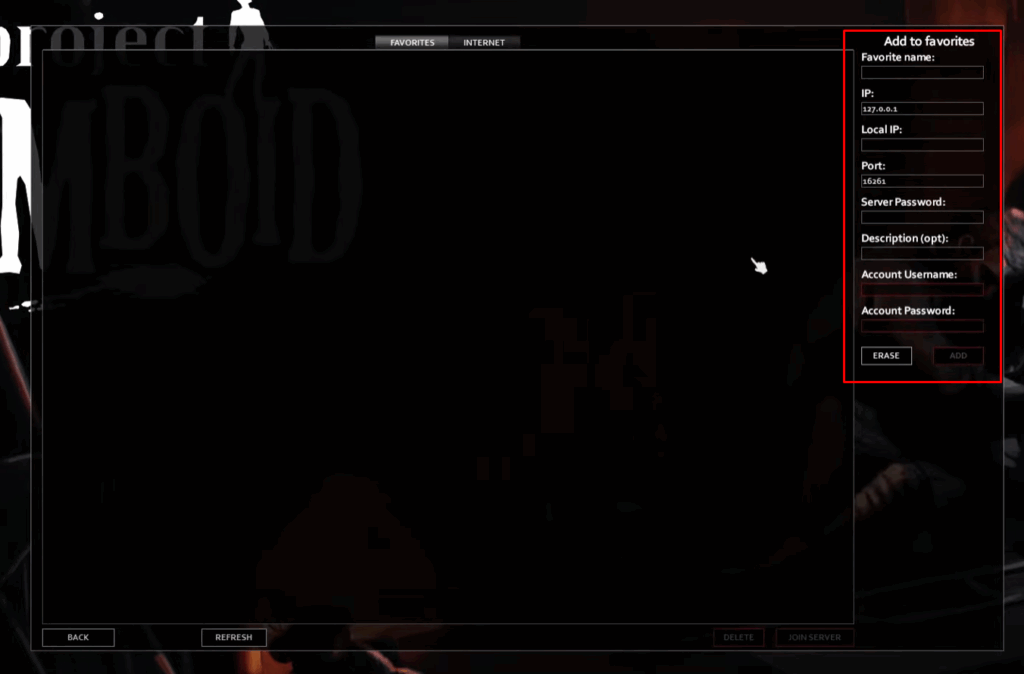
Make sure you fill in the details as follows:
- Favorite name needs to be set to a random name that you like
- IP needs to be set to the first part of your address, for example:
123.45.67.89for the IP and then the port to the last part28000 - If your server has a password, enter it in the Server Password field
- Set your own Account Username and Account Password. Those can be set to whatever you wish.
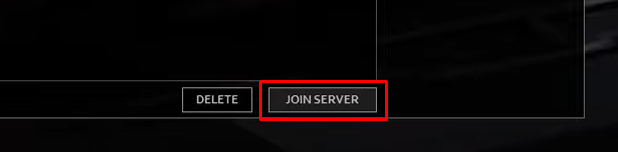
7. Join and Play
Click Join Server.
That’s it! You’re now diving into the zombie infested world of Project Zomboid with your friends.
🧰 Troubleshooting Tips
- Can’t connect? Make sure your firewall or antivirus isn’t blocking the game.
- Wrong password? Double-check if you added one on the control panel.
- Server not listed? Always use Direct Connect or Invite Code instead of browsing.
📦 Benefits of Hosting with GGServers
- Instant server setup
- Full file access for mods and saves
- Flexible upgrade options
- 24/7 support via ticket system
Need help? Contact GGServers Support anytime here.