 Billing
& Support
Billing
& Support Multicraft
 Game
Panel
Game
Panel


DayZ servers are highly customizable, and one of the most popular ways to enhance gameplay is by adding mods from the Steam Workshop. With our panel, this process is simple thanks to the our custom Workshop Installer tab. Below, we’ll walk you through installing mods step-by-step.
Installing Mods
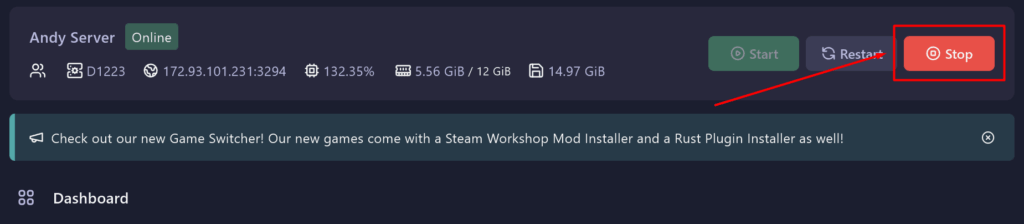
1. Login and stop your server from the panel. If you aren’t sure how to login and access your panel, we have a guide here.
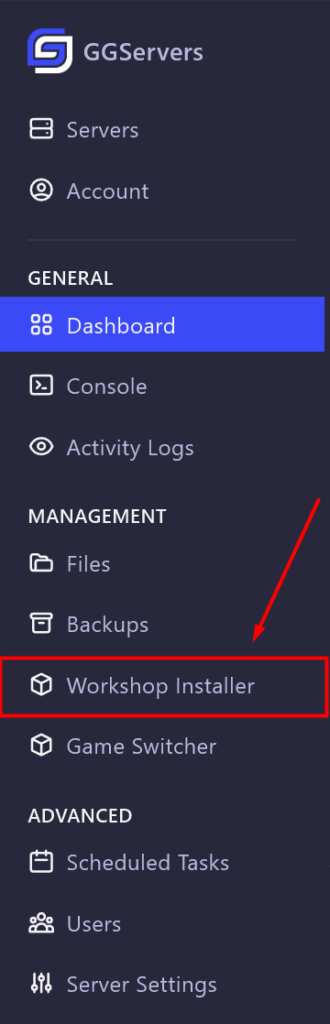
2. In the left hand menu, go to Workshop Installer under the Management section.
3. You’ll see a list of available Steam Workshop mods for DayZ.
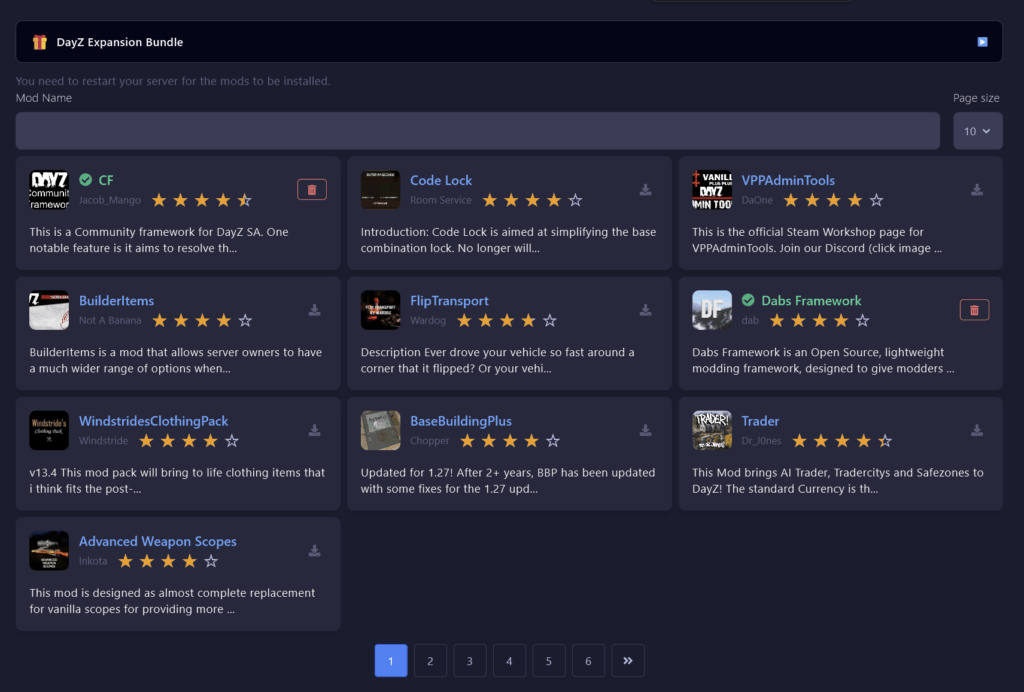
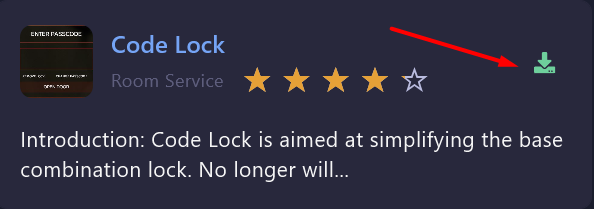
4. Browse through the available mods. Click the download icon next to each mod you’d like to install.
Note: Some mods, like CF and Dabs Framework, are required dependencies for others. Always install these first to avoid errors.
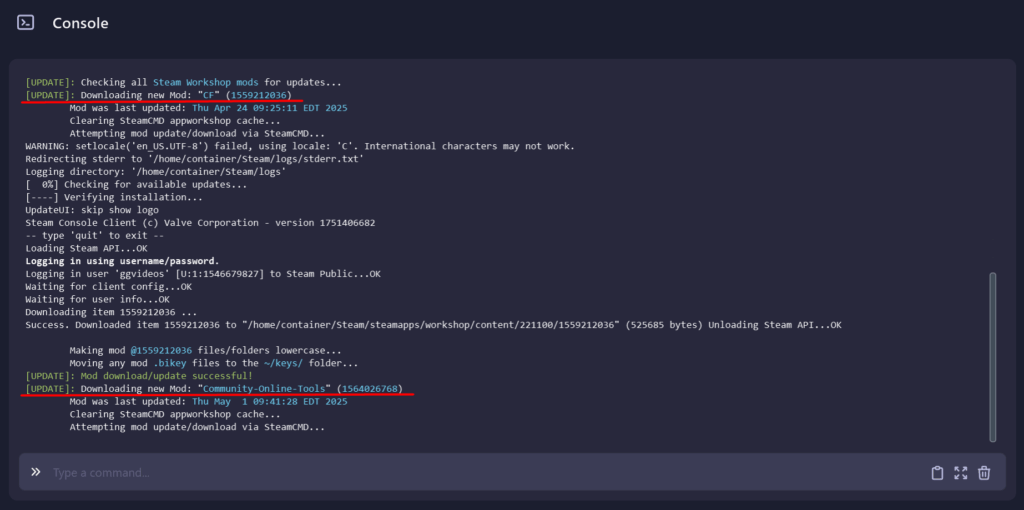
5. After installing your mods, you’ll need to restart the server for them to take effect. You can check the server console to see the mod’s install progress. This process can take a few minutes.
Note: If a mod requires client-side installation, make sure you have it subscribed in the Steam Workshop on your PC as well.
Troubleshooting Tips
Server won’t start? Double-check that you installed required dependencies like CF or Dabs Framework.
Players can’t join? Ensure everyone has the same mods subscribed through the Steam Workshop in their DayZ launcher.
Mods not applying? Confirm you restarted the server after installing.
If you have any issues, contact us via live chat or the ticket system.