
Arma 3 is a great game, but after a long time, you may want to add new content to your server. This can be done by installing mods!
There are plenty of mods for Arma 3 that will help you enhance your server, and they are free to download through the Steam Workshop.
How to Install Mods on Your Client
You can directly install mods from the Steam Workshop by subscribing to them, as shown below:
- Open Steam and click on
LIBRARY.

- Click on
Arma 3, then onWorkshop.

- Search for the wanted mod, then click on it.

- Click on
Subscribe.

- Start the Arma 3 launcher and click on
MODS.
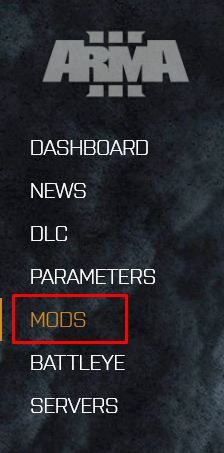
- Enable the new mod by ticking the mod box.

️ How to Install Mods on Your Server ️
After you set up the mods on your client, you will have to also add them to your server, as shown below:
- Go to the Steam Workshop page for Arma 3 mods here.
- Find the mod you want and note its ID, which can be found at the end of the link.

- Log in to your game server panel here, click on your Arma 3 instance, then click on
Manage.
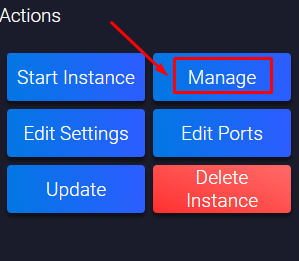
- Click on
Configuration, then onSteamCMD and Updates.
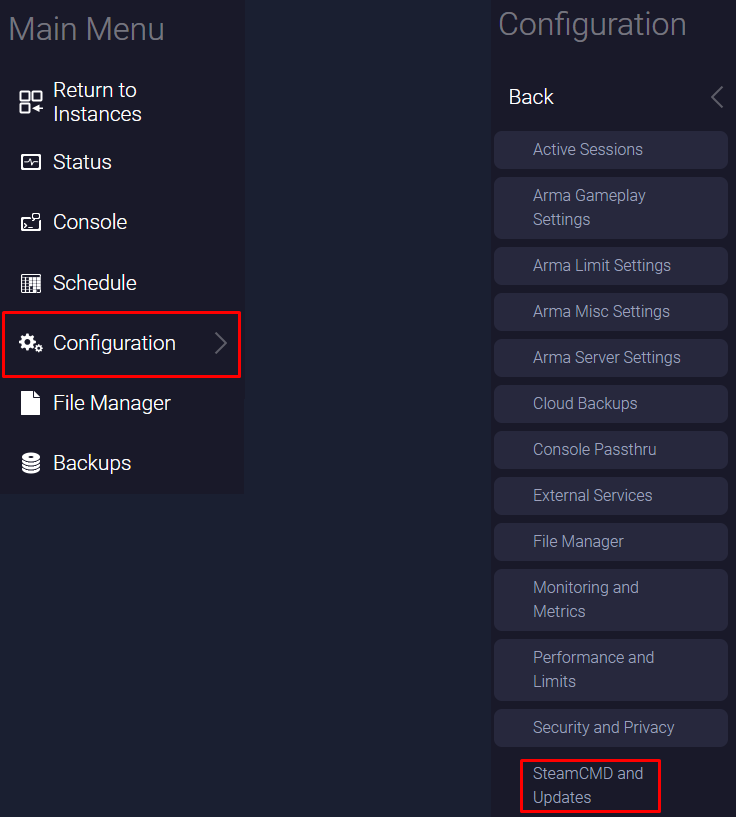
- Find the
Steam workshop itemssection and click onAdd.
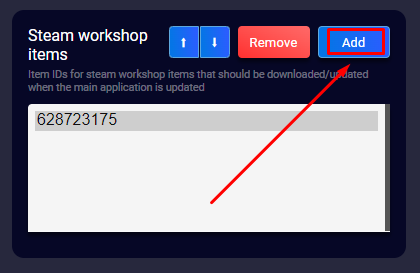
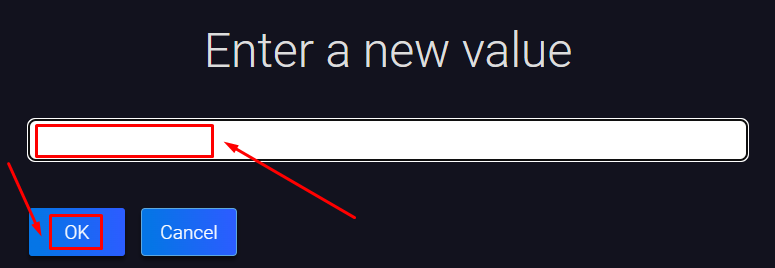
- Fill in the mod ID that you want to add, then click
OK.
- Click on
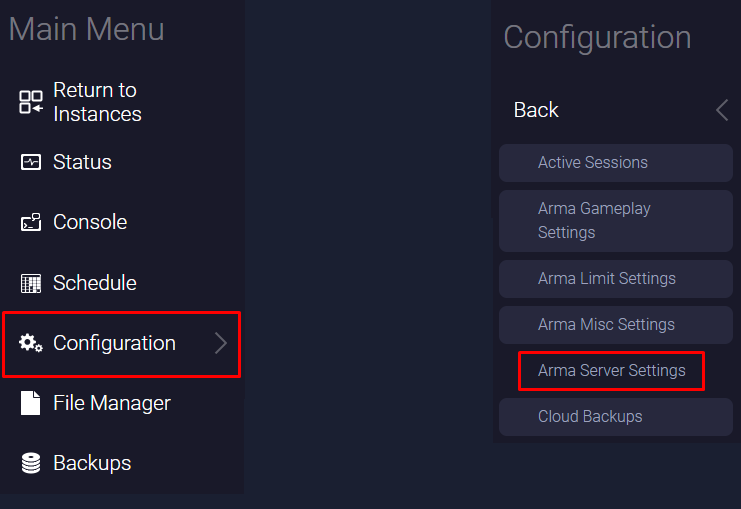
Configuration, then onArma Server Settings.
- Find the
Load Modsand theLoad Server Modssections. Now paste the mod ID in the two sections according to its type (client mod or server mod). If you want to add more mods, just put a semicolon (;) between them. The changes will be automatically saved when you modify the text box.

Example: 628723175;3008857704 and so on.

- Go back, click on
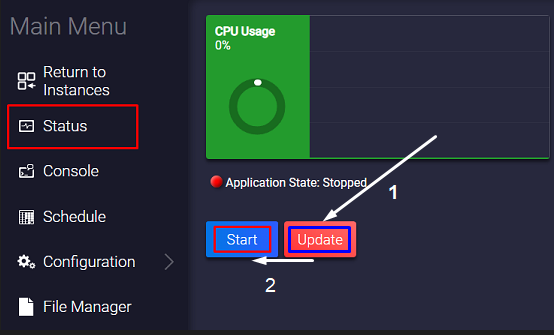
Status, then onUpdate. After the server gets updated, the mods will be downloaded as well, so you can start it now by hittingStart.
Now you’ve just set up mods on your server!
 Billing
& Support
 Multicraft
 Game
Panel


