 Billing
& Support
Billing
& Support Multicraft
 Game
Panel
Game
Panel


After some playtime, you may want to reset your progress and start again from the beginning. In this guide, you will learn how to create a new world on your 7 Days to Die server.
✔️ Create a New World ✔️
To start over by creating a new world, just follow the next steps:
- Log in to your game server panel here.
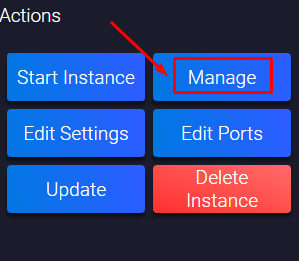
- Click on your 7 Days to Die instance, then click on
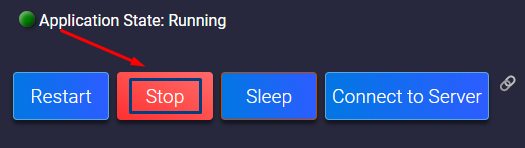
Manage, and then stop the server.
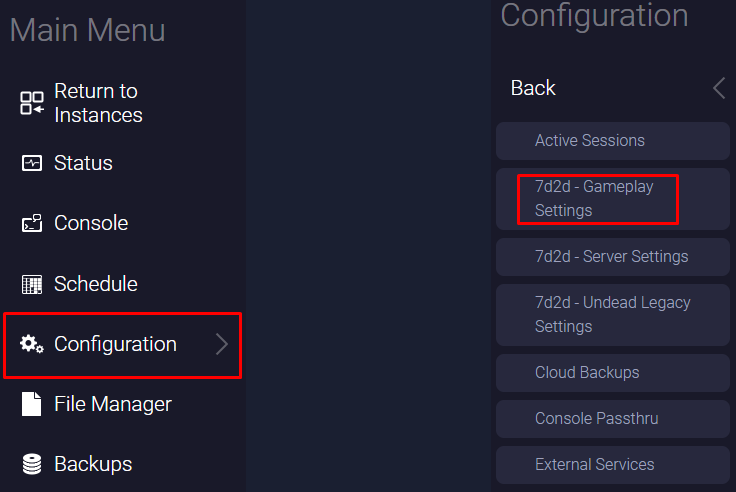
- Click on
Configuration, then on7d2d - Gameplay Settings.
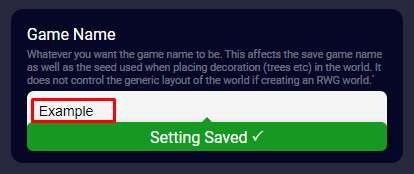
- Find the
Game Namesection, and set the name of your new world or of a world you might have uploaded to your server. After you fill in the field, the panel will automatically save the changes.
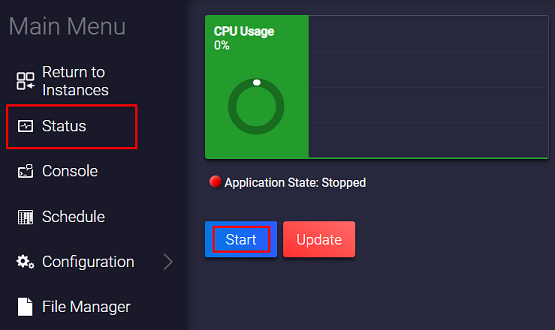
- Start your 7 Days to Die server by clicking on
Status, then onStart.
Now you’ve just created a new world for your server.
If you find any issues, contact us on live chat or via the ticket system.