 Billing
& Support
Billing
& Support Multicraft
 Game
Panel
Game
Panel


When transferring a save between Singleplayer and Multiplayer in Project Zomboid, your character’s inventory, stats, and position won’t transfer unless you convert the players.db file. This is because the formats used for storing player data differ between game modes.
If you haven’t already downloaded your world, follow our Download Guide first.
Convert Singleplayer Save to Multiplayer
Upload the World
Follow our upload guide to transfer your singleplayer world to the server.
Set Up Your Workspace
On your computer:
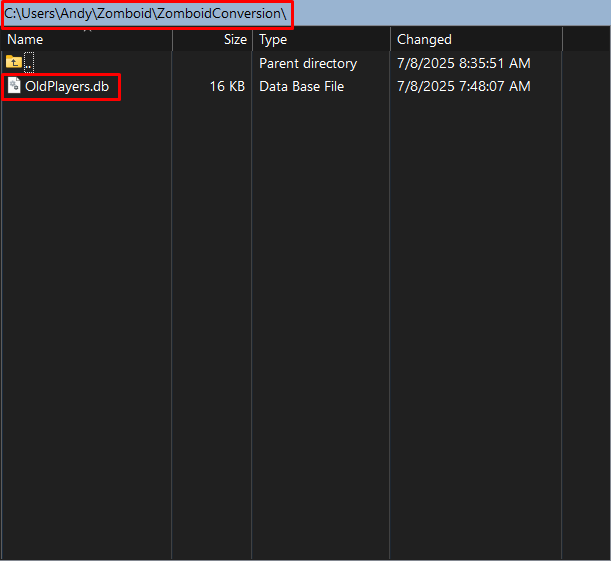
1. Create a folder at any location you’d like on your computer (e.g., ZomboidConversion) to keep track of files.
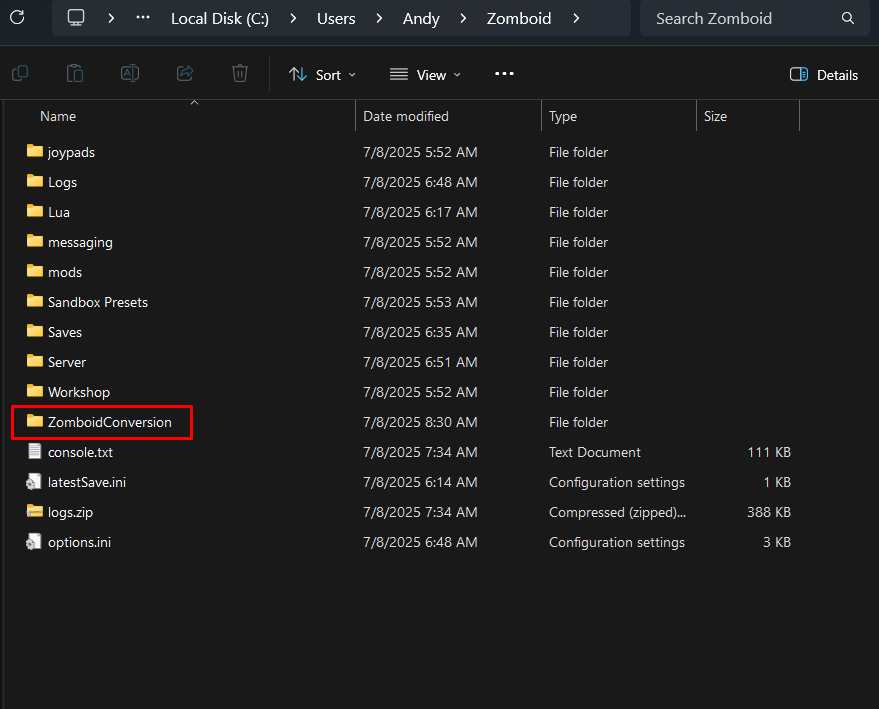
2. Inside your FTP program, go to:/Zomboid/Saves/Multiplayer/YOUR_WORLD_NAME
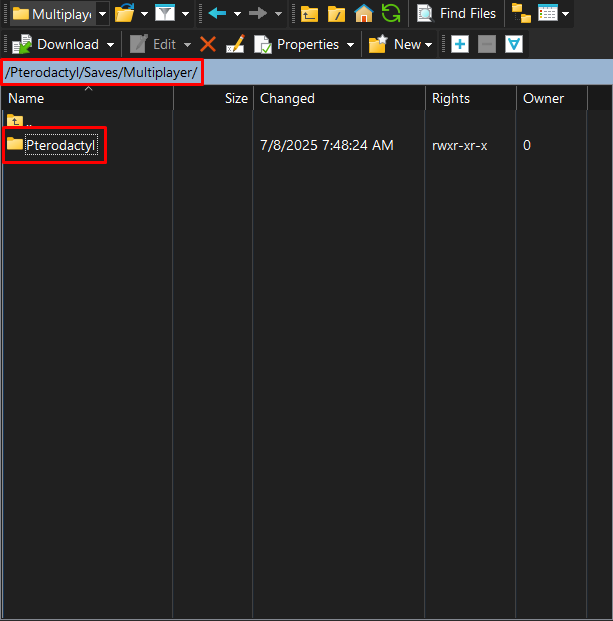
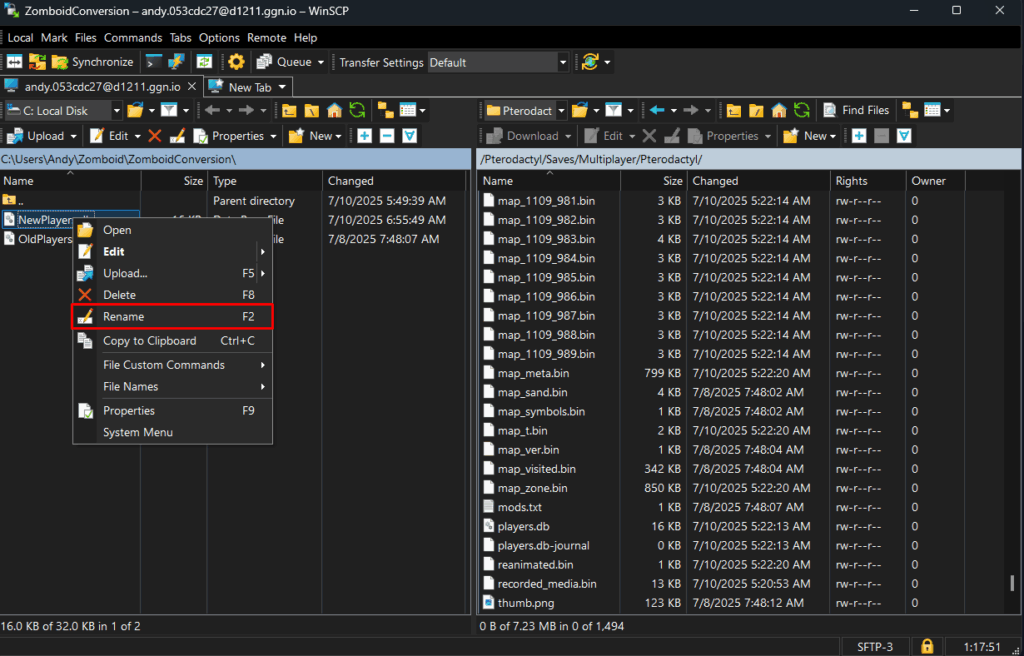
3. Download the uploaded world’s players.db file.
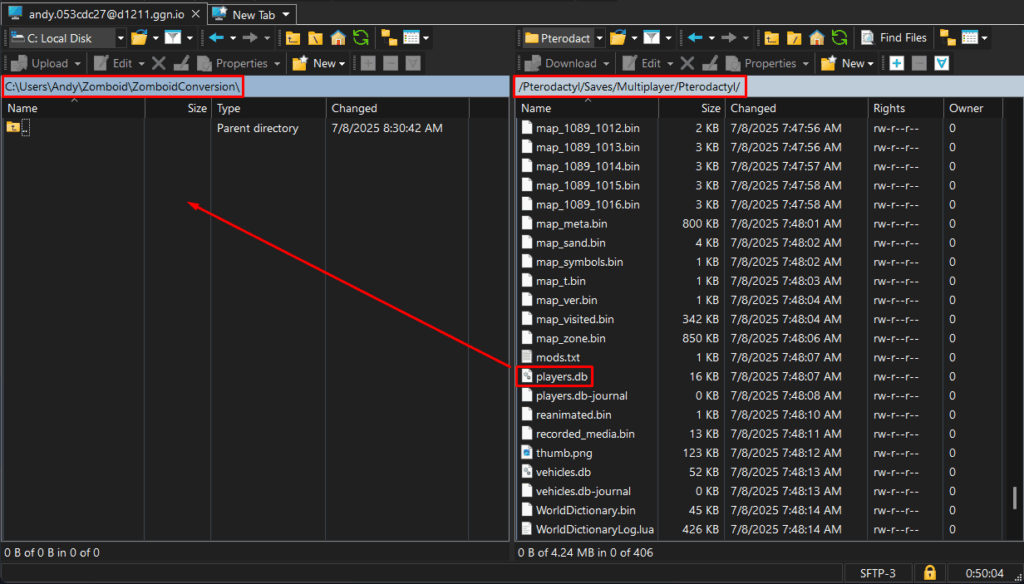
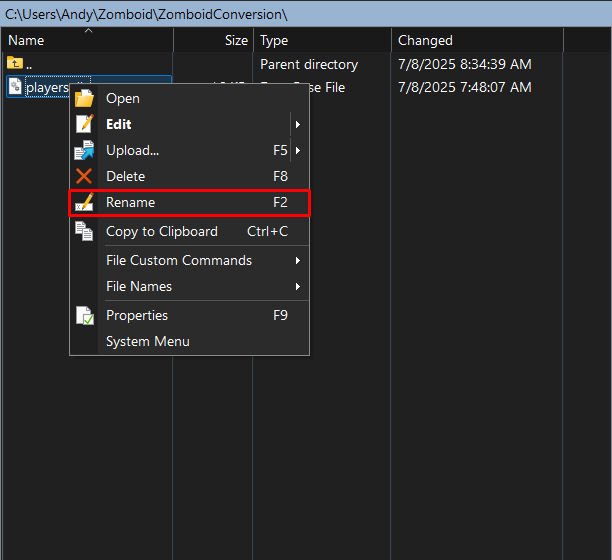
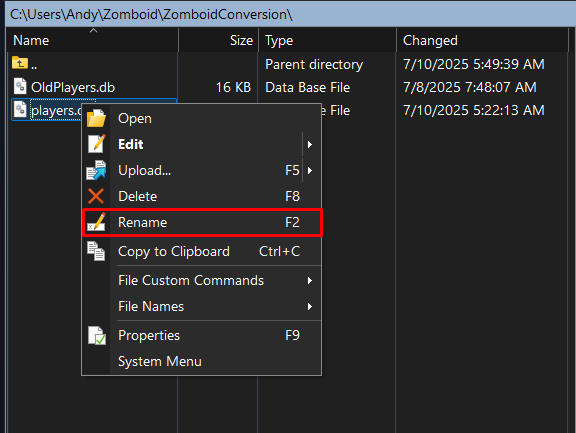
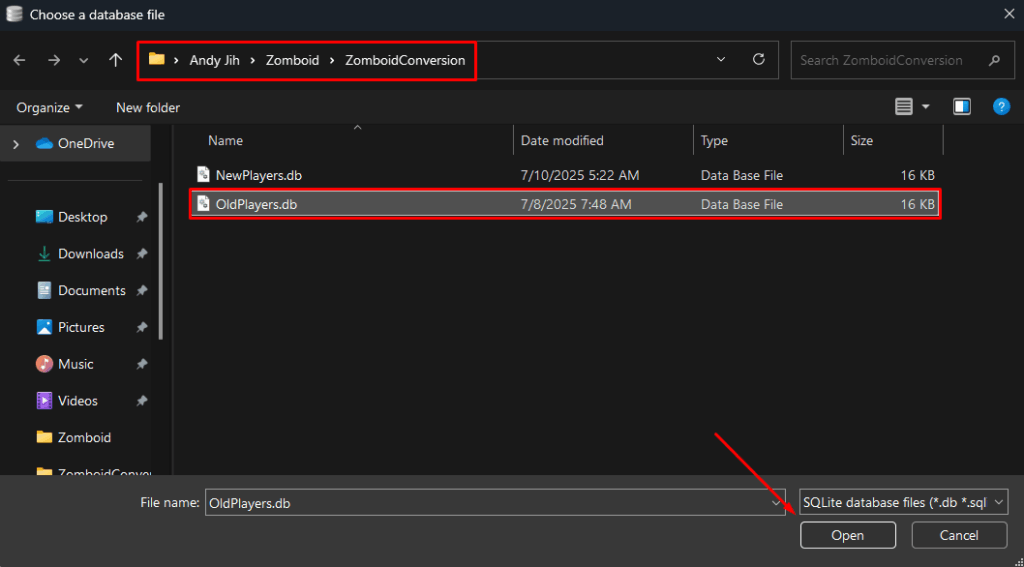
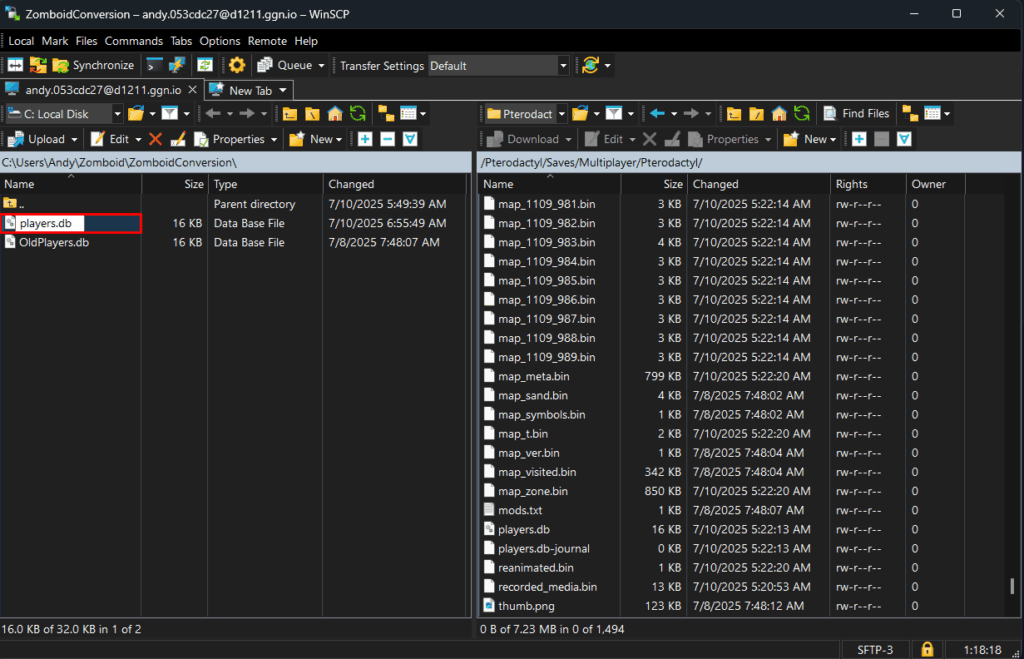
4. Place it in your workspace folder and rename it to OldPlayers.db.
Confirm Save Format
1. Download and install DB Browser for SQLite
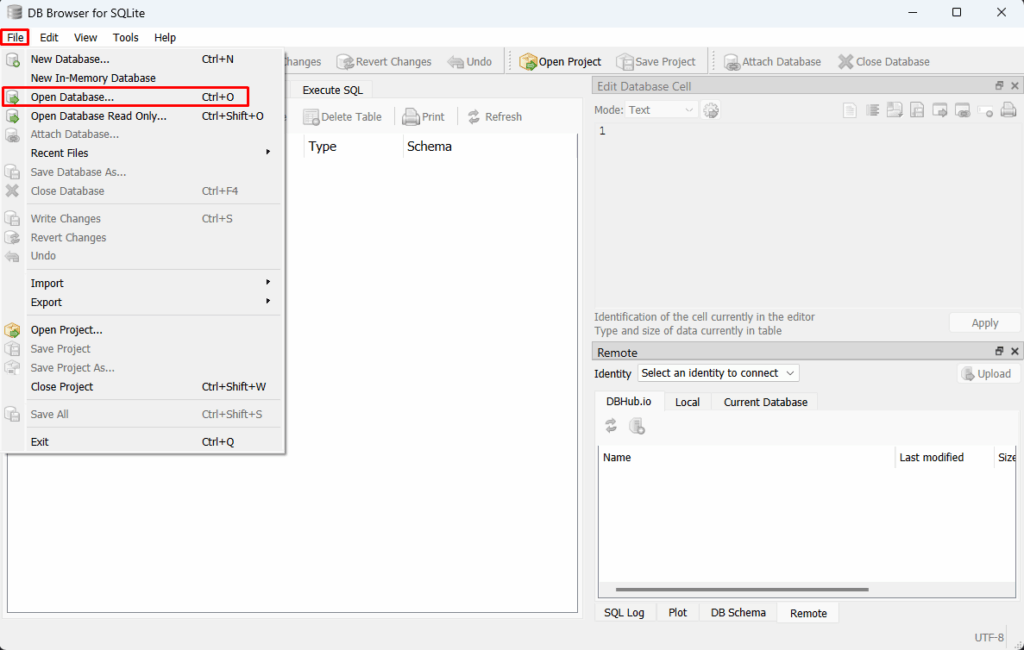
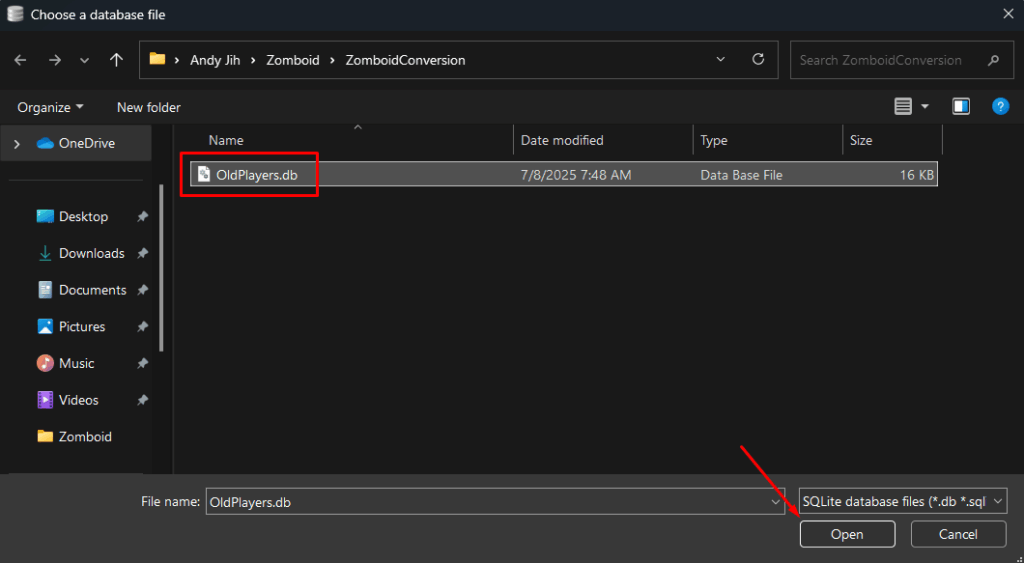
2. Open OldPlayers.db in DB Browser from File > Open Database.
3. Click Browse Data, then select the localPlayers table. If there is player data here, this confirms it’s a singleplayer-format players.db
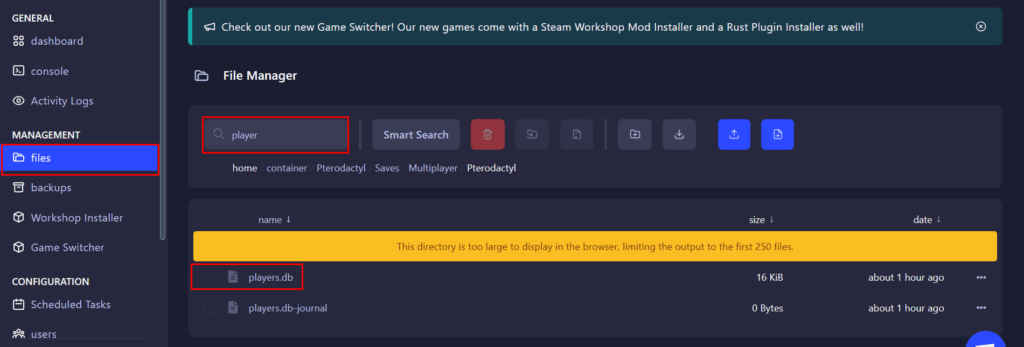
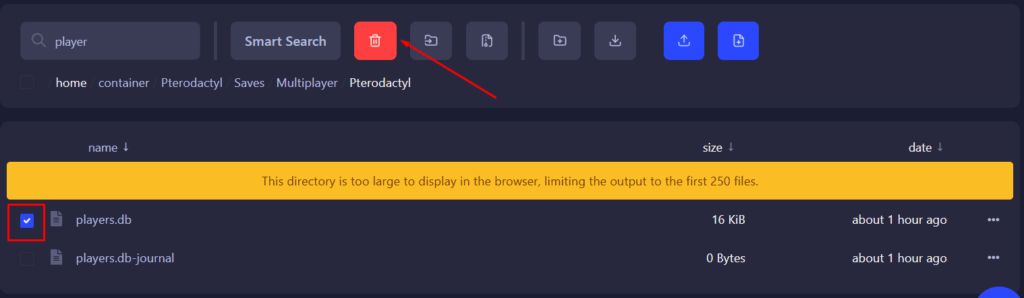
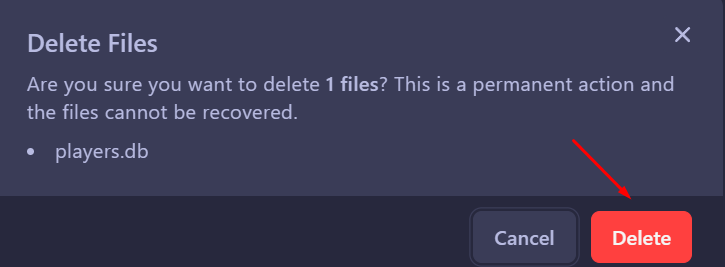
Delete the Server’s players.db
1. In yourFiles panel, delete the existing players.db file to avoid format conflict.
Generate a Multiplayer-Formatted DB
1. Start the server, this will regenerate a multiplayer compatible players.db file.

2. Join the server and create a temporary character (any settings are fine as this will be overwritten later).
3. Leave and stop the server again.
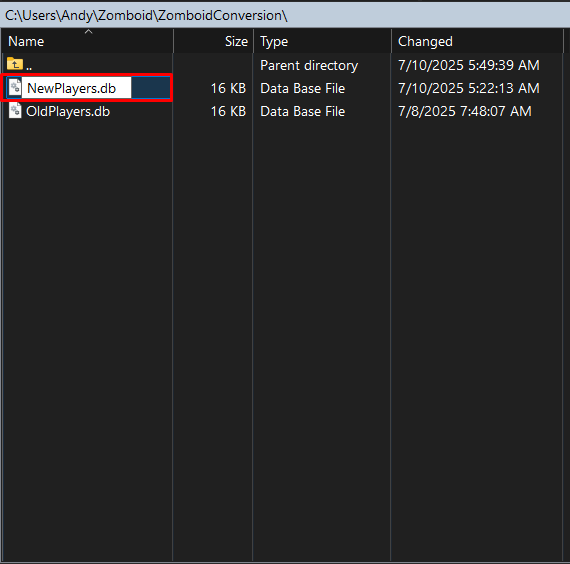
4. In your server’s world folder, download the newly generated players.db. Place it in your workspace and rename it to NewPlayers.db

Copy Over Character Data
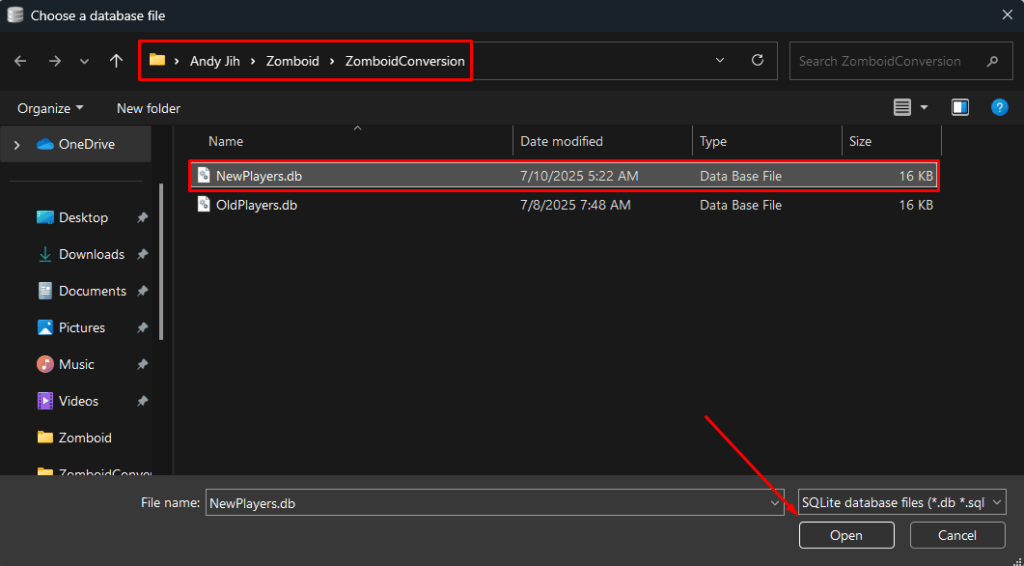
1. Open DB Browser, Open Database.

2. Locate your workspace folder, then open NewPlayers.db.
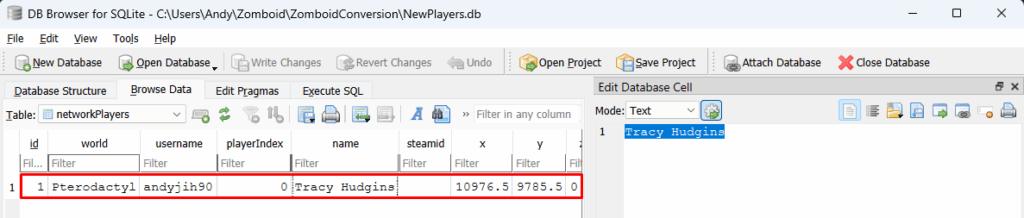
3. Click Browse Data, then select the networkPlayers table. If there’s any player data in the table, you can confirm that newPlayers.db is using the Multiplayer format.

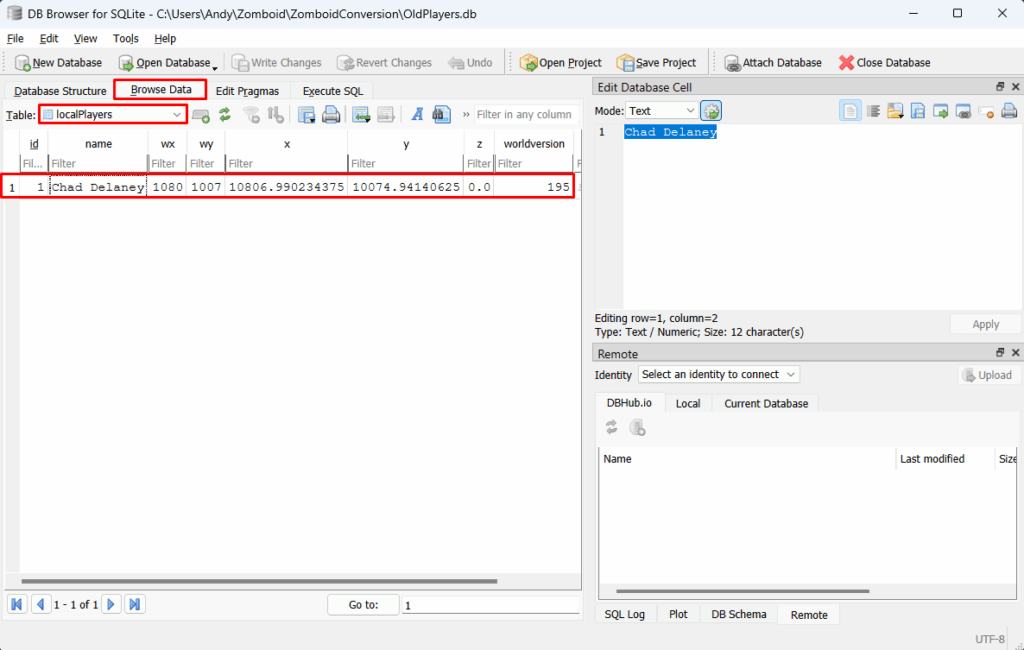
4. Now open OldPlayers.db in DB Browser. Click Browse Data, then select the localPlayers table.
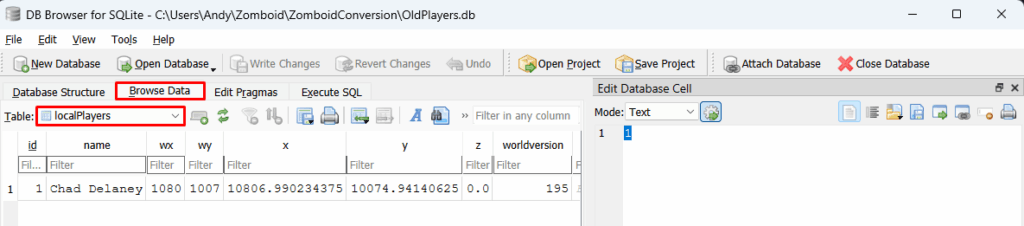
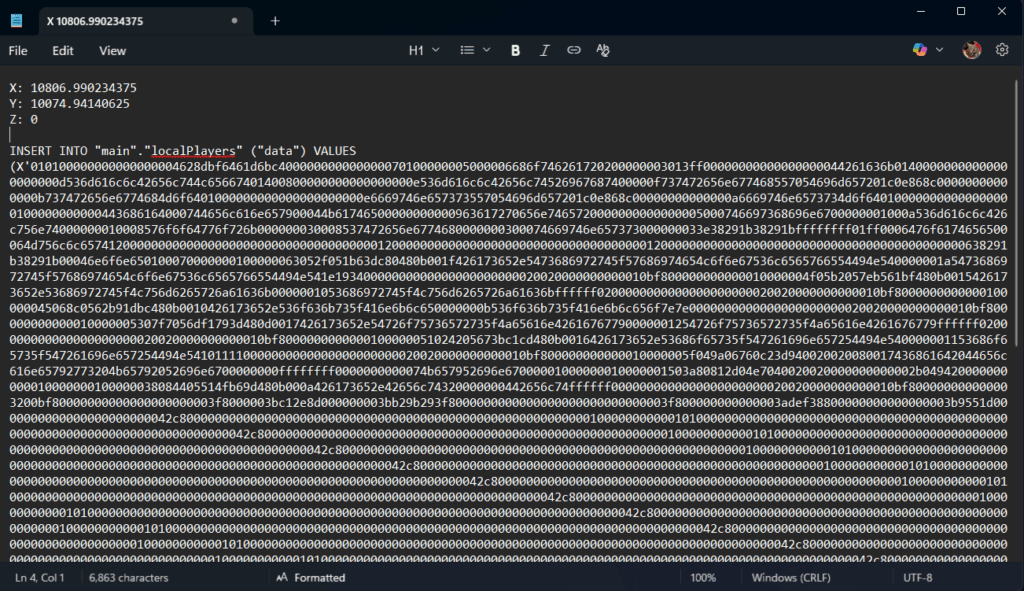
5. In localPlayers, locate your player’s row:

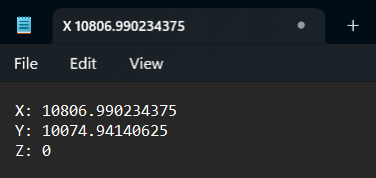
Keep a reference of the x, y, and z values, these represent your position in the world
📌 Copy and paste them into any note-taking app for later use

Right-click the data field (contains player info like traits, inventory, health)
Click Copy as SQL
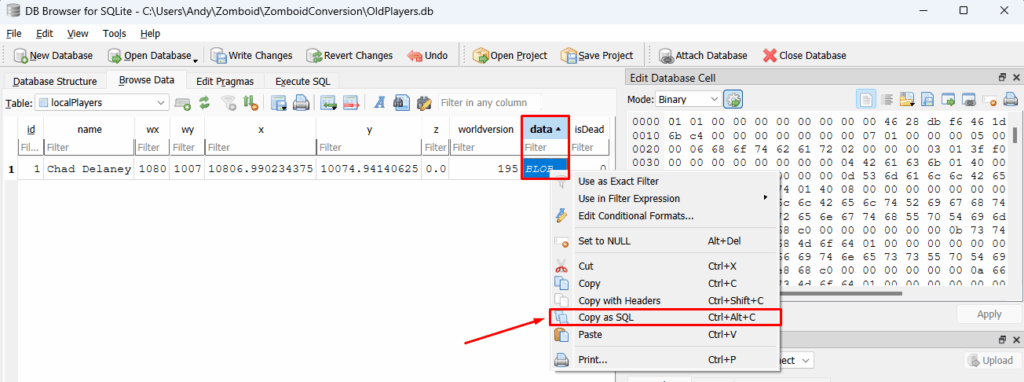
Paste this into your note alongside the XYZ coordinates
Inject the Character Data into the Multiplayer Save
1. Open NewPlayers.db in DB Browser.
2. Click the Execute SQL tab at the top.

You’ll now be inserting the data you copied from oldPlayers.db (your Singleplayer save) into the networkPlayers table of the Multiplayer save.
Use the following commands one at a time, replacing the placeholder values with your actual values.
Step-by-Step SQL Commands
Replace
REPLACE_WITH_TABLEwithnetworkPlayers, since you’re converting to Multiplayer.
1. Update player data field (copied from Singleplayer):
UPDATE "main"."networkPlayers"
SET data = X'PASTE_YOUR_SQL_STRING_HERE'
WHERE id = 1;
Paste only the inside of the VALUES() from your copied SQL (do not include the INSERT INTO part).
For example, if your copied SQL is:
INSERT INTO "main"."localPlayers" ("data") VALUES (X'010100000000000000004628dbf6...');Paste everything between VALUES( and ); into 'PASTE_YOUR_SQL_STRING_HERE'.
2. Update X coordinate:
UPDATE "main"."networkPlayers"
SET x = YOUR_X_VALUE
WHERE id = 1;
3. Update Y coordinate:
UPDATE "main"."networkPlayers"
SET y = YOUR_Y_VALUE
WHERE id = 1;
4. Update Z coordinate:
UPDATE "main"."networkPlayers"
SET z = YOUR_Z_VALUE
WHERE id = 1;
Click the Execute all/selected SQL button (▶️) in the top-left of DB Browser.
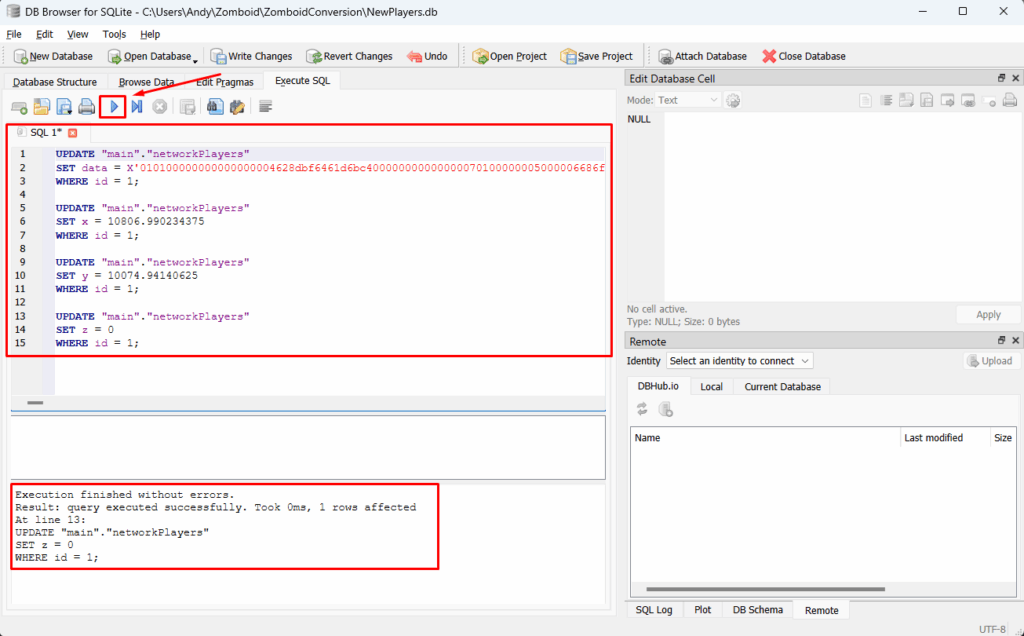
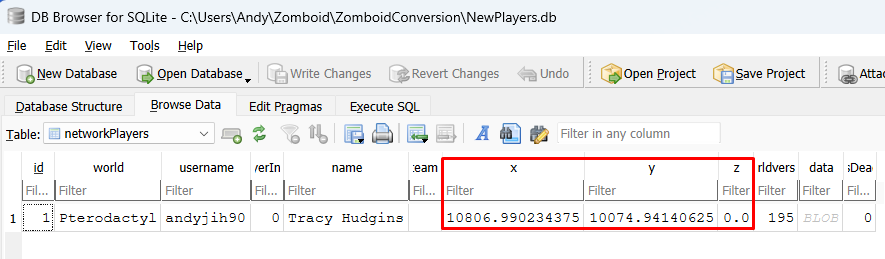
Once you’ve run all four commands, go to Browse Data > networkPlayers to confirm the changes were applied.
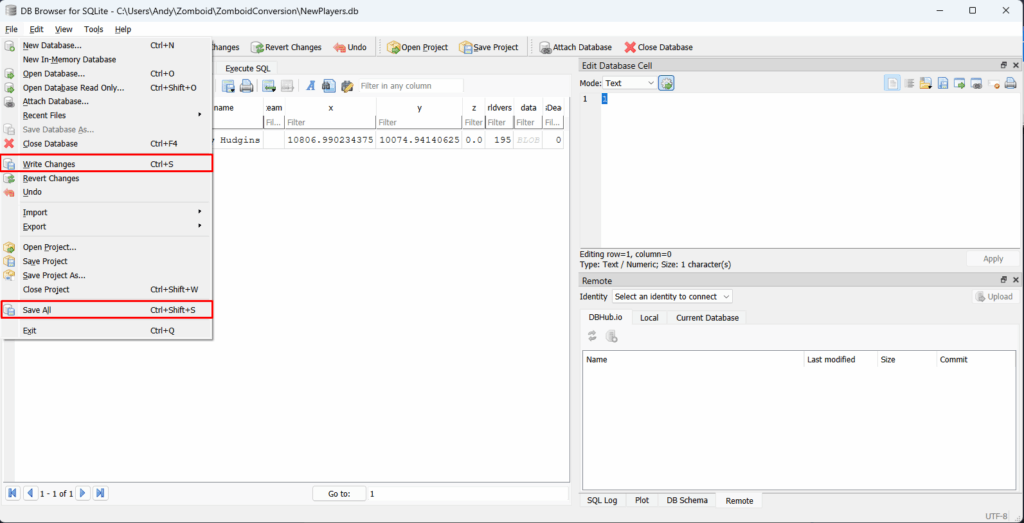
Then click File > Write Changes, Save All and close DB Browser.
Upload the Updated players.db to Your Server
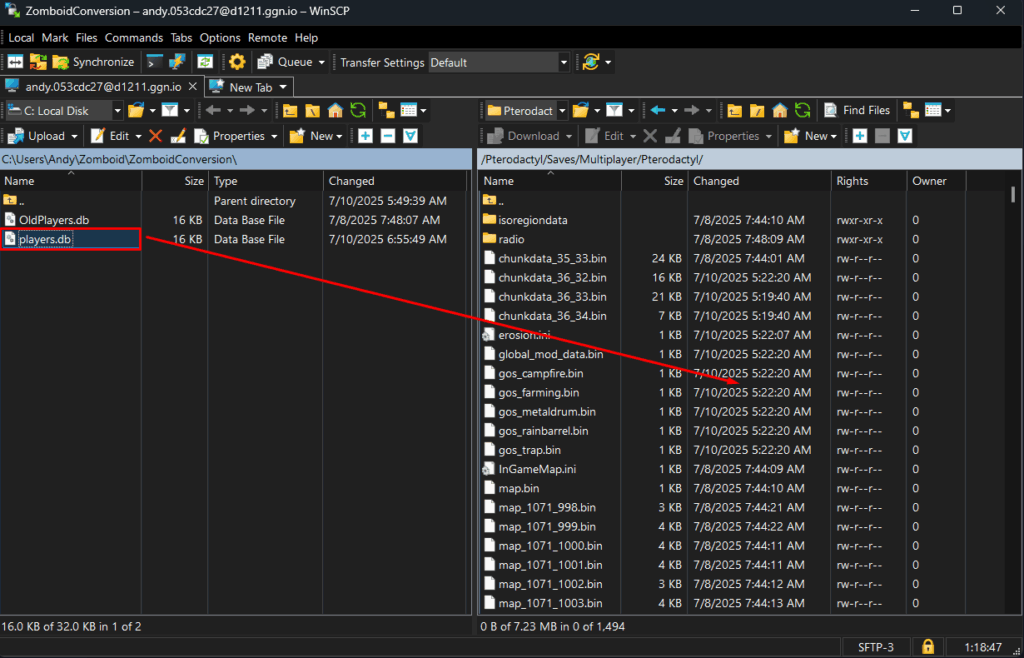
1. In your workspace folder, rename the edited NewPlayers.db file back to: players.db.
2. Open your WinSCP, and navigate to: /Zomboid/Saves/Multiplayer/YOUR_WORLD_NAME.
3. Upload your modified players.db file into that folder, replacing the old one if prompted.
4. Start the Server and Join
- Go back to your server’s control panel and click Start to launch the server.
- Open Project Zomboid, and connect to your server like usual.
If everything was done correctly, you should now spawn in with your original Singleplayer character, same inventory, skills, health, and position, now fully working in Multiplayer.
If you have any issues, contact us via live chat or the ticket system.