 Billing
& Support
Billing
& Support Multicraft
 Game
Panel
Game
Panel


Giving your Project Zomboid server a custom name and description helps set it apart in the server list. Whether you’re hosting for friends, running a roleplay community, or launching a public survival hub, a good name and description can make your server more appealing to players.
Here’s how you can update both in just a few steps using your GGServers panel.
💡 Tip: Keep it concise! Long server names or descriptions may prevent your server from appearing in the public list.
Steps to Update Your Server Info
- Log in to your GGServers Pterodactyl Control Panel.
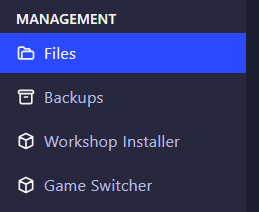
- Click on Files in the left-hand menu.
- Open the file:
Pterodactyl/Server/Pterodactyl.ini- Scroll through the file and locate these two lines:
PublicName=
PublicDescription=
- Replace the values with your desired server name and description. For example:
PublicName=Zombie Outbreak RP
PublicDescription=Roleplay-focused survival experience. Custom rules, friendly community!- Save the file.
- Restart your server from the panel to apply the new settings.
Once your server restarts, your new name and description will be visible in the in-game server list (if your server is set to public).
For any questions or if you hit a roadblock, our team is available 24/7 —
👉 Submit a ticket here
And don’t forget, you can get 30% off your first server with GGServers by using the code KB30 at checkout!