 Billing
& Support
Billing
& Support Multicraft
 Game
Panel
Game
Panel


Changing the server name on your The Forest server is a simple process with GGServers, but it is an important customization step if you want your server to stand out in the multiplayer list. A unique server name makes it easier for your friends and community members to find and join your world. In this guide, we’ll walk you through each step to rename your server safely and effectively.
First, you need to access your GGServers Control Panel at https://panel.ggservers.com. Before making any changes, it’s very important to stop your server to avoid saving issues or configuration errors. Stopping the server ensures that your changes apply correctly once you start it again.

After the server is stopped, go to the left-hand menu and click on Server Settings. This section contains all of the key configuration options for your The Forest server, including the name, password, and general game rules.

Next, click on General Settings. This area allows you to change the fundamental properties of your server.

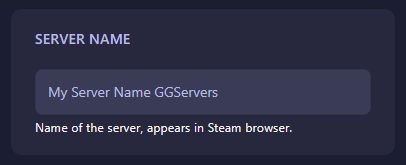
Inside the General Settings page, scroll until you find the Server Name field. This is where you can type a new name for your The Forest dedicated server. Choose a unique and descriptive name that represents your playstyle or community, since this is what players will search for in the server browser.
Once you enter the new name, the control panel will automatically save your changes. All you need to do now is go back to the main panel and start your server again. When your server goes live, it will appear in the multiplayer list under its updated name, making it easy for players to find and join.
This method works for any GGServers-hosted The Forest dedicated server. Whether you’re renaming your world for a private group of friends or making it more appealing for public players, updating the server name only takes a few moments.