 Billing
& Support
Billing
& Support Multicraft
 Game
Panel
Game
Panel


Changing the server name on your Arma Reforger server is quick and easy. Customizing your server name helps your server stand out in the community list, making it easier for players to find and join your server. This guide will walk you through the process step by step using the GGServers control panel.
First, open your browser and go to https://panel.ggservers.com. Log in with your account credentials. Before making any changes, stop your server. Stopping the server is essential to ensure that your new server name is applied correctly when you restart.

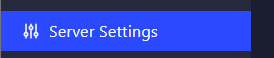
Next, navigate to the Server Settings section in your control panel. This section contains all of the configurable options for your Arma Reforger server, including server name, max players, and admin settings.
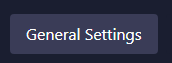
Inside the Server Settings menu, open the General Settings tab. This tab contains essential server options that control the appearance and behavior of your server in the community list.
Scroll down until you find the field labeled Server Name. This is the name that will appear in the server browser for players to see. Enter your new desired server name in this field.
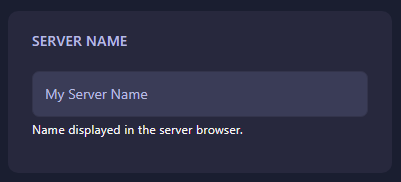
Once you type in the new server name, the GGServers panel will automatically save your changes. There is no need to press a separate save button — the system applies the new name immediately.
Finally, go back to your main server dashboard and start your server. After the server starts, your updated name will be live in the community server list, and players will see the new name when joining.

And that’s it! You’ve successfully changed your Arma Reforger server name. This simple adjustment makes your server more recognizable and can help attract more players to join and enjoy your server.