Have you just purchased a new Rust server?
🎉 Congratulations! You are now a brand-new Rust Server Owner! 🎉
Here’s how you can access it:
Step 1: Access Your GGServers Control Panel
- Go to your GGServers control panel: panel.ggservers.com
- Click on Login via GGServers to access your account.

Step 2: Start Your Server
- Click on Console in the control panel.

- Then, click on Start to power up your Rust server.

Step 3: Copy Your Server IP
- Once the server is up, look at the top square in the control panel where your server’s IP address is displayed.
- Click on it to copy the server IP.

Step 4: Launch Rust
- Open your Rust game client.
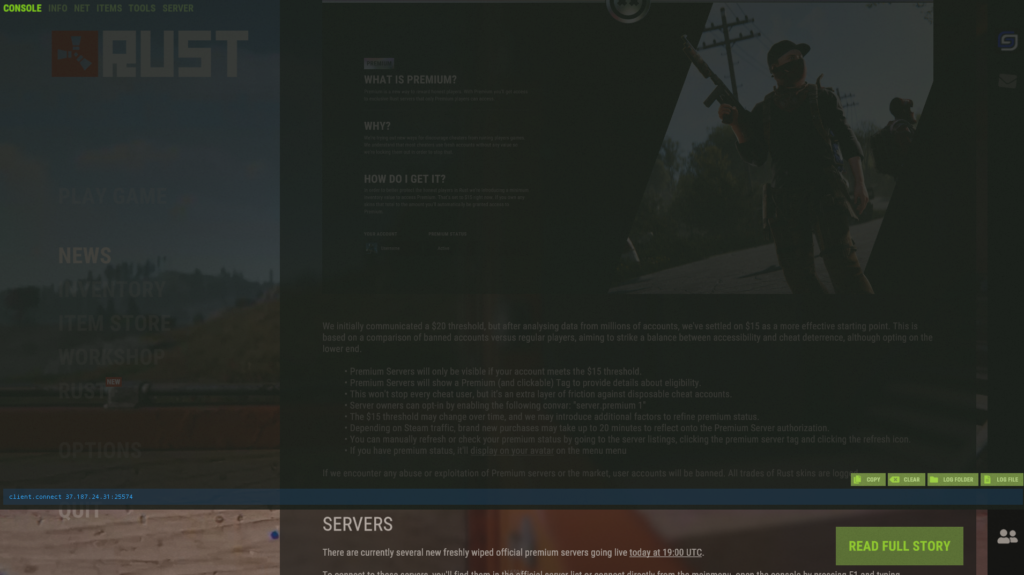
Step 5: Open the Console
- From the main menu in Rust, press the
F1key on your keyboard to open the console. 
Step 6: Enter the Connection Command
- In the console, type the following command:
client.connect <IP_ADDRESS>
Example:
client.connect 37.187.24.31:25574

- Press Enter.
Step 7: Wait for the Connection
- The game will start loading the necessary assets.
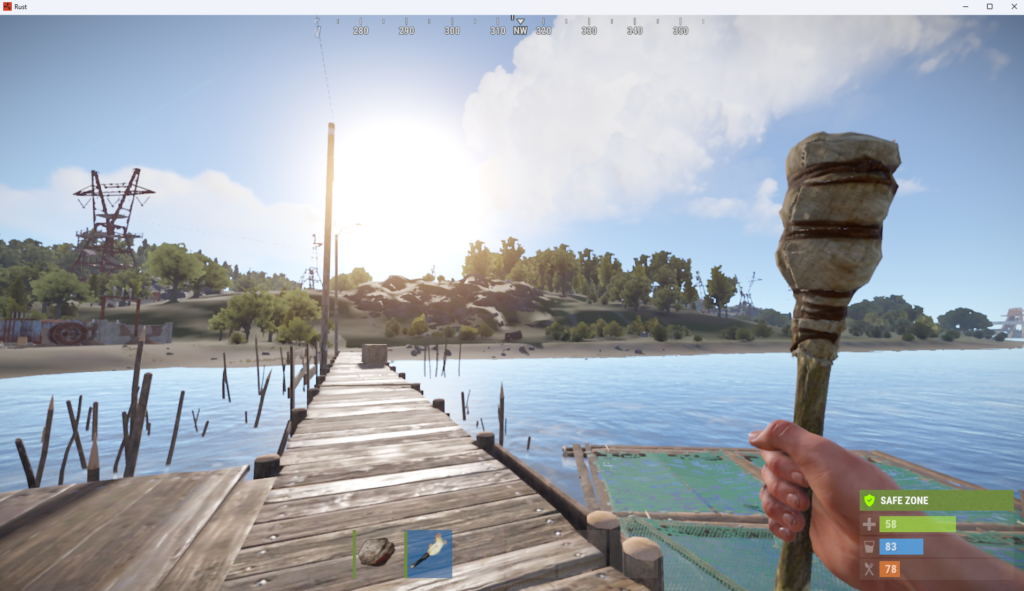
- Once loading is complete, you’ll be connected to your server!
🎉 That’s it! You’re now connected to your Rust server! 🎉

Another Way?
2. Connecting to a Rust Server via STEAM
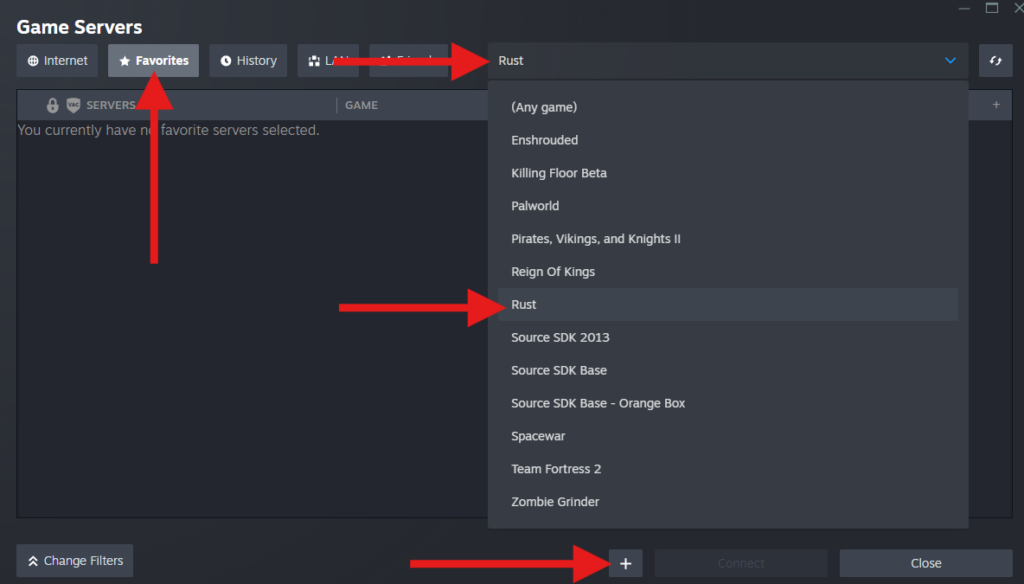
To access your server via Steam, first go to View then click on Game Servers.

Then, click on Favorites, click on the dropdown to select Rust, then, click on the plus button + to add a server.

Paste your Server IP and click on OK.

Another Way?
3. Connecting to a Rust Server via the In-Game list
First, Start your Rust Server.
⚠️ As mentioned at the beginning of this article, Rust has a delay in indexing new servers to appear inside the game. That’s usually, 20 minutes.
NOTE: That’s a Rust-side issue that developers are working to fix on a near update.
Gladly, that is a one-time only.
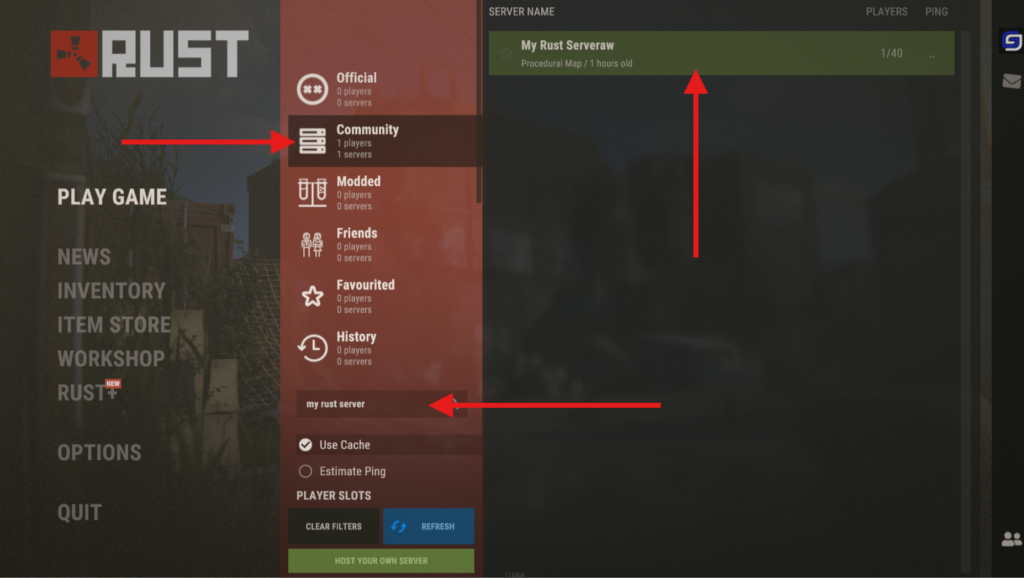
Once your server is available on the Community tab, you can be safe, as all players will be able to see the server on the list!
Once the server is indexed on the game, it will be listed under the Community tab.

You can use the Search Box to search for your server.
If you wish to change your Rust Server name, you can do it on your Control Panel under Advanced Settings.
Look for the Description option and Restart your Rust Server.

🎉 That’s it! You’re now connected to your Rust server.
Need Further Help?
If you experience any issues connecting to your Rust server, our support team is here to assist you.
 Billing
& Support
 Multicraft
 Game
Panel


