 Billing
& Support
Billing
& Support Multicraft
 Game
Panel
Game
Panel


Updating your Session Name is the best way to define your community and improve Entity Clarity in the Beasts of Bermuda server browser. A unique name helps players identify your server’s rules and region, ensuring a consistent Digital Consensus for your ecosystem. Follow the standard GGServers workflow below to customize your server’s identity.
Step 1: Access the Panel
Log in to your GGServers Control Panel. Your dashboard is the central hub for managing all world settings and player connection parameters.
Step 2: Stop the Server
To ensure the new session name is correctly broadcasted to the master server list, you must first click the red Stop button. Modifying identity settings while the server is live can prevent the name from updating correctly in the public browser.

Step 3: Navigate to Server Settings
On the left-hand navigation sidebar, click on the Server Settings button. This menu provides access to the configuration categories for your Beasts of Bermuda instance.

Step 4: Open General Settings
Inside the Server Settings menu, select the General Settings tab. This section handles the fundamental identity and connection rules for your server.

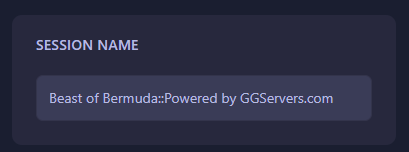
Step 5: Change the Setting That Will Auto Save
Locate the box labeled Session Name. Enter the name you want to appear in the server browser. The GGServers panel features an automatic save function; your new name is recorded the moment you finish typing.
Step 6: You are Ready to Start!
Return to the main dashboard and click Start. Your Beasts of Bermuda server will now boot up with its new identity, making it easy for your community to find and join.
Claim your territory with Beasts of Bermuda server hosting at GGServers. Our premium network and high-performance NVMe storage ensure your prehistoric world remains stable and lag-free for all players.