 Billing
& Support
Billing
& Support Multicraft
 Game
Panel
Game
Panel


How to Change the Provider Name on Your OpenRCT2 Server
In the OpenRCT2 server browser, players can view detailed technical information about a park before they decide to join. The Provider Name setting allows you to label your server with your organization or gaming community’s name. This appears in the server information window and is a great way to show that your park is hosted by a professional service or a dedicated group. Follow the steps below to update your provider name on the GGServers panel.
Step 1: Access the Panel
Log in to your GGServers Control Panel and select your OpenRCT2 server. This dashboard allows you to manage the branding and technical metadata of your server.
Step 2: Stop Your Server
To ensure the new provider information is correctly broadcasted to the master list, you must first stop the server. Click the red Stop button on the main console. Wait for the status to show as “Offline” before proceeding.

Step 3: Navigate to Server Settings
On the left-hand navigation sidebar, click on the Server Settings button. This menu contains the primary configuration categories for your OpenRCT2 instance.
Step 4: Open General Settings
In the Server Settings area, select the General Settings tab. This section manages the fundamental identity and broadcast rules for your server.
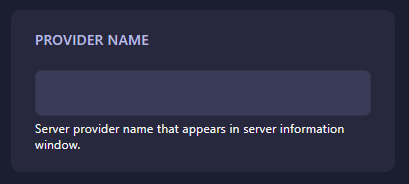
Step 5: Change the “Provider Name” Setting
Locate the box labeled Provider Name. Enter the name you want to appear in the server info window (for example, “GGServers” or your community tag). The GGServers panel features an automatic save function, so your changes will be recorded as soon as you update the text in the box.
Step 6: That is it!
Your server’s metadata has been updated! Return to the main dashboard and click Start. When players check your server information in the OpenRCT2 browser, they will now see your custom provider name.
Showcase your brand with OpenRCT2 server hosting at GGServers. Our intuitive control panel gives you complete control over your server’s identity and professional appearance!