 Billing
& Support
Billing
& Support Multicraft
 Game
Panel
Game
Panel


How to Enable Auto-Updates for Your Pavlov VR Server
Keeping your Pavlov VR server updated is essential for ensuring player compatibility and maintaining the latest security patches. Manually checking for updates can be time-consuming, but the GGServers panel offers a built-in auto-update feature that automates this process for you. Follow these steps to ensure your server always runs the latest version of Pavlov VR.
Step 1: Access the GGServers Control Panel
Log in to your account at the GGServers Control Panel. From your dashboard, select the Pavlov VR server instance you wish to configure.
Step 2: Stop Your Server
Before modifying automation settings, you must Stop your server. This ensures that the configuration changes are saved correctly and that the update manager can initialize properly upon the next bootup.

Step 3: Navigate to Server Settings
Locate the navigation sidebar on the left side of the panel. Click on the Server Settings menu to expand your options.

Step 4: Open General Settings
Within the server settings dropdown, select the General Settings tab. This section contains the primary maintenance and automation toggles for your server.

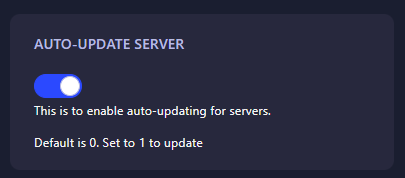
Step 5: Toggle Auto-Update Server
Look for the field labeled Auto-Update Server. Use the toggle switch to enable this feature. The GGServers panel uses an auto-save system, so your preferences will be applied instantly.
Step 6: Restart Your Server
Return to the main dashboard and click Start. Your Pavlov VR server is now configured to automatically check for and install updates whenever a new version is released!
If you encounter any issues with the update process or need technical assistance, please contact the GGServers support team at GGServers Support.